Preheat oven to 350 degrees F. Line a 13×9 inch baking pan with parchment paper
In bowl of a stand mixer, combine the melted butter, brown sugar and beat with the paddle attachment at medium speed for between 5- 6 minutes
In a separate bowl whisk together the orange zest, ground ginger, ground cinnamon, baking powder, salt, and flour until combined. Set aside until needed
To your sugar/ butter mixture add in eggs, orange extract, and vanilla extract and beat until mixed well. Add in the flour/ dried ingredients mixture, beating until just blended
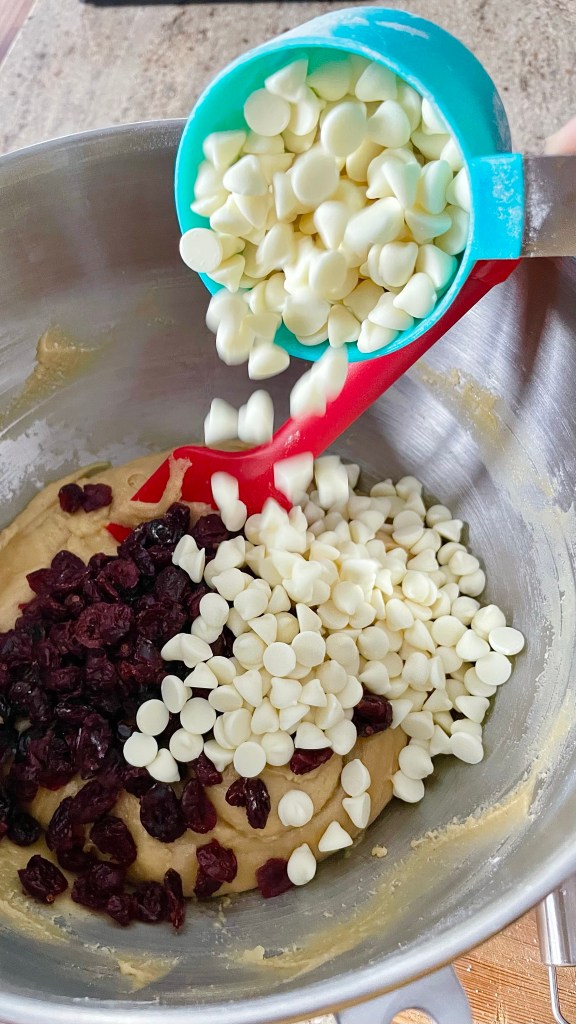
Fold in white chocolate chips and dried cranberries using a spatula. Spread evenly into the bottom of prepared pan
Bake in preheated oven for 18-20 minutes until set and golden brown at the edges. Remove from oven and place pan on a wire rack to cool. Allow bars to cool completely before topping with frosting and decorating
To make the frosting and finish
With an electric whisk, beat together the cream cheese, butter and powdered sugar until smooth and creamy.
Add orange juice, vanilla extract, orange zest beat again until well combined and smooth
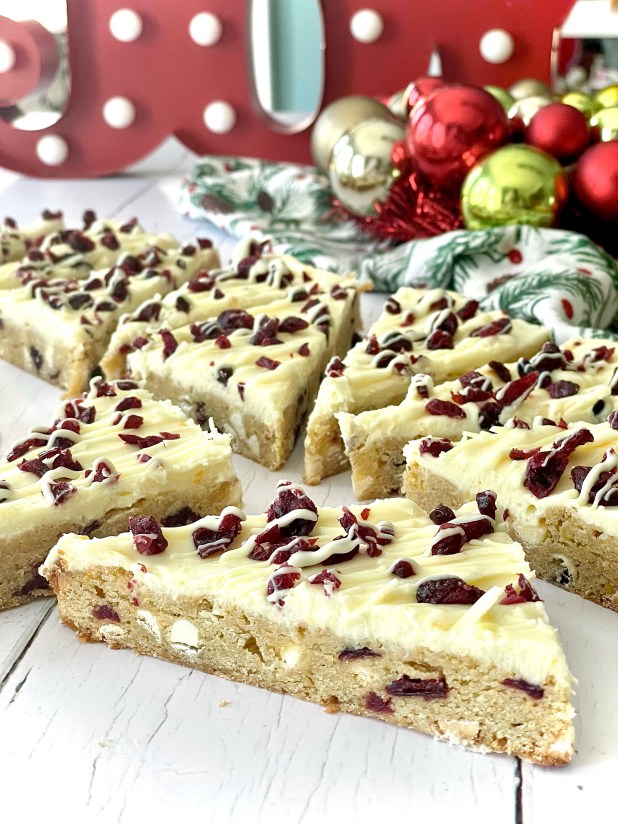
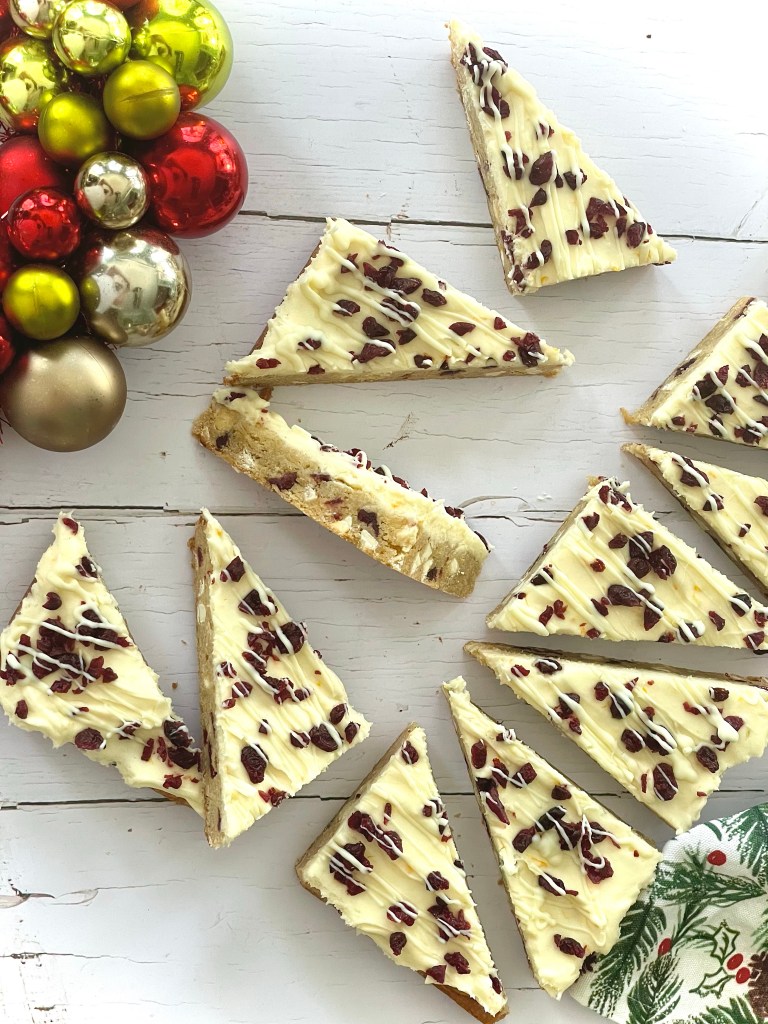
Using a spatula top the cooled bars with frosting. Sprinkle over the chopped dried cranberries and drizzle white chocolate over the top with either a piping bag
Place the bars in the refrigerator for about an hour to help them set up before cutting. Cut baked sheet into half lengthwise, then into 4 so you end up with 8 pieces. Cut each piece in half diagonally so you end up with two triangles so you end up with 16 triangles in total
In the bowl of stand mixer combine the butter, both sugars, salt, fancy molasses and whip together until pale and fluffy, about 10 minutes
Mix in the milk and the vanilla extract until combined
In a separate bowl, whisk together the flour, cinnamon, ginger, and cloves. Add in the flour mixture by ¼ cupful, beating between until combined, until all the flour mixture has been added
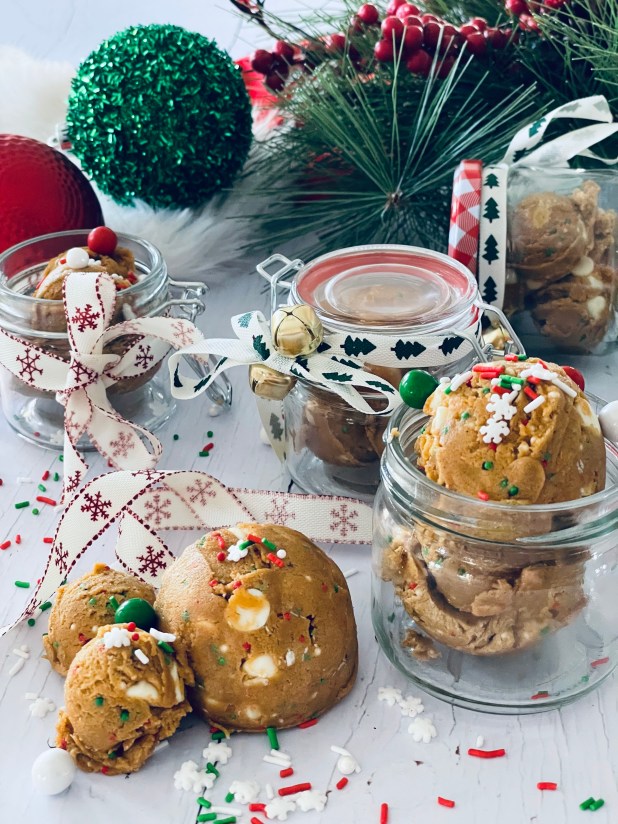
Fold in the chocolate chips. Add sprinkles, or nonpareils, to your liking
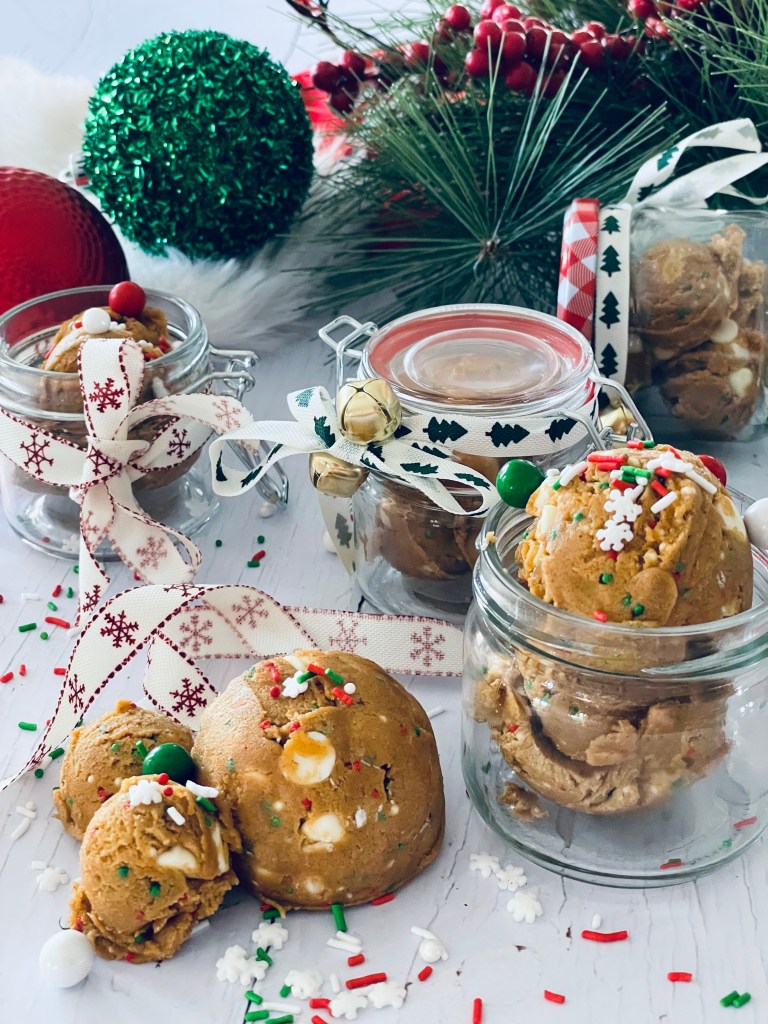
Scoop, or spoon, into sterilised mason, or kilner, jars and add some more sprinkles for that extra festive touch. Wrap as you like if you’re gifting to someone- I usually bow and tag the jars with festive ribbon
Cookie dough is best eaten at room temperature
How To Store: Keep this Edible Gingerbread Cookie Dough in the refrigerator in an airtight container. Eat it up within 2 weeks!
* To heat treat your flour for safety, place it in a bowl and microwave it in 30-second intervals until the flour temperature reaches 165 F (74 C). Mix with a spoon between intervals. Mine usually takes around 3 bursts. Allow to cool before using. Or you can bake it for 7-8 minutes in a preheated oven at 350°F
Edible Cookie Dough Christmas Trees
If you’re not gifting this edible cookie dough (how could you not? It’s the Season of Giving!) a fantastic way of using this delicious treat are these adorable Edible Cookie Dough Christmas Trees. Fun and easy to make, you can also get some little helping hands involved too!
Ingredients
Additional waffle/ sugar cones
White, or semi-sweet chocolate, melted
Festive sprinkles
Method
Line a baking tray with baking parchment or foil, and set aside until needed
If your edible cookie dough is still soft enough, fill a place in a piping bag and snip the end off.
Pipe the cookie dough into your cones. (If the edible cookie dough is a bit too stiff to pipe, you can use a butter knife, or small spoon, to fill the cone instead)
Coat the outside of your filled comes with the melted chocolate, either by dipping in a deep bowl, or coating using a spoon
Place on your prepared baking tray and let the chocolate set for a minute or two (this will help the sprinkle stick better). Add festive sprinkles to finish your Christmas trees off and allow for the chocolate to fully set
To serve/ eat, push a popsicle stick into the cookie dough, for ease of holding and enjoy!
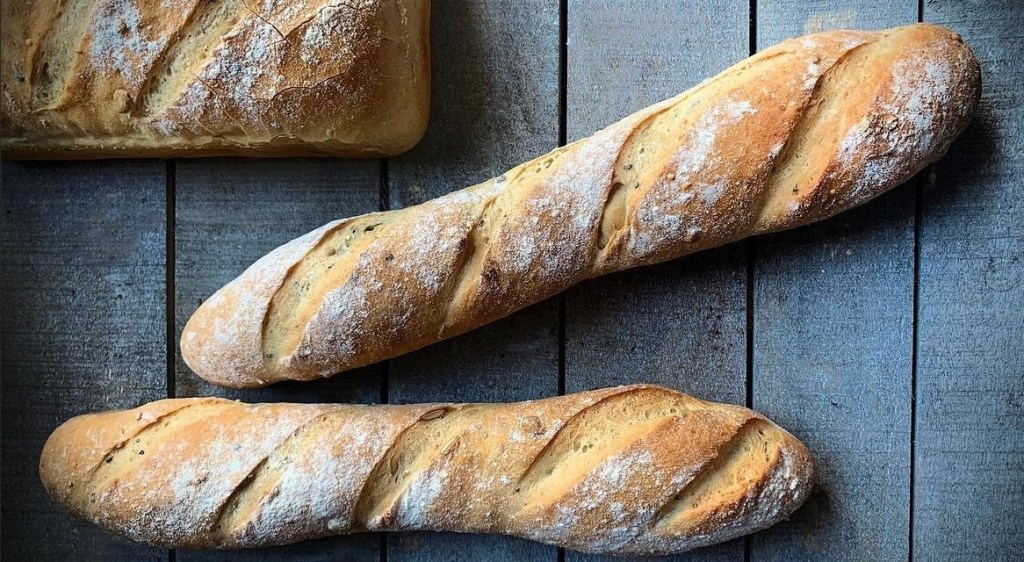
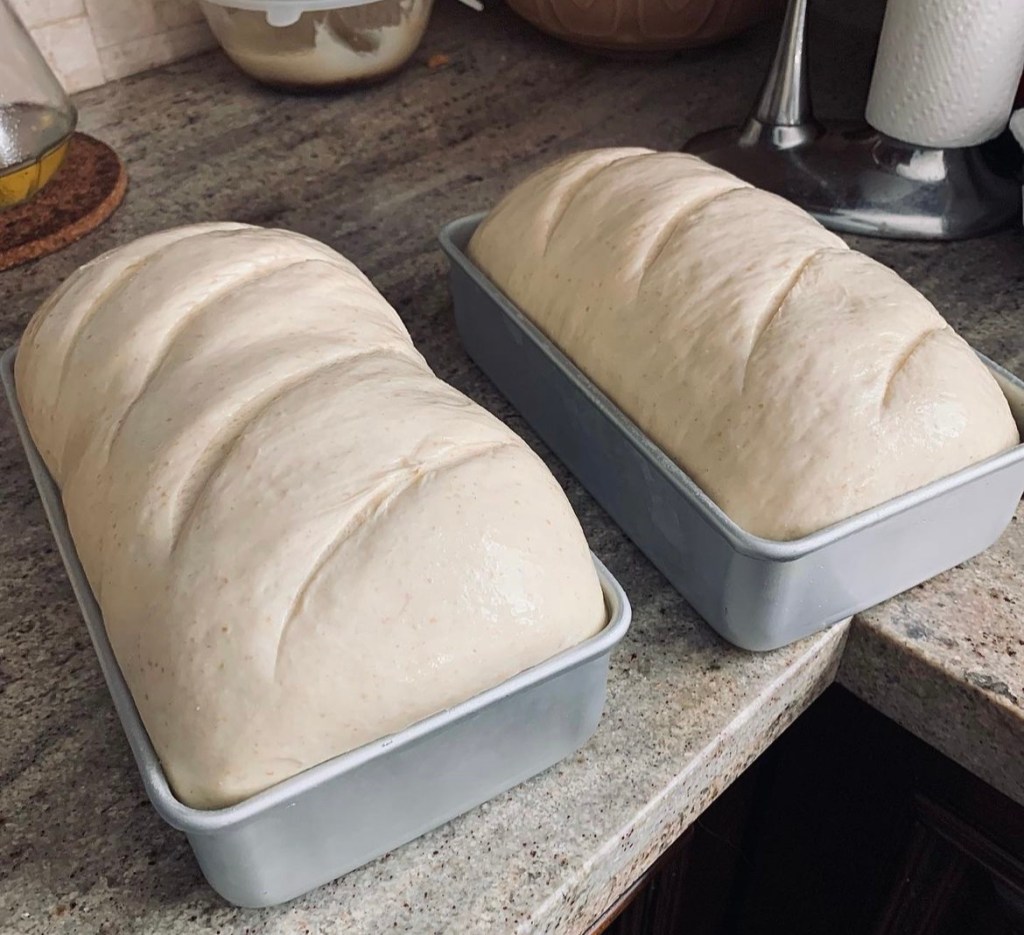
November 17th is National Homemade Bread Making day so I thought to share some tips, tricks and insights into bread making as I’ve learned over the years. Don’t get me wrong- I am by no means saying the I am the fountain of all things bread based- in the beginning I baked some loaves that were frankly crimes against humanity! But one of the lesser known ingredients in a good loaf is…perseverance. Mistakes will be made- try to see them not a signs of failure but rather as chances to learn. Making even a simple loaf of bread can be immensely rewarding, not to mention therapeutic in these hectic times. Its a skill that’s easily learned and long lasting. If you;ve never made a loaf of bread before, congratulations- you have a delicious new word to explore in front of you.
Here are my top tips when it comes to bread making (those that require more information I’ll expand on later in the post)-
Check your yeast expiry date. It may sound obvious but it a mistake often made. Yeast is a living thing and as such can die over time. Using an expired yeast in your bread making is a non-starter from which there is no return.
The water that you use should be warm, just above body temperature. If you use water that is too hot, you’ll probably kill your yeast (remember- it’s a living thing); if you use water that’s too cold you won’t activate the yeast and it’ll remain sleepy.
Try using Autolyse method. More on that later.
When adding yeast to your dough, add it to one side of the bowl. To the other side add your salt and sugar. Adding salt and sugar directly on top of the yeast can cause a reaction and have them kill your yeast.
In your dry ingredients try using a dough enhancer (dough conditioner). This is a dry ingredient which can help boost the properties of your dough mixture. Again more on that later.
Don’t let your dough proof too long. Optimum time is between 60-90 minutes. If you leave it any longer you run the risk of the dough collapsing back on itself. However if you’re proofing it in the refrigerator, you can increase this so it can be done overnight with no ill effects.
When baking your loaf, try adding a baking pan with a couple of inches of water to the bottom of your oven. This creates a steam environment which gives your finished loaf a wonderful, toothsome crust.
Try adding in a pinch of Vitamin C powder, or a splash of leom/ orange juice. This creates a more acidic environment which aids the gluten bonds giving a better structure to your loaf. You don’t need to do this is you’re already using a dough enhancer/ conditioner.
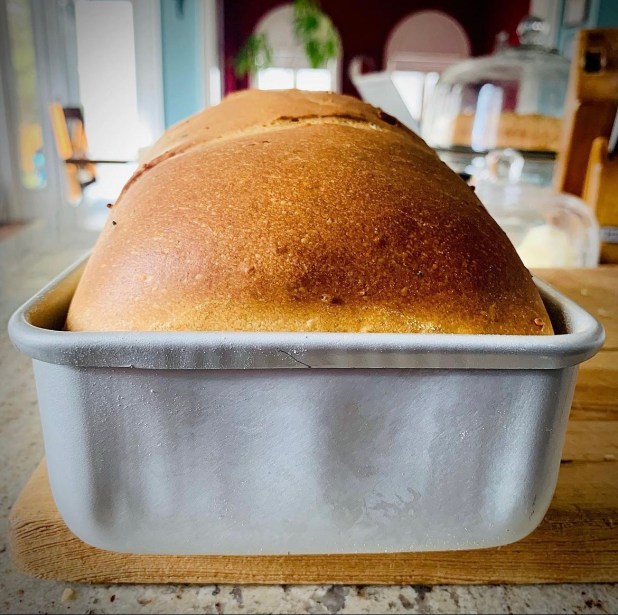
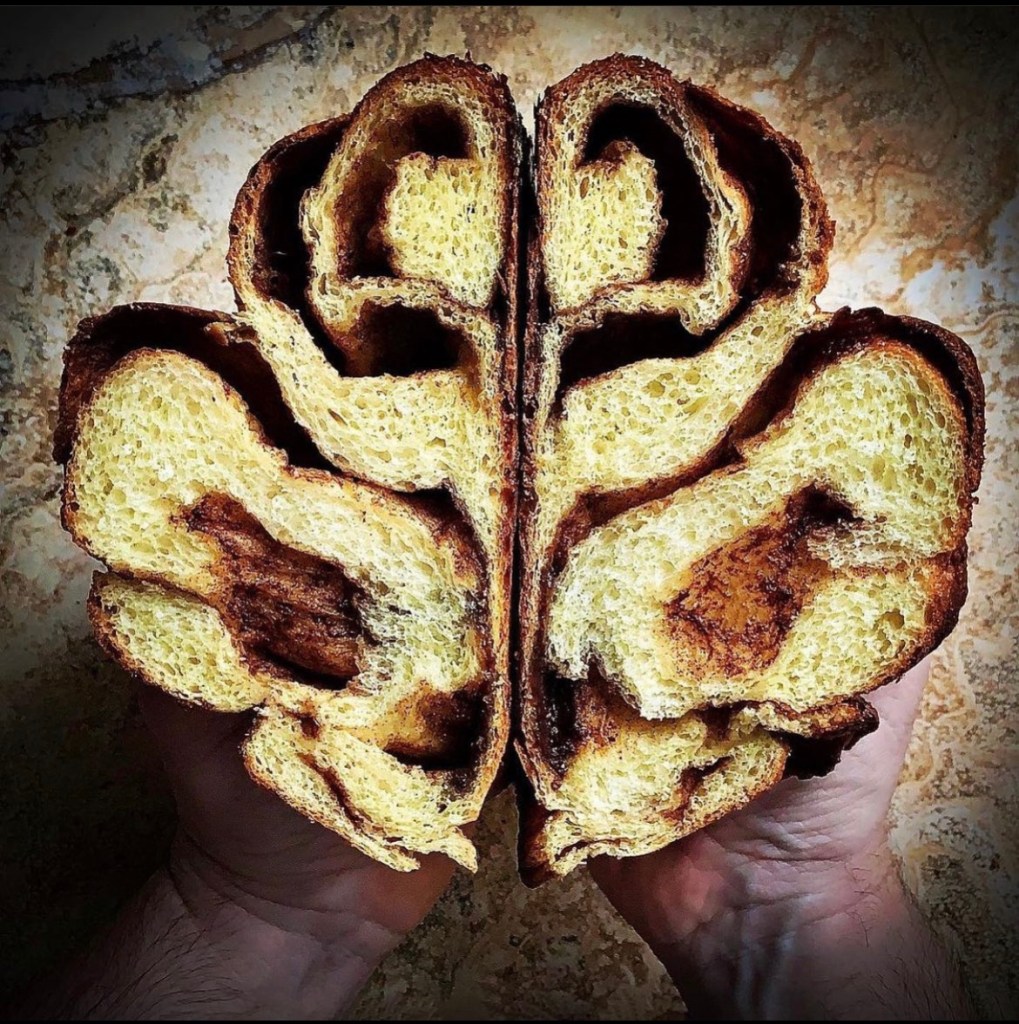
Let your baked loaf cool completely before slicing. The structure of a warm loaf hasn’t set, or fixed, yet and as such if you were to slice it you will squash and unduly tear the slices.
While bread is ideal for freezing for enjoyment at a later date, please don’t keep your bread in the fridge. This does anything BUT keep it fresh for longer. It will in fact dry it out quicker resulting in a less tasty slice at a quicker rate.
The Autolyse Method
This is simply adding your water to your flour, mixing it and letting it rest before adding any remaining ingredients. Once completely mixed, ensuring that there are no pockets of dry flour, the flour/ water mixture is set aside for between 20 to 60 minutes. During this time a number of reactions take place that benefit your bread making.
The flour gets properly soaked and hydrated which aids the development of gluten strands. This gluten strand development helps cut down the kneading time required later on
Fermentation takes place at a slower pace allowing for a more enhanced flavor and better keeping time to yout baked loaf
The carotenoids present remain intact and this helps the final desired color, flavour and aroma of the baked loaf
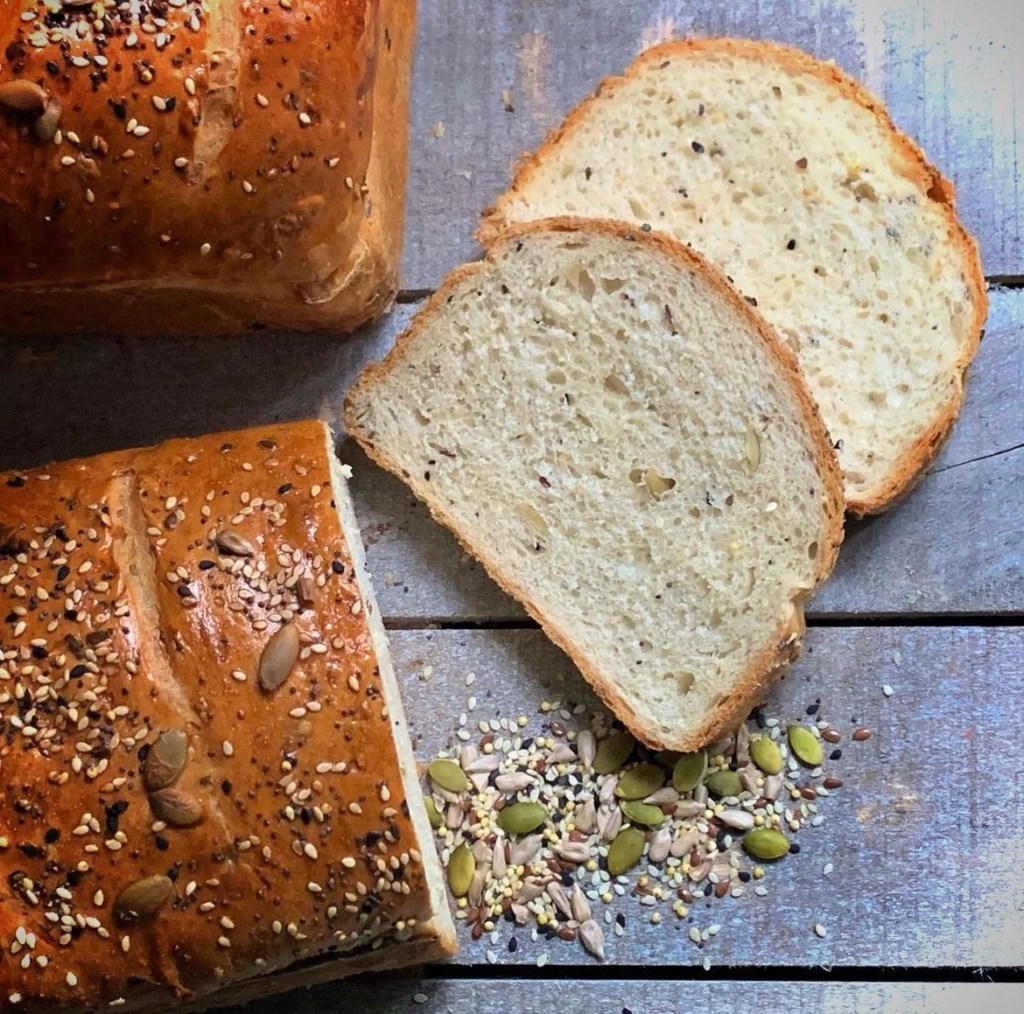
The dough’s elasticity is massively improved allowing better workability, a better rise and a more pleasing, open crumb to your loaf when sliced
*When using the Autolyse method you add instant yeast after the autolyse is complete, dissolve them in a small amount of warm water (1 ounce) reserved from the autolyse
About Dough Enhancer (Dough Conditioner)
This is a dry ingredient added to your dough mix, made up of a number of ingredients which boost your doughs basic properties. Think of it as a “food supplement” to your dough. Typically a dough enchancer/ conditioner will be made up of
Gluten- Additional gluten to that already present in your bread flour helps gives your dough some extra muscle. It will amke your dough more elastic and easy to work
Acidic Element- Typically Viamain C or Asorbic Acid this acts to strengthen the gluten bonds that from around the bubbles caused from the yeast reaction in the mix. It also acts to boost the effectiveness of your yeast, as well as improving the longevity of the finished loaf.
Lecithin- This helps gives your finished load a lighter, softer texture akin to a store bought loaf but within the mass production nasties. Better rising is also a side-effect of this addition. It also helps increase the keeping quality of your bread, giving you some extra time to enjoy.
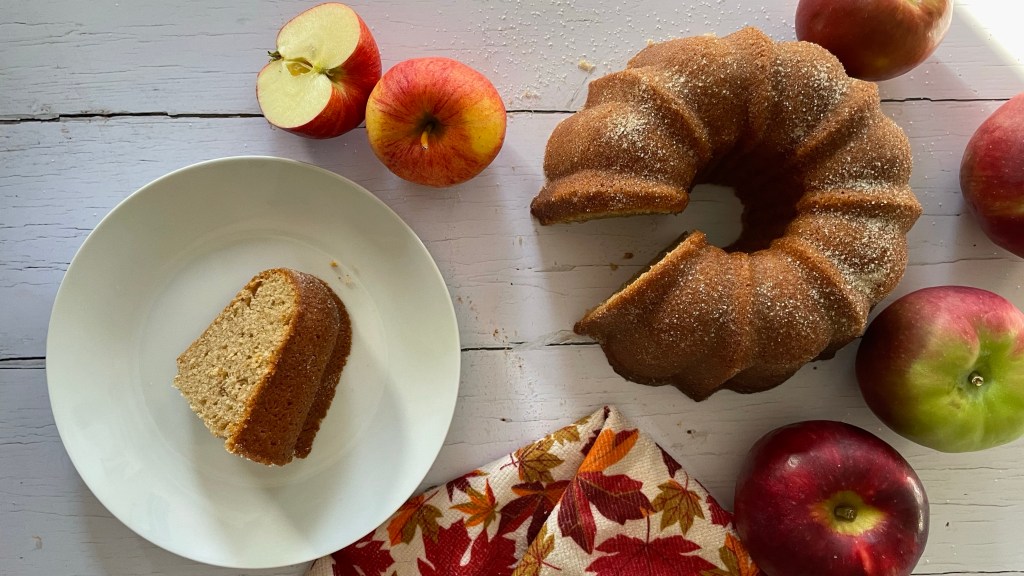
Add the apple cider to a medium pan, and over a medium heat boil to reduce to 1/3 cup quantity. Remove from heat and allow to cool
Preheat oven to 350 degrees
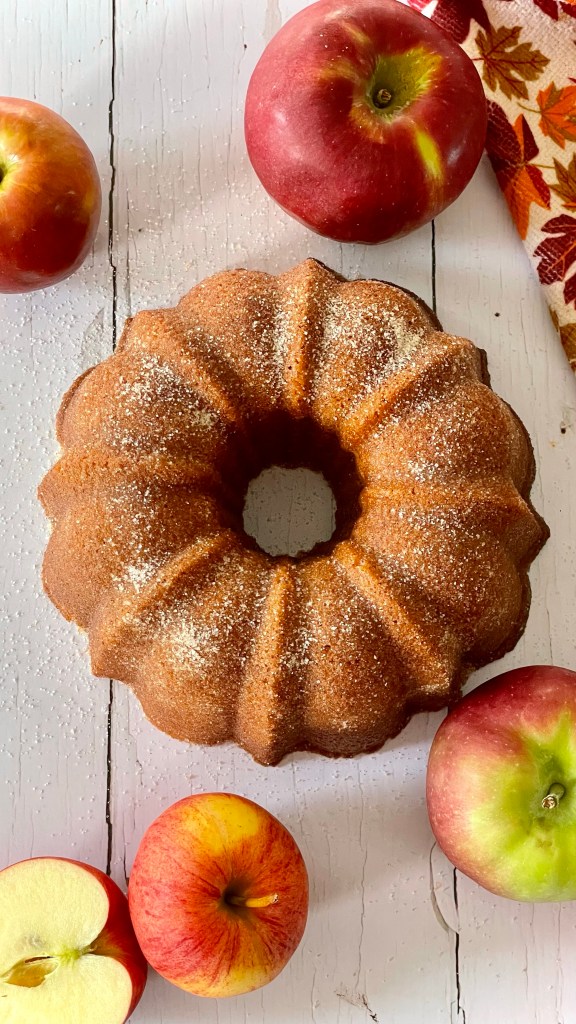
Prepare a 12-cup bundt pan by liberally spraying with baking spray, or generously grease with butter and flour. Pay special attention to all those crevices and folds
In a large bowl, whisk together both flours, baking powder, cinnamon, baking soda, and salt
In separate bowl, whisk together sugar, cooled cider concentrate , oil, applesauce, vanilla, and eggs
Add egg mixture to flour mixture; whisk until combined, making sure there are no flour pockets
Transfer batter to prepared pan, and bake for 45- 50 minutes, until a tester inserted in center comes out clean
Transfer pan to a wire rack set over a rimmed baking sheet; let cool 15 minutes
While the cake cools make the coating. Mix together remaining sugar, cinnamon and Baobab fruit powder
After 15 minutes, turn the cake out onto a cooling rack set over some baking parchment
Brush with melted butter, then sprinkle liberally with the sugar coating. Let cool completely before serving
2 large Granny Smith apples or Honey Crisp apples peeled, cored and diced
Glaze
2 cups powdered sugar
2 Tablespoons Baobab Fruit Powder (optional)
1/4 cup milk
1/2 teaspoon vanilla extract
Method
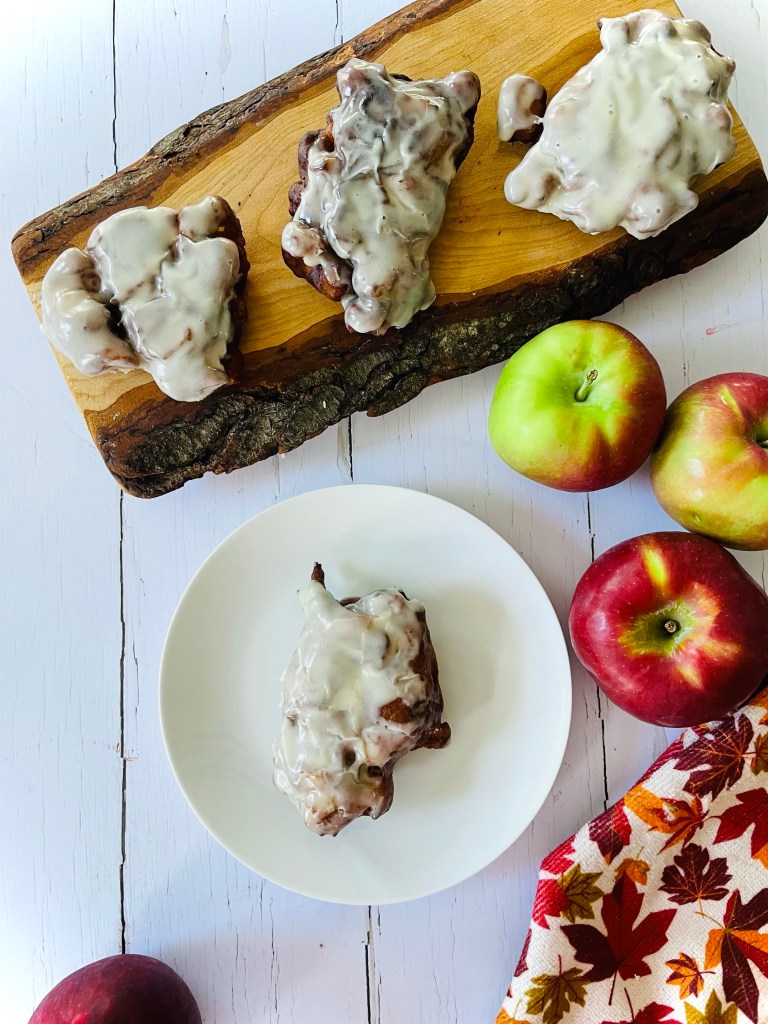
Whisk together flour, sugar, baking powder, salt, and cinnamon in medium bowl. Make a well in the center and add 1/3 cup milk, eggs and applesauce. Stir just to combine. Fold in apples
Heat 1 1/2 inches of oil in heavy skillet, Dutch oven or deep fryer to 375F degrees
Drop about 1/4 cup of batter per fritter into hot oil; spreading it out as you drop
Cook each side until golden brown; approximately 2-3 minutes per side
Use a slotted spoon to remove to a cooling rack set over some paper towels to drain
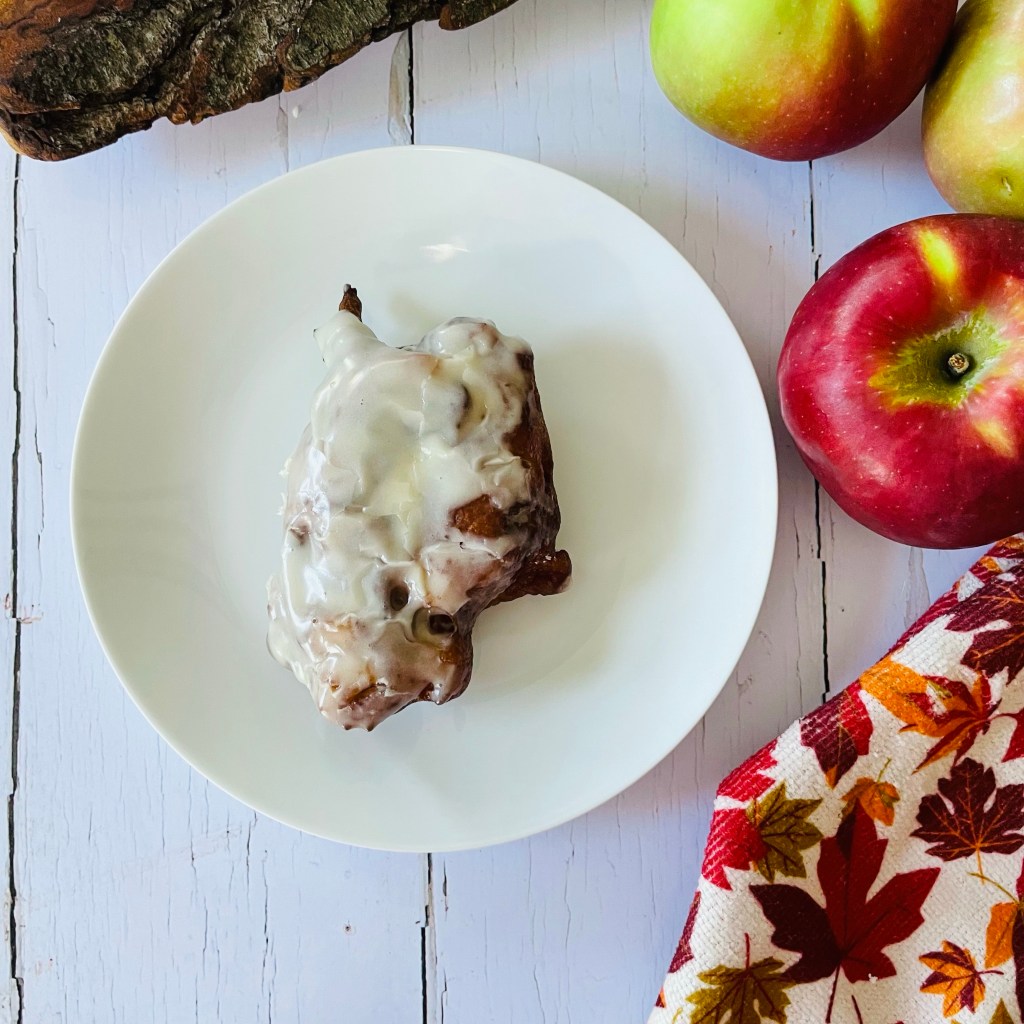
While the fritters cool, whisk together 1/4 cup milk, Baobab fruit powder, powdered sugar and vanilla. Dunk each fritters in the glaze to coat. Place on wire racks to drip and air dry
Freezing & Reheating
If you’re making your fritters for later, they keep really well in the freezer compartment. Freeze for up to 2 month for best taste. You’ll need to remember not to glaze them though! Allow your unglazed fritters to cool completely before wrapping individually in cling wrap, popping in freezer bags and storing in your freezer.
The best way to thaw frozen apple fritters is to remove them from the freezer, unwrap them and place them into the fridge. It is best to leave them overnight to ensure they thaw all the way through.
If they have not thawed all the way through by the time you want to eat them, you could leave them out on the counter for up to an hour to speed up that process.
To reheat, and to ensure you get a nice crisp apple fritter, you can either use a toaster oven or a conventional oven. Place the thawed fritters on a baking tray and reheat them at 375F for 5 minutes.
Once they’re reheated you can glaze them as Step 2 above.