
Makes 1 no. 8” layer cake
Ingredients
Midnight Chocolate Cake
- 2 cups All Purpose Flour
- 1 ½ cups granulated sugar
- ½ cup unsweetened cocoa powder
- ¼ cup black cocoa powder
- 1 ½ teaspoons baking soda
- 1 ½ teaspoons espresso powder
- ¾ teaspoon salt
- 1 ½ cups water
- ¾ cup canola oil
- 1 ½ teaspoons vanilla extract
- 1 ½ teaspoons white vinegar
Ganache Filling and Decoration
- 8oz semi-sweet chocolate, chopped into chunks
- 1 cup heavy/whipping cream
- ½ teaspoon black food coloring gel*
Buttercream Frosting
- 4½ cups powdered sugar
- 1 cup cocoa powder
- 12 tablespoons (1½ sticks) unsalted butter, room temperature
- ½ cup whole milk, room temperature
- 2 teaspoons red food coloring gel*
- 1 teaspoon apple cider vinegar
“Coal” Candy
- 3 tablespoons unflavoured popping candy
- ½ tablespoon coconut oil
- 1 tablespoon black cocoa
*Measurement dependant on strength of color. Please note that if using liquid coloring a larger quantity may be required, which in turn may affect the consistency of what you’re coloring. Color to personal preference
Method
Midnight Chocolate Cake
- Preheat your oven to 350F
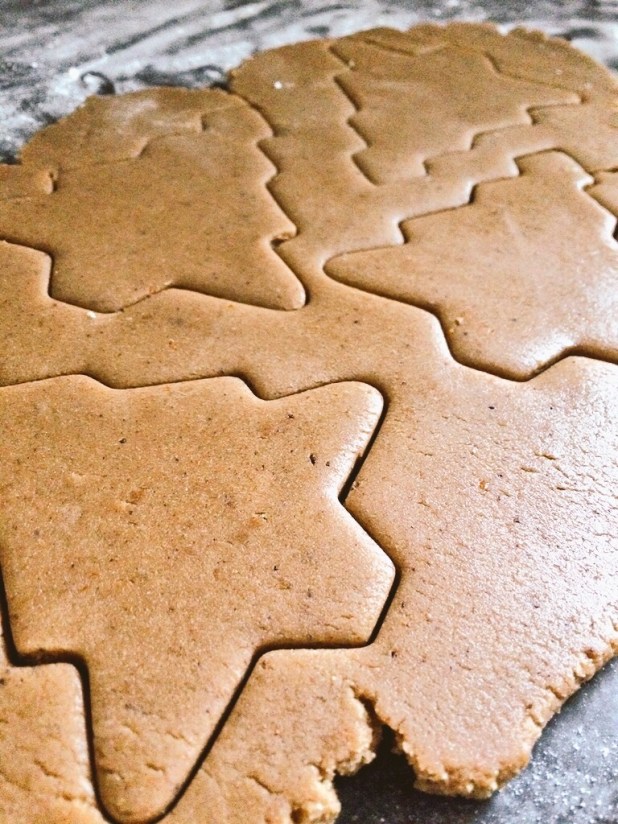
- Prepare 3 no. 8” diameter baking pans by greasing/spraying and lining with baking parchment
- In a large bowl combine all the cake ingredients- the flour, sugar, cocoa powder, black cocoa, espresso powder, baking soda, salt, water, canola oil, vanilla extract, and vinegar
- Whisk slowly until fully combined, making sure to scrape the bottom of the bowl to avoid any dry ingredient residue. Continue mixing until fully blended and smooth
- Divide and pour into your prepared pans. If needed gently tilt the pans to allow the cake batter to flow into an even layer
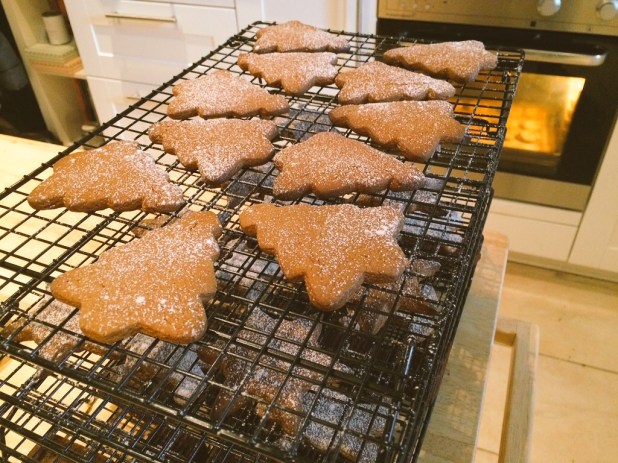
- Bake in your preheated oven for between 20-25minutesm or until a cake tester, or skewer, comes out clean when inserted into the centre of the cake. Remove the cake from the oven allow to cool in tin for 5 minutes in a rack
- After allowing to cool for 5 minutes, remove from the pans and allow the cakes to cool fully before decorating
Ganache Filling and Decoration
- For the ganache, place the chocolate pieces in a medium heatproof bowl
- Heat the heavy cream/ whipping cream, in a small pan over a medium heat until just below boiling (look for small bubbles at the edge of the cream in the pan)
- Remove the cream from the heat and gently pour the warmed cream over the chocolate pieces in the bowl. Leave to rest for 5 minutes
- After 5 minutes, gently stir the chocolate/ cream mixture with a whisk to emulsify it. It will appear mottled and speckled at first but continue gently stirring until it thickens and is uniform in color
- Once fully smooth and uniform in color, set aside and leave to fully cool for 1 hour before dividing the mixture into two separate bowls. After 30 mins, using an electric whisk, beat one of the bowls of mixture to a fluffy, whipped consistency (this will be your filling ganache). Set both aside for about another hour until the they to a spreadable consistency. (The cooling/thickening process can be speeded up by placing the bowls of mixture in your refrigerator)
Buttercream Frosting
- In a bowl, sift together the powdered sugar and cocoa powder. Set aside
- In the bowl of a stand mixer fitted with a paddle attachment, beat the butter beat on medium speed for 2 minutes. Scrape down the sides and bottom of the bowl
- Reduce the speed to low and the add in sugar/cocoa mixture a cup at a time. Combine on low speed until all the sugar/ cocoa mixture has been added
- With mixer on low speed, add in milk, red food coloring and vinegar
- Increase speed medium and mix for 2 minutes until smooth. After this time, increase the speed to medium/ high and whip for a further 2 minutes
“Coal” Candy
- Put the coconut oil into a heat proof bowl and heat in a microwave for 20 seconds until the coconut oil is melted
- Add in the popping candy and stir to fully coat it in the melted oil
- Add the black cocoa and stir until an even color and it looks like “coal dust”
To assemble and decorate
- Level off the cake layer to flat
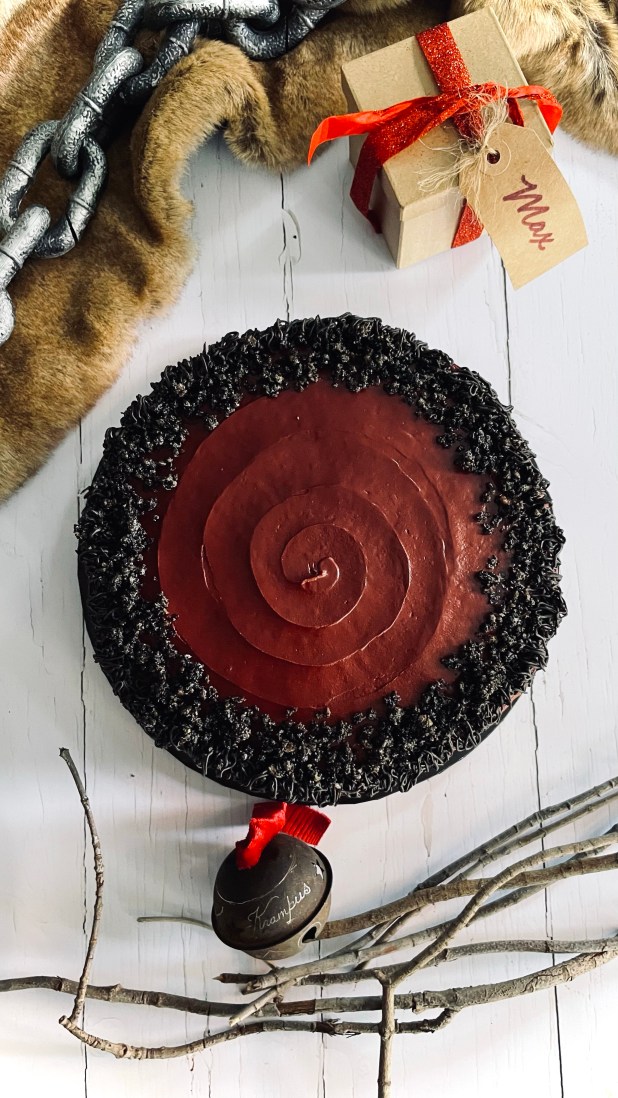
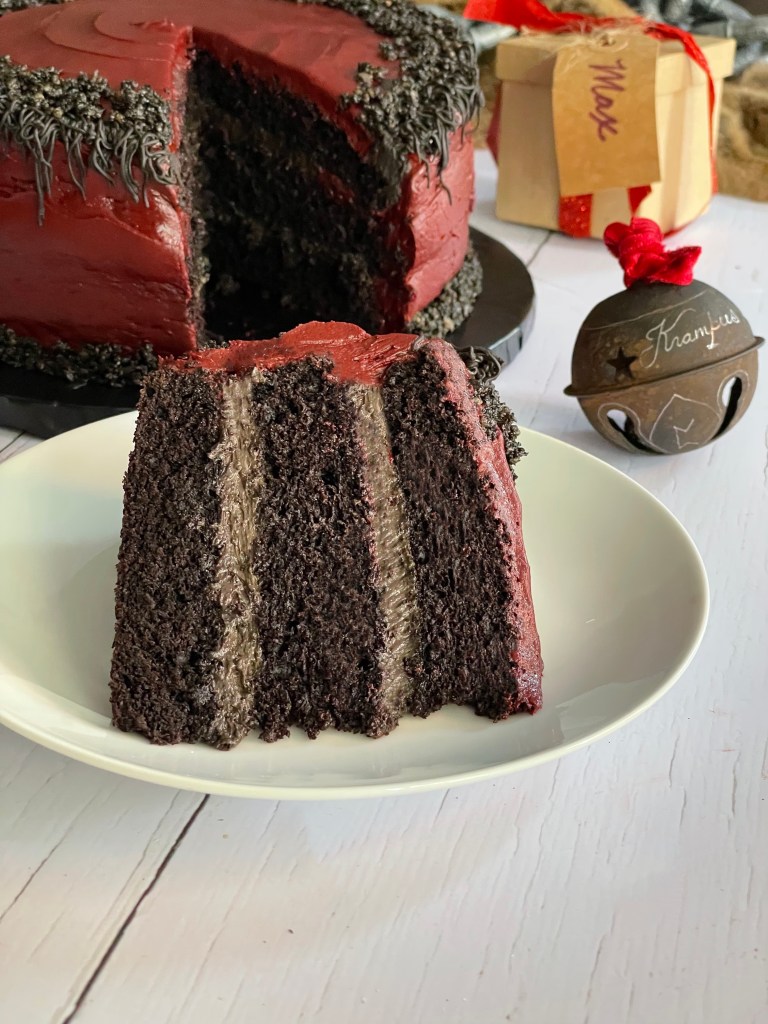
- Frost each layer with a ring of frosting. Pipe or spread an even layer of the whipped chocolate ganache inside the ring of buttercream frosting. Stack the next layer on top and repeat the process.
- Using the buttercream frosting apply a light crumb coating on the outside of the cake and let the cake chill in the refrigerator for 20 minutes.
- Frost the cake the remaining frosting, and chilli again for a further 20 minutes
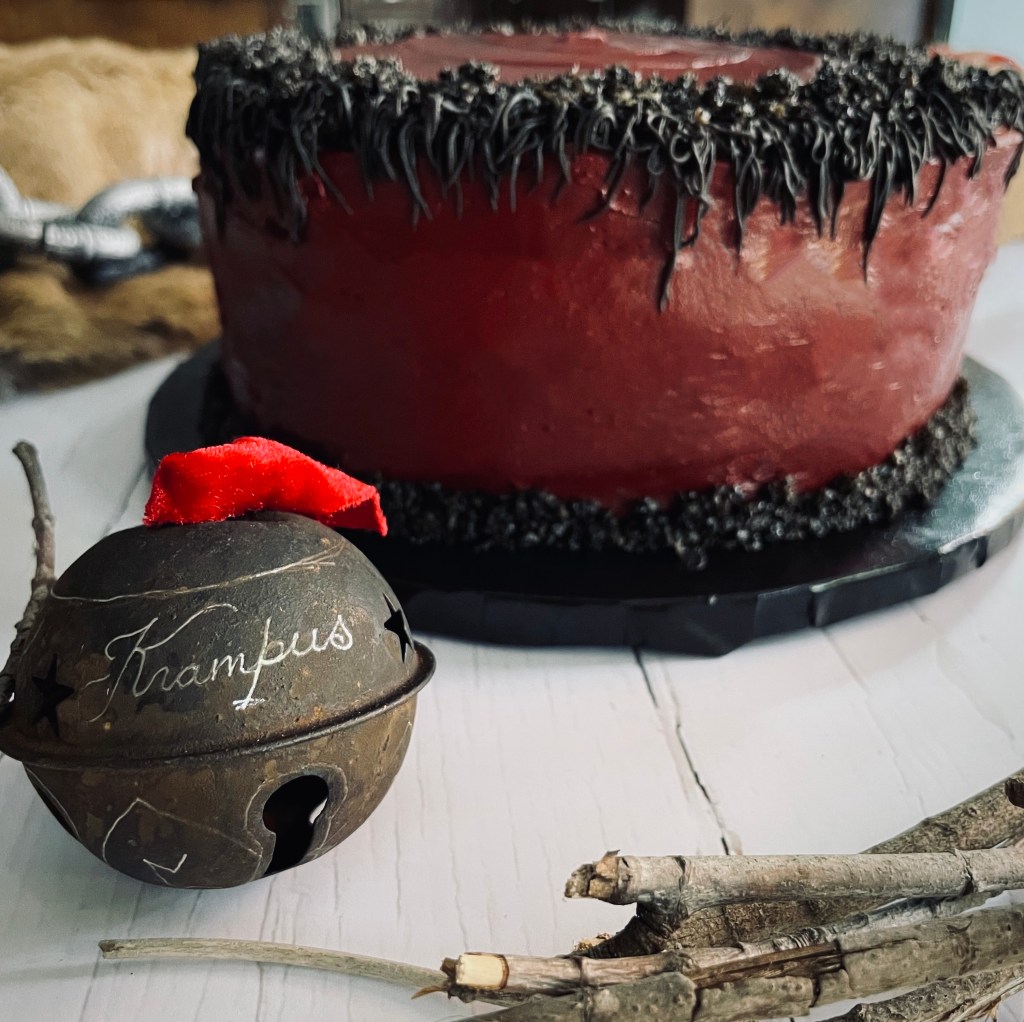
- Use the remaining (unwhipped) ganache to decorate the cake. You can either apply a final top layer by smoothing the ganache on top, or as I’ve done, using a Wilton #233 tip apply a “fur trim” to the edge.
- Decorate with the black “coal candy”
Adapted from a recipe by layercakeparade

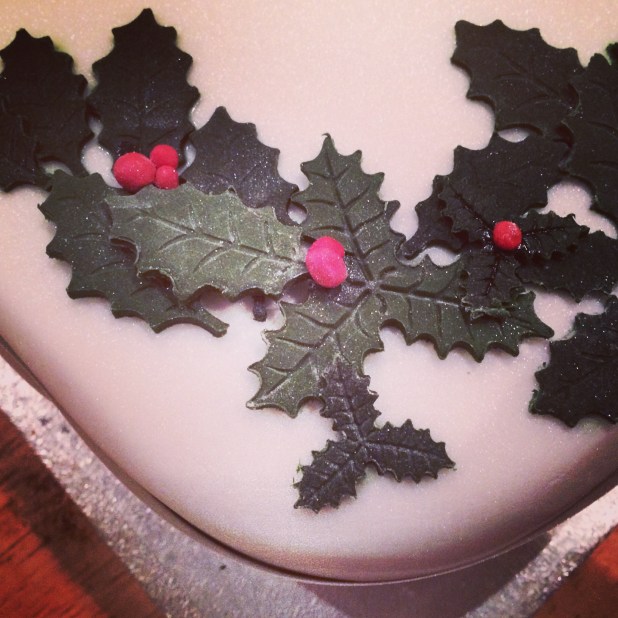 Fondant “Holly” detail“
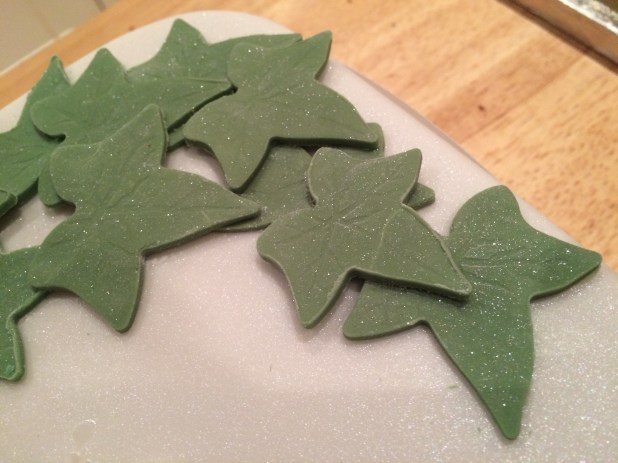
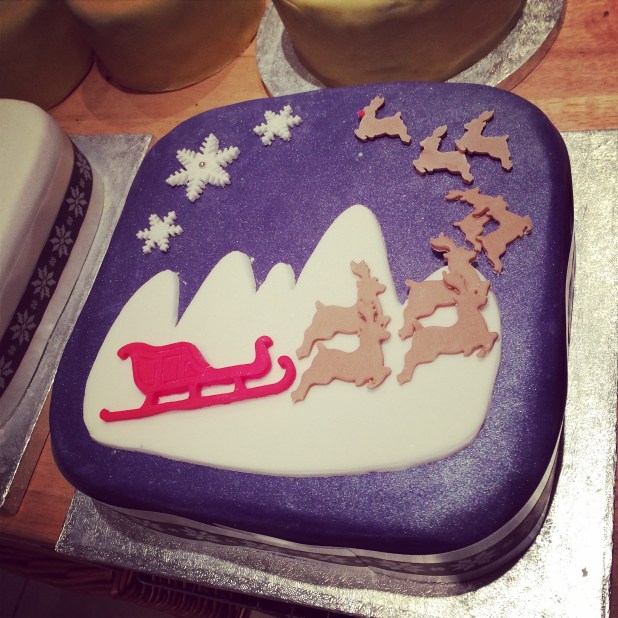 “The Night before Christmas traditional Christmas cake