“Hey Dolly” (Oat Shortbread) Bars


img_7611So I wanted a bar. But it had to be the right kind. I had previously made Hello Dolly Bars, or as they’re also known as Magic Cookies Bars, but I had found them too sweet and gloopy. Maybe I added too much condensed milk caramel or not enough dry ingredients? Either way I was far from happy with them and the resulting bars were deliciously mutated into ice cream topping instead. “Waste not, want not” etc etc.

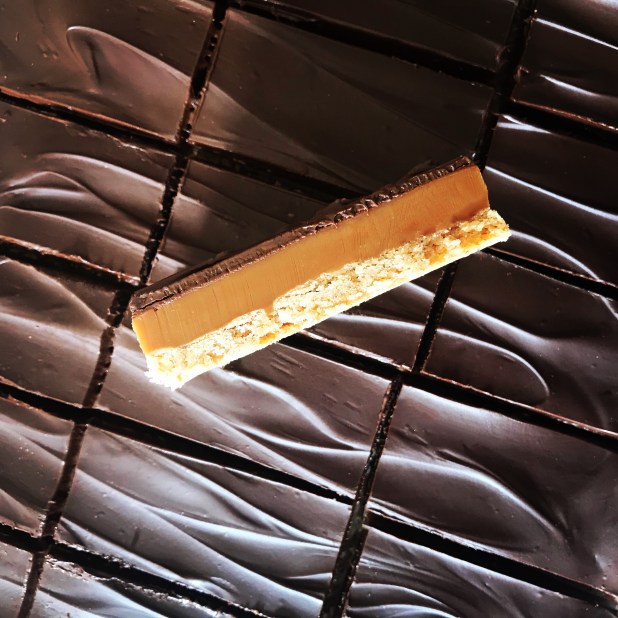
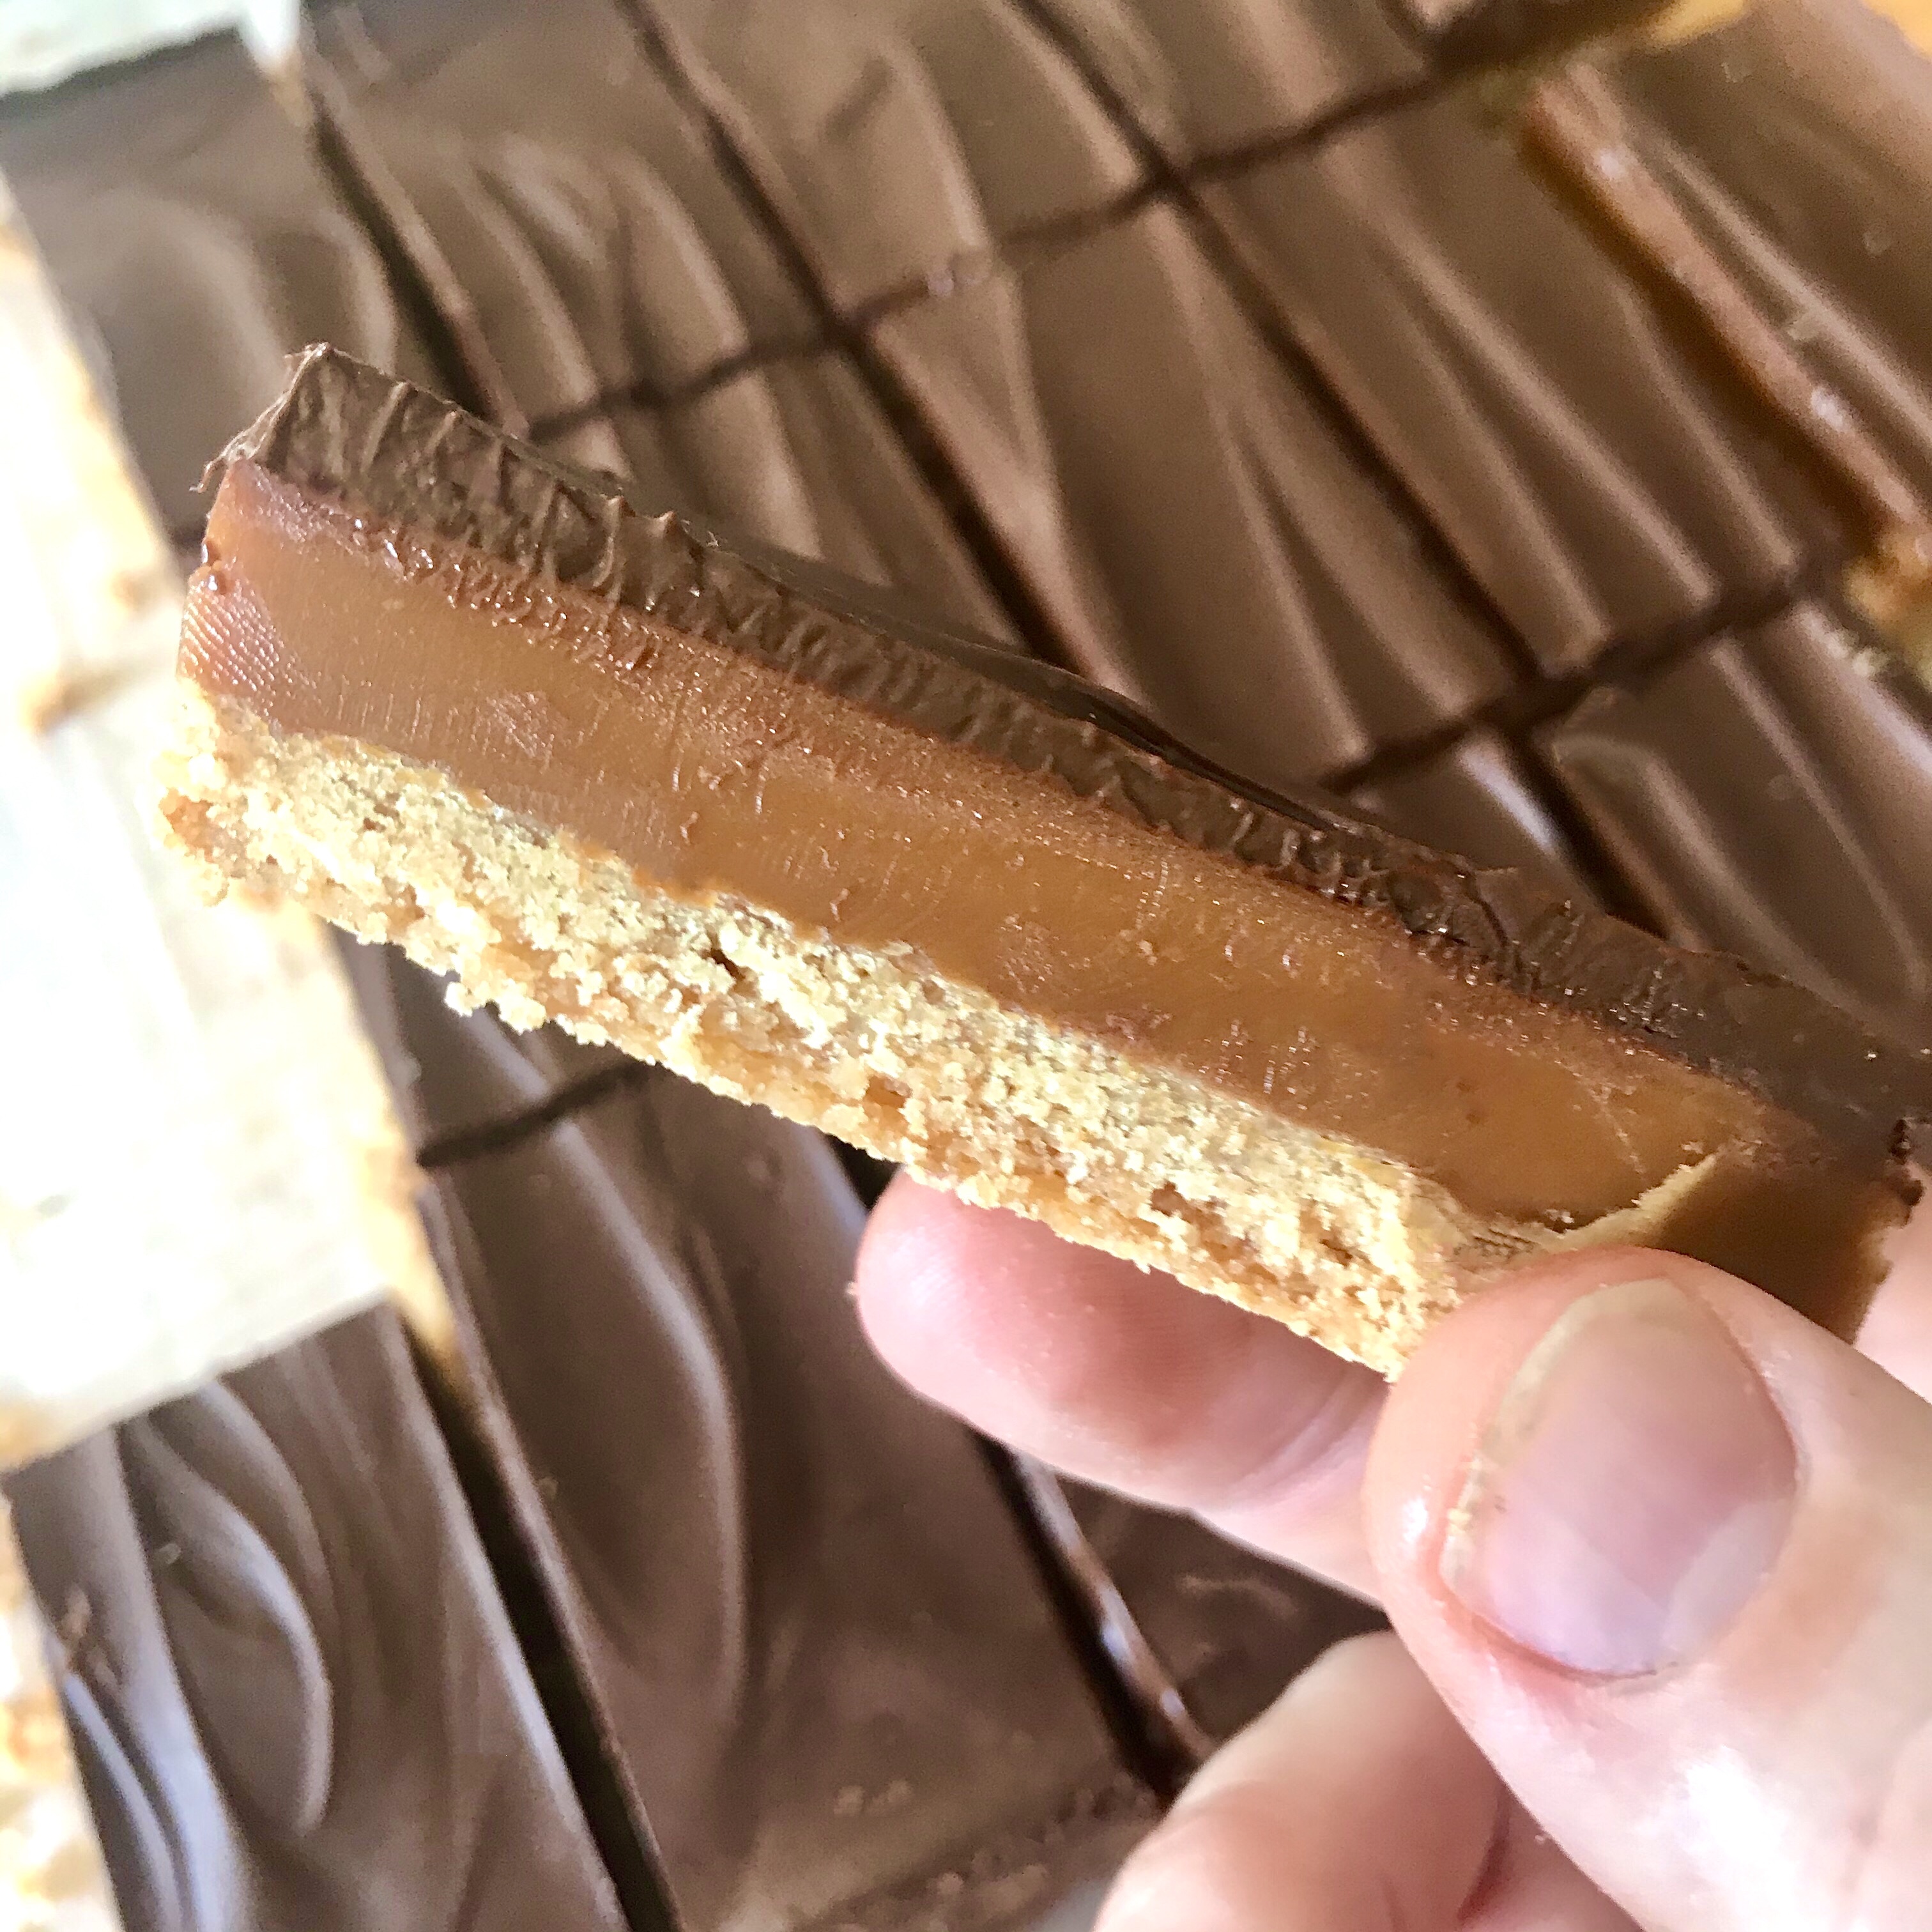
However like a dog with a bone I couldn’t (okay I WOULDN’T) acknowledge failure. There were also a few tweaks I wanted to try. The crumb base layer of the original cookie bar was far too flimsy IMO. I wanted something with more stability and which would carry itself and the topping. Well what better way to go than with shortbread? Simplifying my Golden Coconut Shortbread with a wholewheat flour was the ideal solution. The nuttiness of the wholewheat grains perfectly complementing the oats I would add.

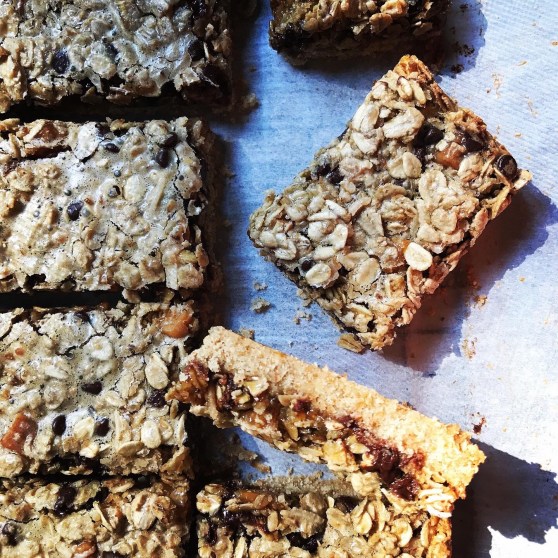
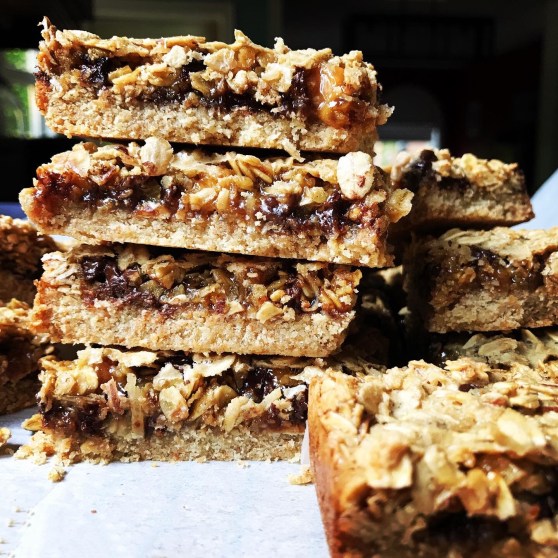
Another tweak was based on a pet peeve of mine – wet cookie bars. I don’t mean a bake that’s underbaked and soggy. It’s the excess of wet topping ingredients that spoils it for me. And so in with the aforementioned oats! Insider tip here- I’ve found that if a recipe calls for using jumbo rolled oats, using a mix of jumbo oats and quick oats gives a much better result. The smaller quick oats fill in the gaps and voids made between the larger oat flakes and you end up with more oaty bang for your buck. It’s a win!

The quick “caramel” of butter and sugar works as a good binder here but if it’s one thing I’m a sucker for it’s chewy bite (Samoas are my WEAKNESS!) and with that I added in some caramel pieces. These would bake to perfectly chewy morsels adding some extra interest to bars. A little fiddly work is involved here in cutting the caramels into smaller pieces but it’s absolutely worth it.

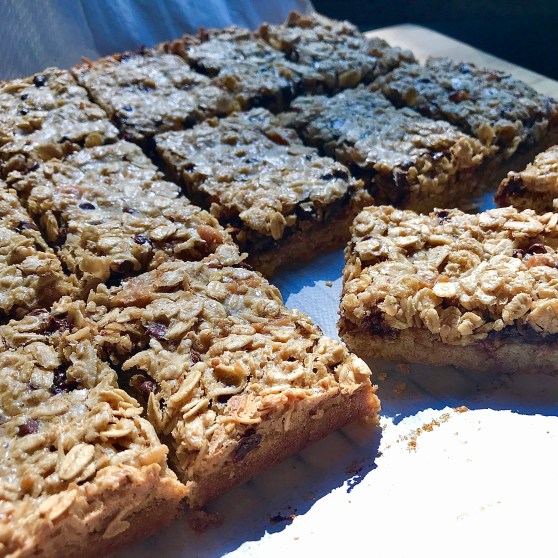
So they’re you have it- “Hey Dolly Bars”. Not quite traditional “Hello Dolly Bars” but baked bars with a lil extra something and sass.

Ingredients

Shortbread Base

  • 1 2/3 cup Wholewheat Flour
  • 1/3 cup Semolina
  • 2 Tablespoons Rice Flour
  • 1 1/2 Tablespoons Cornstarch
  • 1/2 cup and 2 tablespoons fine sugar, divided
  • 1/2 Teaspoon Kosher salt
  • 1 cup/ 2 sticks salted butter, cold and cubed

Oat Topping

  •  1/2 cup salted butter
  •  1/2 cup  granulated sugar
  •  3/4 cup  dark brown sugar
  •  1/4 teaspoon Kosher salt
  •  3 large eggs, beaten together
  •  1 teaspoon vanilla extract
  •  2 cups jumbo rolled oats
  • 1 cup quick oats
  •  1/2 cup shredded coconut, sweetened or unsweetened
  •  1/2 cup toffee bits apx (I use 12 Kraft caramels, chopped in half, then each half chopped in to 4)
  •  1 1/2 cups semisweet chocolate chips

a8fe5156-43a0-4ff1-b3cc-0882cb31eadb

Method

Shortbread base

  1. Lightly grease and line a 9″ x 12″ traybake tin
  2. In a large bowl combine the flour, semolina, rice flour, cornstarch, sugar and salt. Whisk together to further combine
  3. Add in the cubed butter and rub together with your fingertips until the mixture is just beginning to bind together. Every so often do a  quarter turn of the bowl to make sure you’re using all the dry mixture. You’ll want a texture somewhere between breadcrumbs and damp sand before you stop. Be wary of overworking the butter into the mixture – you want to avoid a dough that is feels slimey from the butter melting too much into the dry ingredients
  4. Tip the crumb mixture into your prepared tin and press the dough so that it forms a solid layer. Level the surface with the back of a spoon or measuring cup, making sure the mixture is evenly spread and uniform. Prick all over with a fork
  5. Refrigerate for 30 mins minimum
  6. Preheat your oven to 325°F
  7. Remove the shortbread from the fridge and bake for about 30 minutes
  8. Remove from the oven and allow to set side to cool in the tin while you make the topping

Oat topping

  1. Increase oven temperature to 350°F
  2. Prepare the topping by melting the butter in a medium saucepan over medium heat. Cook the butter, stirring often, until it melts completely. Continue to heat. The butter will start to foam up a bit, reduce the temperature if needed. Watch carefully as lightly browned specks begin to form at the bottom of the pan, and the foam starts to turn brown in spots. Smell the butter; it should have a nutty aroma
  3. Remove the pan and off the heat, stir in the granulated sugar, brown sugar and salt. The mixture will be thick. Let it cool for a few minutes
  4. Whisk in the eggs and vanilla until the mixture is well-combined. Transfer to a large bowl
  5. Stir in the oats, quick oats, shredded coconut, toffee bits and chocolate chips. Mix all the ingredients to combine well. Spread the mixture evenly over the shortbread crust.
  6. Bake for 20-25 minutes until the bars are set around the edges and the middle is a little jiggly. They’ll firm up as they cool.
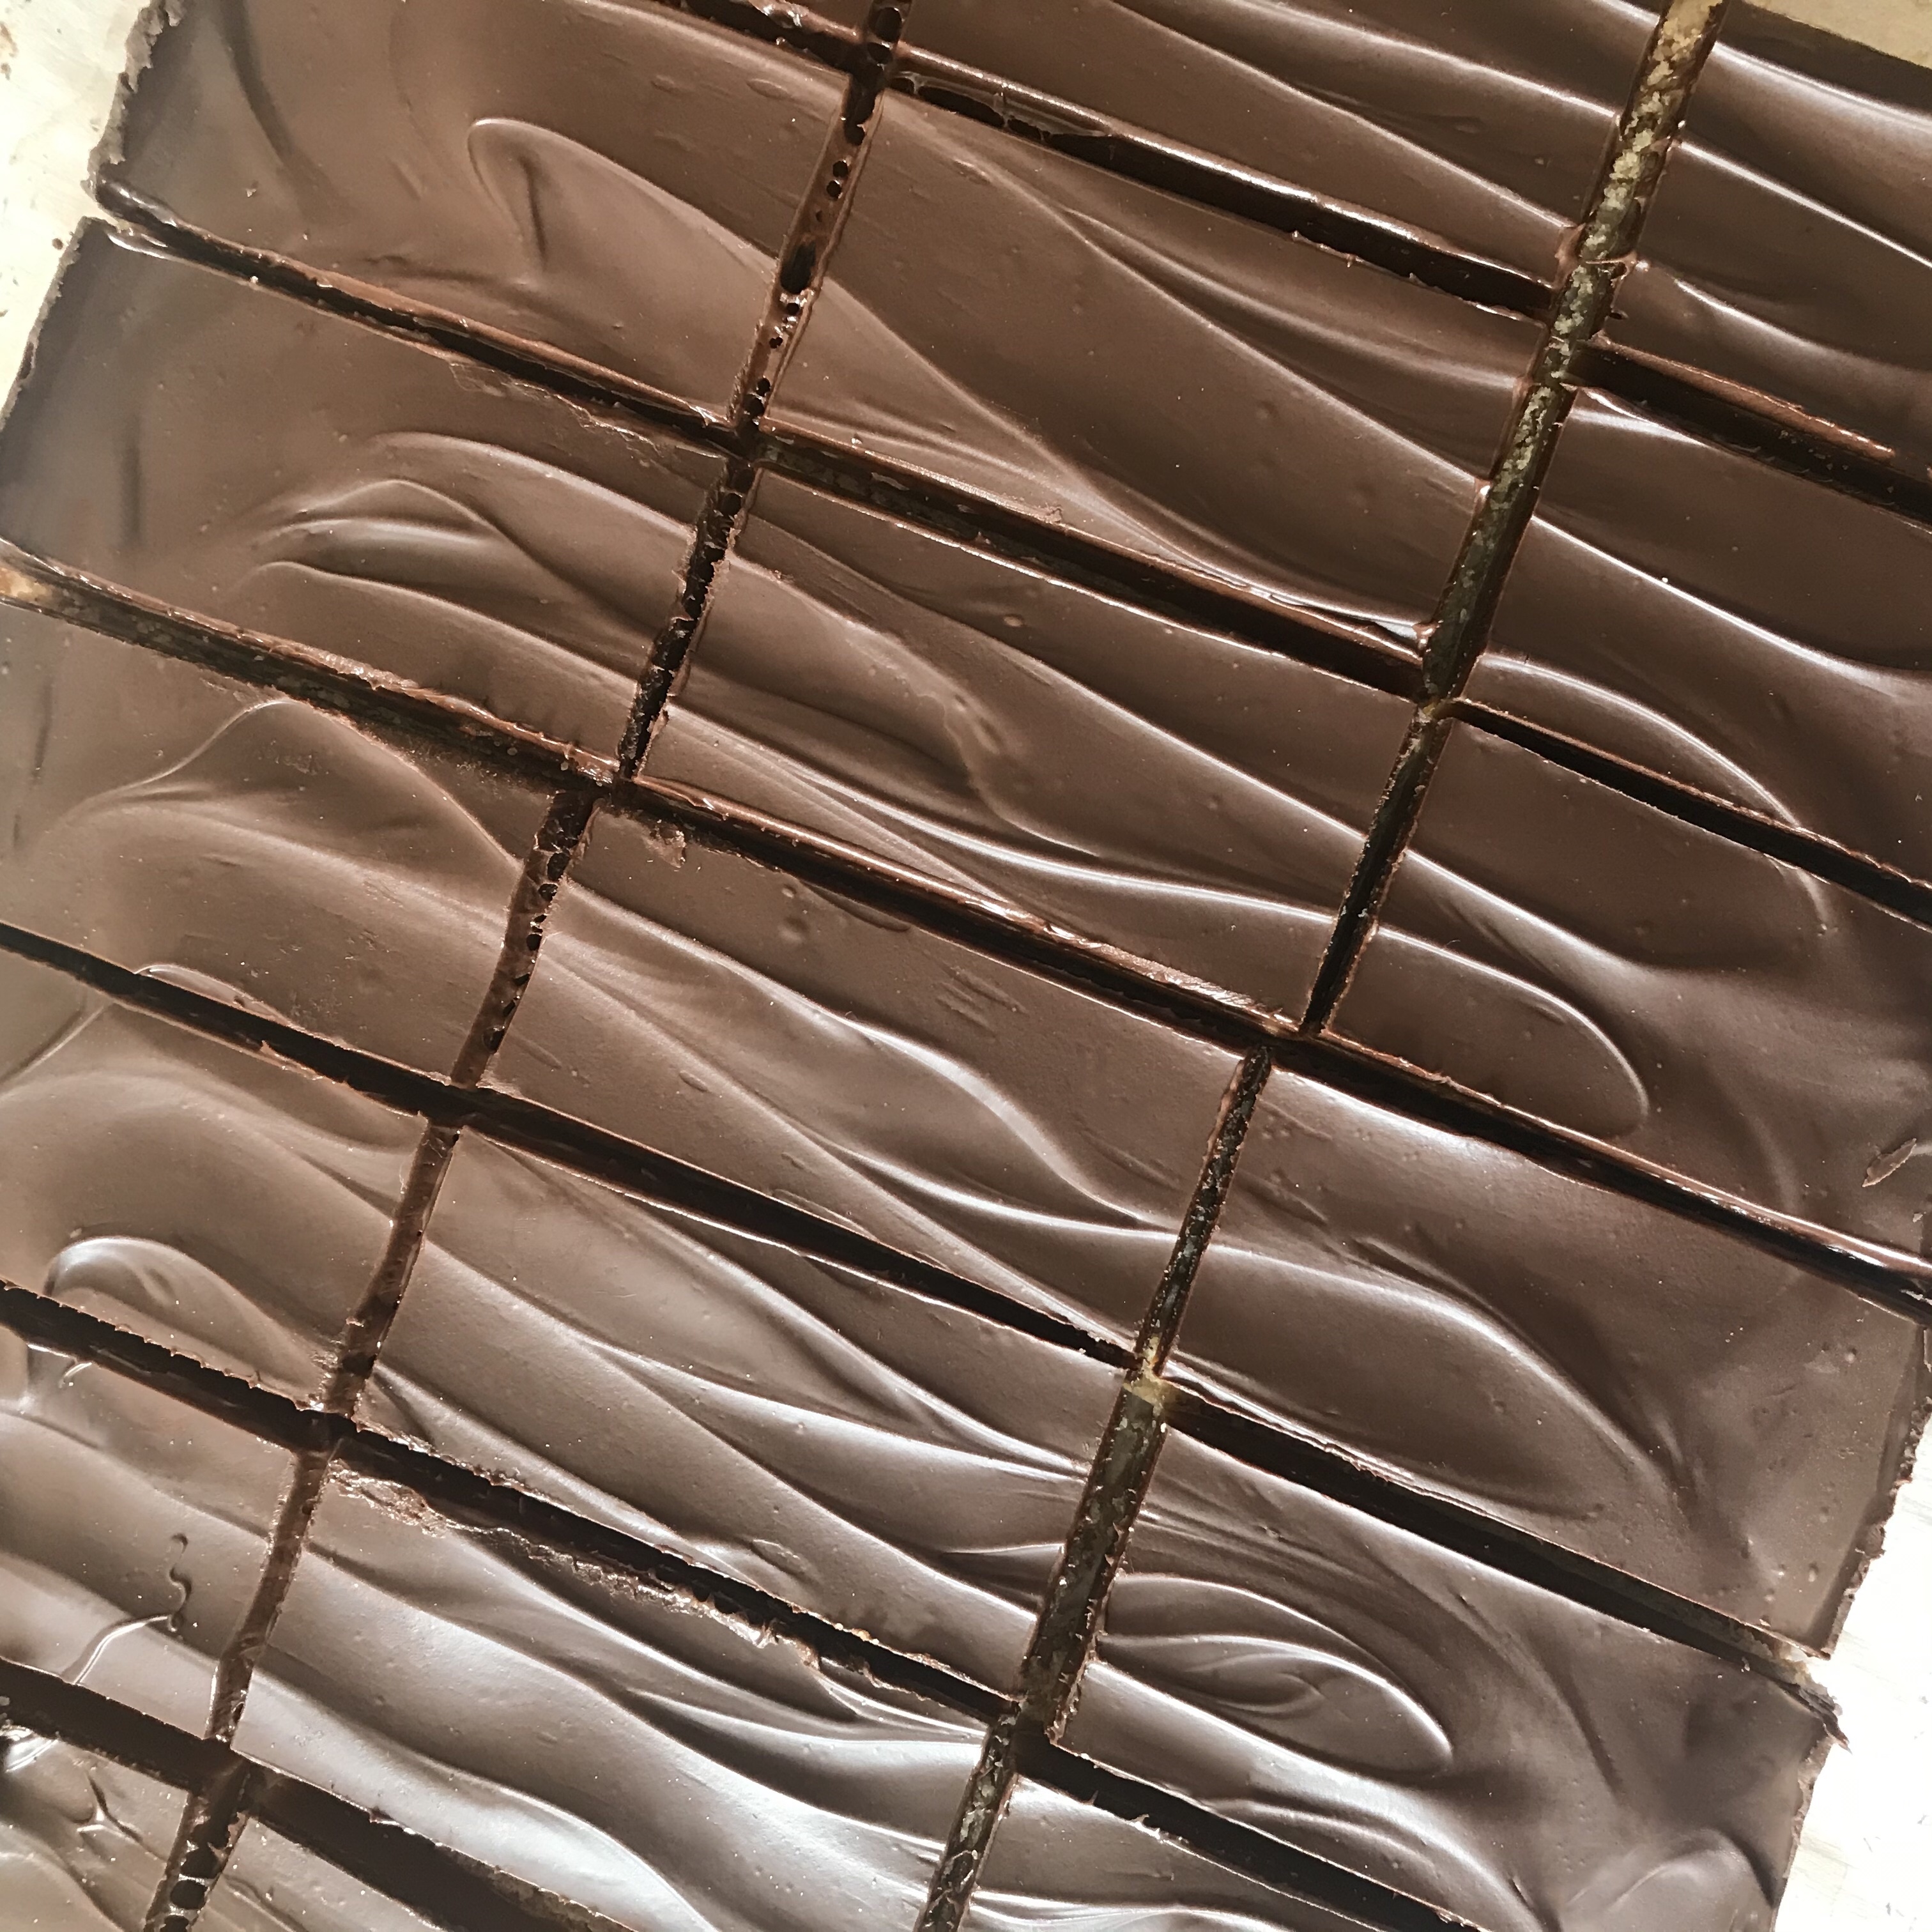
  7. Once fully cooled remove from the tin and slice in to 18 pieces (3 x 6 bars)
  8. These bars will keep in an airtight container at room temperature for up to 5 days

fef4ec31-1fb7-49fa-9899-f71697f2c6b5


Millionaire’s Shortbread

img_5688

“Millionaire’s Shortbread”, “Caramel Slice”, “Millionaire’s Slice”…call them what you will these caramel laden shortbread bites remain hugely popular from many a childhood memory. Investigation would point to it’s origin’s thanks to our Antipodean friends in the ’70s and as such the initial recipe remains unchanged- buttery shortbread, sweet caramel and luxurious chocolate.

Yes it may seem like such a chore laboring to make each of those individual layers but the end result is surely worth it? None of the intrinsic layers require any great skill in the kitchen, but with some attention and patience a batch of delicious Millionaire’s Shortbread is pretty much a cinch. 

The shortbread layer is first out of the starting block. The pale, crumbly dough that you’ll press into you pan will be baked to a golden, buttery slab of goodness. I mention in the recipe below a handy trick that I’ve used over time and in addition have seen cited in a few other recipes. Using a measuring cup or spoon to compact the freshly baked biscuit layer helps avoid surplus crumbling when slicing the baked shortbread. Simply press the back of the measuring cup (I find 1/3 cup a good size) or spoon gently but firmly on to the shortbread surface in it’s entirety, taking can not to drag it lest you pull some of still-setting crumbs with you. Once this is done you can leave to cool (or pop it in the fridge as I do) and carry on. See- that wasn’t so hard was it? 

And now for the infamous caramel layer! Yes, boiling sugar in a pan and the resulting caramel can sound daunting but with some care and a good candy thermometer on hand those fears will soon be waylaid. I have two pointers here a) constant gentle stirring is a lifesaver in order to avoid the molten mixture catching at the bottom of the pan and charring b) adding in heavy cream to the caramel mixture not only adds a luxurious touch but also keeps the mixture emulsified and avoiding separation which can occur due to heating the condensed milk. The last thing you want ruining your hard work is a gluey, grainy approximation of caramel. 

As for the final finishing chocolate layer, the one that always gets me salivating, there is one common pitfall. One that I can admit to making more than a few times. Don’t forget to add butter to your chocolate for the finishing coating. Practice has taught me that just melting the chocolate and slathering it on in it’s virgin state leads to a brittle layer that frustratingly cracks at every cut and bite. Including the butter incorporates enough yield into the final set surface that you can achieve those insta-worthy cut pieces and decedent mouthfuls without covering yourself in chocolate splinters.

If you do venture to make these you’ll see (and taste) just why they have proven so popular again and again, and indeed traveled the world over. Just remember to share!

c79e439e-b05d-4385-b31a-9a5eb4a4658e

Ingredients

Shortbread Base

  • 2 1/2 cups all-purpose flour
  • 1/2 cup granulated sugar
  • 3/4 teaspoon kosher salt
  • 2 sticks salted butter, melted

Caramel Filling

  • 1 (14-ounce) can sweetened condensed milk
  • 1 cup brown sugar, packed
  • 1/2 cup heavy cream
  • 1/2 cup golden corn syrup
  • 1 stick salted butter
  • 1/2 teaspoon salt

Chocolate Topping

  • 8 ounces semi-sweet chocolate
  • 1 tablespoon salted butter

Method

Shortbread Base

  1. Pre-heat your oven to 325°F. Grease and line a 13×9″ baking pan with parchment paper leaving some hanging over edges of pan to lift out after baking
  2. In a large bowl combine the flour, sugar, and kosher salt. Add melted butter and stir until flour is mixed and dough is crumbly
  3. Transfer to your prepared baking pan and press evenly over bottom of prepared pan. Using fork, pierce dough at regular intervals all over. Bake for 30 minutes, or until light golden brown and firm to touch
  4. Remove from oven. While still warm, use a the back of a measuring cup and press surface of shortbread slightly to compress. Although this part is optional it helps when cutting later. Set aside until needed later

Caramel Filling

  1. Combine the caramel ingredients together in large saucepan. Cook over medium to low heat, stirring frequently to avoid any scorching on bottom for 20 minutes, or until mixture reaches 240°F (Soft Ball stage on candy thermometer)
  2. Carefully pour over shortbread while hot and spread to even thickness. Let cool completely for 1 1/2 hours, or until caramel is firm to the touch

Chocolate Topping

  1. In a small microwave safe bowl melt the chocolate and butter in microwave for 30 second intervals on high, stirring in between until melted. Stir to incorporate the butter until smooth. I find that 2 blasts in the microwave is usually enough
  2. Pour the chocolate over the cooled caramel layer and tilt pan to cover to edges and look smooth or use a spatula or knife and spread back and forth across the surface. Refrigerate the finished shortbread for a couple of hours or until the chocolate topping is set
  3. Lift out of pan using parchment overhang onto a cutting board. Slice into bars*. For the size of tin I use here, I cut so I have 3 by 8 rectangular “bars” (2 cuts x 7)

*I’ve found the best way to slice the shortbread so that you get neat, clean bars is as so- Remove the fully cooled shortbread traybake from the refrigerator about 15 minutes before you want to slice. Fill a tall heat-proof jug full of boiling water so that it covers the blade of a sharp knife. Let the knife stand in the jug for 2 minutes. CAREFULLY wipe the knife off of any water and make your cut into your shortbread. Slice once- quickly and smoothly, then stand the knife back in the jug of boiling again. You don’t need to leave it for long this time, a simple full plunge of the blade will do. Again CAREFULLY wipe the blade clean of any water or chocolate residue. Carry on cutting, plunging and wiping until all the traybake is cut to your required size. Leave for a few minutes so the cur bar edges firm up then serve.

img_5683

#Recipe Nanaimo Bars

Nanaimo Bars (2)
Nanaimo Bars

Last year my husband and I went to Canada for the first time. We spent a week in Toronto and I absolutely fell in love with the place. The food…the people….the food…you get the picture I’m sure? I won’t wax lyrical about it (if you want that you can read all about my Canuck adventures here). The food is something I definitely never run out of things to say about. You haven’t lived until you’ve tried poutine, and then there’s Nova Scotia Lobster! But the point of this post is to share my love of yet another Canadian foodstuff (albeit not a native of the East Coast) – the Nanaimo Bar. Yes, I’ll admit it does sound like a character from a Disney movie but believe me it’s worth getting used to the name.

It’s basically a layered fridge cake made up of a crumb base layer, a buttercream-style middle layer (traditionally custard flavoured), then topped with a chocolate layer. Yes- they are a rich as they sound. Trust me, no matter how much your eyes tell you, one will be enough (okay- maybe two!) Originating in the district of Nanaimo, British Columbia it’s so popular that it’s been declared a national treasure. And like all good national treasures there are many recipes and many takes on how to  make the bars- and they’re all the “proper” way. This is however is my way and how I like them best.

(As a note I prefer them kept in the fridge once they’re made as keeping them at room temperature causes the buttercream and chocolate layers to soften too much)

Ingredients

Base layer:

½ cup unsalted butter 

¼ cup sugar

5 tbsp. cocoa

1 egg beaten

1 ¼ cups graham wafer crumbs

½ cup chopped walnuts

1 cup coconut

For the filling:

½ cup unsalted butter

2 Tbsp. and 2 Tsp. cream

2 Tbsp. vanilla custard powder

2 cups icing sugar

For the topping:

4 oz. semi-sweet chocolate 

2 Tbsp. unsalted butter

– Lined 9″ x 9″ tray (1 ½ inch high) or silicone baking tray

Nanaimo Bars (5)

Method

To make the base:

  • Melt the butter, sugar and cocoa in a small pan over a low heat and stir until the sugar dissolves. Take off the heat.
  • In a separate bowl combine the crumbs, coconut and walnut pieces.
  • Add the beaten egg to chocolate mixture and mix well to combine and thicken. The mixture may appear to separate but continue whisking vigorously and it’ll come back together to a shiny, thick consistency. Pour chocolate mixture over the crumb mixture and mix well to combine.
  • Press mixture into the lined tin and level the surface. Chill for 30mins to 1 hour.

To make the filling:

  • Add the butter, cream, custard powder, and icing sugar together in a stand mixer.
  • Cream well at a high-speed until fluffy and smooth
  • Spread this over the biscuit base and chill for at least 3 hours until set firm.

To make the topping:

  • Melt the chocolate and butter in a bowl over a pan of simmering water.
  • Allow to cool for a few mins then spread it over the filling.
  • Return to the fridge and leave until set (at least 1 hour).
  • Cut in to bars and serve.

Nanaimo Bars (3)

Living in the Black

If you follow my social media feeds (Twitter; Facebook and Instagram) you’ve probably noticed I’ve been posting a lot of recipes lately featuring the little known ingredient that is Black Garlic. Whilst it might conjure up not so pleasing images (and not to mention smells!) believe me it’s completely unfounded.
Courtesy of the team at Balsajo Original Black Garlic I’ve been experimenting on both the sweet and savoury fronts with some very tasty results indeed.

bbglogo

If you haven’t heard of Black Garlic yet please, please don’ tbe put off by the name. Yes- it is garlic “…but not as we know it Jim“. Forget the hard, pungent, opalescent nuggets that give us one of the cornerstones of cooking. Black Garlic is instead a case of Kitchen Alchemy made true. By process of heat and humidity (and probably some trade secret) familar white garlic bulbs are transformed into dark, fragrant, nuggets of molasses-like jelly. Again I say stick with me here! Whilst some people might be quick lable it shrivelled and black (well I guess it is black- there’s no fighting nature there!) what you can do with this is practically limitless. I’ve tried using it as an ingredient in sweet and savory dishes (and some in between). Thus far it’s prooved to be a very versatile ingredient indeed. Soft and jelly-like in texture with a flavour which brings to mind treacle, molasses, truffle, and balsamic I definitely recommend getting some of this into your kitchen. Its available in some selected supermarkets and artisan food stores. The guys over at Balsajo Black Garlic have included a handy stockist locator on their website. 

I’ve been wanting to experiment with Black Garlic for a while in order to test the full breadth of it’s uses and here’s what I came up with:

Fennel Seed & Black Garlic Toffee

Originally this came about as some Twitter banter between myself and the wonderful Miss Kitty Hope (yes indeed, she of Hope and Greenwood – purveyors of all things fantastical and sweet!)- but more about that later. We nattered about bacon in sweets/ bakes and somehow ended up challenging each other to creating something with a none-too-common ingredient and so black garlic was suggested. The resulting Black Garlic & Fennel Seed Toffee is a sweet, creamy toffee with a subtle hint of anise from the Fennel Seed and the treacley flavour of the black garlic adding to the creaminess. Surprisingly moreish- even if I do say so myself!

2015-01-09 13.07.32

Blueberry, Balck Garlic & Corriander Traybake

I needed to try the dark beauty of black garlic in a bake. Well- I wouldn’t be Mr. Mom’s without baking something now would I? Blueberry and corriander is a little known combo that works really well. The citrus notes of corriander seed boosting the flavour of the fruity blueberries. Topping the traybake with a limoncello buttercream frosting added an indulgent alcoholic kick (okay I’ll admit it I thought they were sounding just a little too healthy!). The addition of some chopped black garlic baked into the sponge mellows what otherwise might have been citrus overload and layers in nicley with the graduation from mellow to citrus kick.

2015-01-20 14.07.30-1

The adapted recipe in cupcake form was featured in my stint on the Mel & Sue show and you can find the recipe here.

Mel & Sue Cupcakes

Black Garlic & Chilli Oatcakes

So enough with the sweet things I thought. How about a savoury bake? My husband and I are chalk and cheese; oil and water; Yin and Yang when it comes to tastes. Whilst I am a complete an utter sweet-tooth advocate, he’s marches firmly to be beat of the Umami drum. I’ll have pudding and he’ll have cheese. Ah hah! And so I had my next experimental idea for black garlic. The treacley earthiness of the black garlic combines well with the mellow oatiness of these biscuits, before a subtle kick of heat comes in from the chilli. I tried them with a fabulous Epoisses  cheese, while my other half couldn’t get enough of them with a mature cheddar. They’ve definitely been added to my “Must Bake Again” list!

BG Oatcakes

Black Garlic & Matcha Green Tea Cupcakes

As I mentioned earlier on, this trip through the looking glass into the Land of Black Garlic happened because of some rather impromptu Twitter banter between myself and my new BFF Miss Kitty Hope. We challenged each other (I rather foolhardily) to create a bake, or sweet….or something (?) with  an unusual ingredient. I threw black garlic into the ring and Miss Hope picked up the gauntlet. The “competition” was facilitated by the team at Taste PR and kindly judged by the incredible Lily Jones (of Lily Vanilli). My black garlic & Matcha green tea cupcakes draw inspiration from the Asian background of black garlic and combine a number of Oriental flavours. The complete offering was a Matcha green tea & black garlic sponge, with Plum Wine spiked frosting, topped with a Matcha green tea, black garlic & black sesame seed marshmallow, and a candied black garlic clove “dart”. Rather incredibly (and very much to my surprise!) Lily decided on my cupcakes as a winner. I do however have to give kudos to Miss Kitty for providing some rather excellent and challenging competition (not to mention some hilarious Twitter “reading”!)

BG Cupcakes


So enough preaching the wonders of black garlic. As they say, “The proof is in the pudding”…or rather in this case- the toffee. I in no way intend to compete with the skilful mastery of confection that Hope & Greenwood have but I will freely admit to Miss Kitty Hope being the inspiration behind my Black Garlic & Fennel Seed Toffee. After all without her initial challenge in my Twit-stream I’d never have ventured into the realm of boiled sugar at all. So if you’re feeling up for it and fancy a little black garlic experimentation why not try you’re hand at making…

Black Garlic & Fennel Seed Toffee (aka Miss Kitty’s Challenge)

Ingredients:

500g caster sugar

125g salted butter

1 tbsp treacle

3 tbsp golden syrup

1 tsp vanilla extract

397g tin condensed milk 90ml water

1 tbsp fennel seeds

5 cloves black garlic, chopped


You’ll need:

A deep sided pan

A sugar thermometer

A silicone tray, or a baking parchment lined & greased tray


Method:

– In a deep pan, place the butter, sugar, treacle, golden syrup and water into a pan and heat, stirring constantly.

– Once all the ingredients are well mixed and melted, add the condensed milk slowly, stirring occasionally until it boils.

– Continue at a steady boil until the mixture reaches the “Hard crack” stage on a sugar thermometer, again stirring occasionally. Test that the toffee is ready by dropping a spoonful into cold water – if it turns solid, it is ready.

– Remove from the heat and carefully stir in the fennel seeds and black garlic. (Note: The black garlic may clump together as it’s quite sticky. Separate into smaller pieces as you as you add to the toffee mixture.)

– Pour into the prepared tray.  Allow to cool for about 6-7 minutes then score into regular sized pieces with a sharp knife.

– Once fully cooled break along the score lines into pieces.

– The toffee can be wrapped in baking parchment or greaseproof paper and stored in an air-tight container.


If you try my toffee recipe I do hope you enjoy and meantime,

“Remember Mom’s the word- that’s Mr. Mom’s!”