Bread Making Tips- National Homemade Bread Day

November 17th is National Homemade Bread Making day so I thought to share some tips, tricks and insights into bread making as I’ve learned over the years. Don’t get me wrong- I am by no means saying the I am the fountain of all things bread based- in the beginning I baked some loaves that were frankly crimes against humanity! But one of the lesser known ingredients in a good loaf is…perseverance. Mistakes will be made- try to see them not a signs of failure but rather as chances to learn. Making even a simple loaf of bread can be immensely rewarding, not to mention therapeutic in these hectic times. Its a skill that’s easily learned and long lasting. If you;ve never made a loaf of bread before, congratulations- you have a delicious new word to explore in front of you.

Here are my top tips when it comes to bread making (those that require more information I’ll expand on later in the post)-

  1. Check your yeast expiry date. It may sound obvious but it a mistake often made. Yeast is a living thing and as such can die over time. Using an expired yeast in your bread making is a non-starter from which there is no return.
  2. The water that you use should be warm, just above body temperature. If you use water that is too hot, you’ll probably kill your yeast (remember- it’s a living thing); if you use water that’s too cold you won’t activate the yeast and it’ll remain sleepy.
  3. Try using Autolyse method. More on that later.
  4. When adding yeast to your dough, add it to one side of the bowl. To the other side add your salt and sugar. Adding salt and sugar directly on top of the yeast can cause a reaction and have them kill your yeast.
  5. In your dry ingredients try using a dough enhancer (dough conditioner). This is a dry ingredient which can help boost the properties of your dough mixture. Again more on that later.
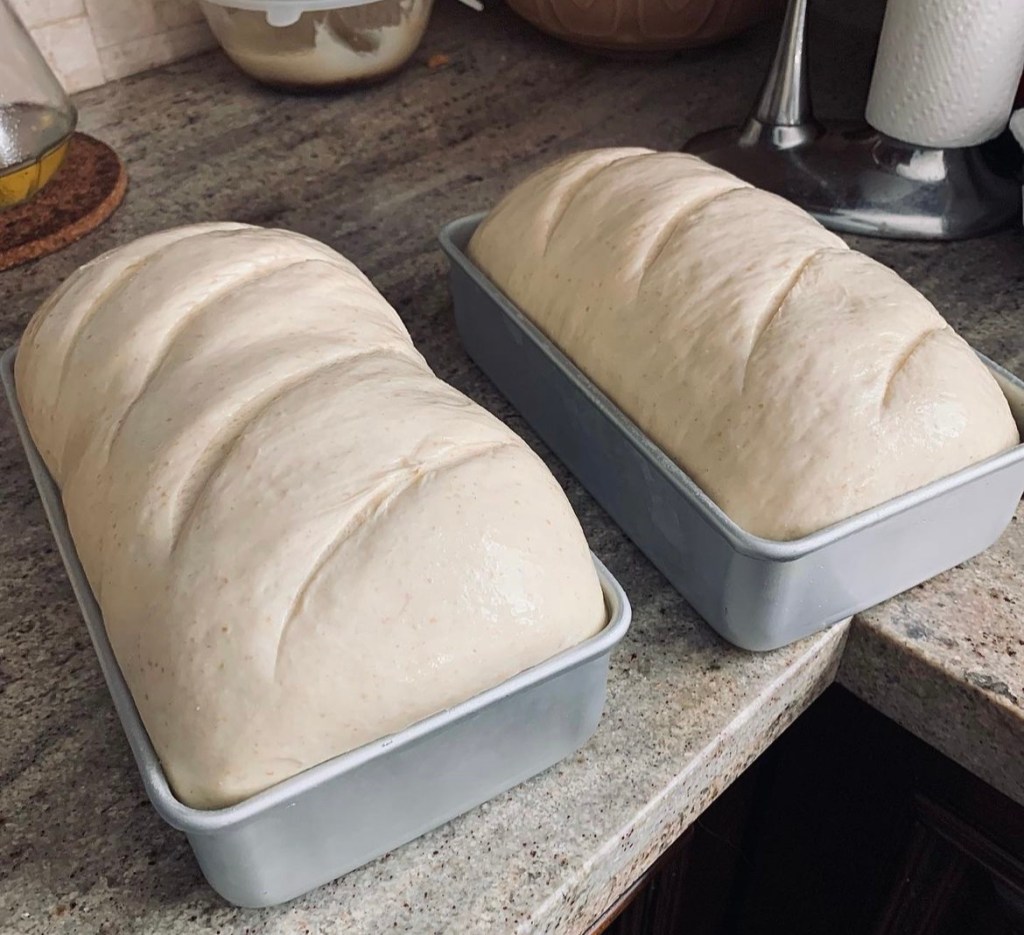
  6. Don’t let your dough proof too long. Optimum time is between 60-90 minutes. If you leave it any longer you run the risk of the dough collapsing back on itself. However if you’re proofing it in the refrigerator, you can increase this so it can be done overnight with no ill effects.
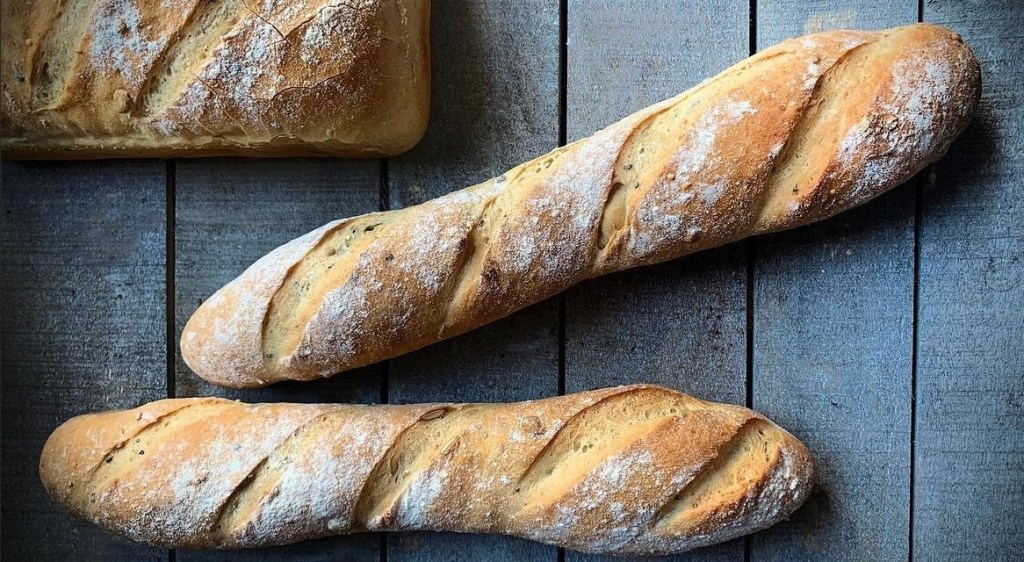
  7. When baking your loaf, try adding a baking pan with a couple of inches of water to the bottom of your oven. This creates a steam environment which gives your finished loaf a wonderful, toothsome crust.
  8. Try adding in a pinch of Vitamin C powder, or a splash of leom/ orange juice. This creates a more acidic environment which aids the gluten bonds giving a better structure to your loaf. You don’t need to do this is you’re already using a dough enhancer/ conditioner.
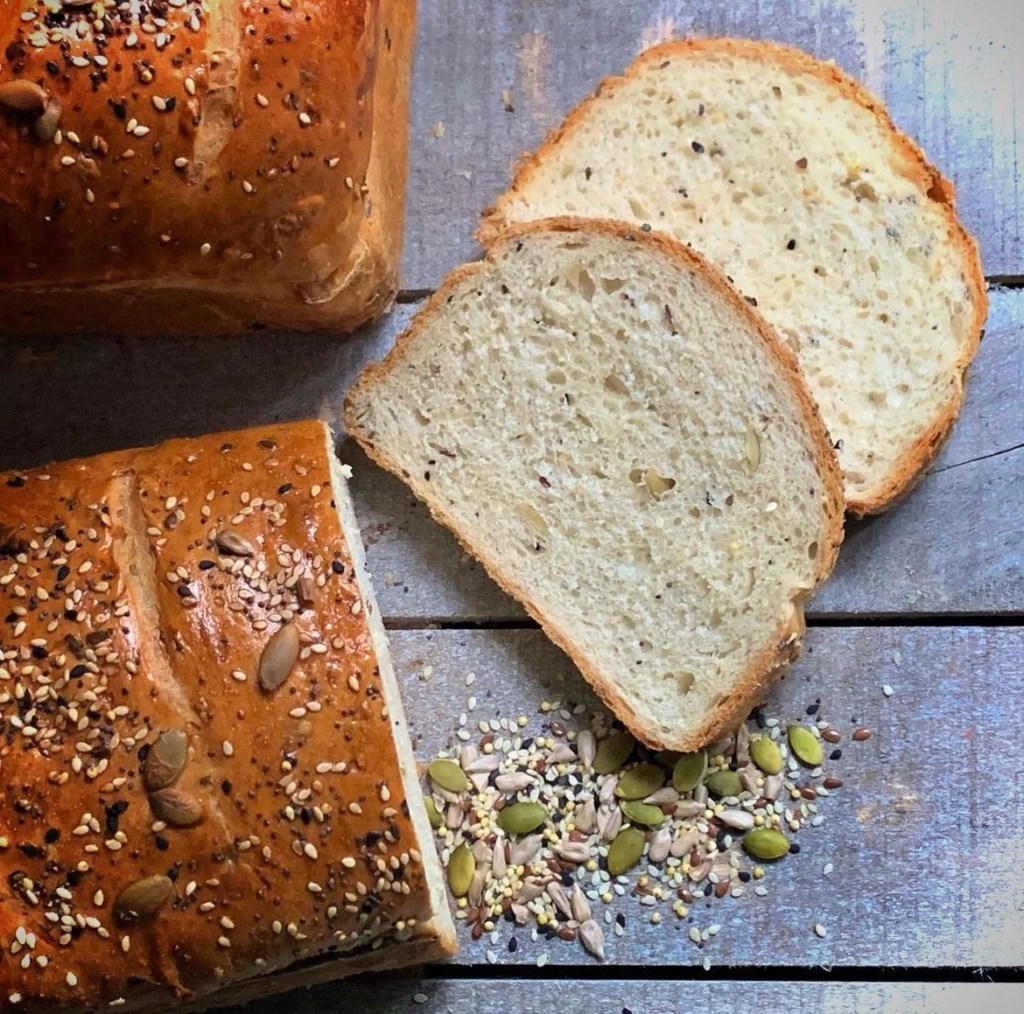
  9. Let your baked loaf cool completely before slicing. The structure of a warm loaf hasn’t set, or fixed, yet and as such if you were to slice it you will squash and unduly tear the slices.
  10. While bread is ideal for freezing for enjoyment at a later date, please don’t keep your bread in the fridge. This does anything BUT keep it fresh for longer. It will in fact dry it out quicker resulting in a less tasty slice at a quicker rate.

The Autolyse Method

This is simply adding your water to your flour, mixing it and letting it rest before adding any remaining ingredients. Once completely mixed, ensuring that there are no pockets of dry flour, the flour/ water mixture is set aside for between 20 to 60 minutes. During this time a number of reactions take place that benefit your bread making.

  • The flour gets properly soaked and hydrated which aids the development of gluten strands. This gluten strand development helps cut down the kneading time required later on
  • Fermentation takes place at a slower pace allowing for a more enhanced flavor and better keeping time to yout baked loaf
  • The carotenoids present remain intact and this helps the final desired color, flavour and aroma of the baked loaf
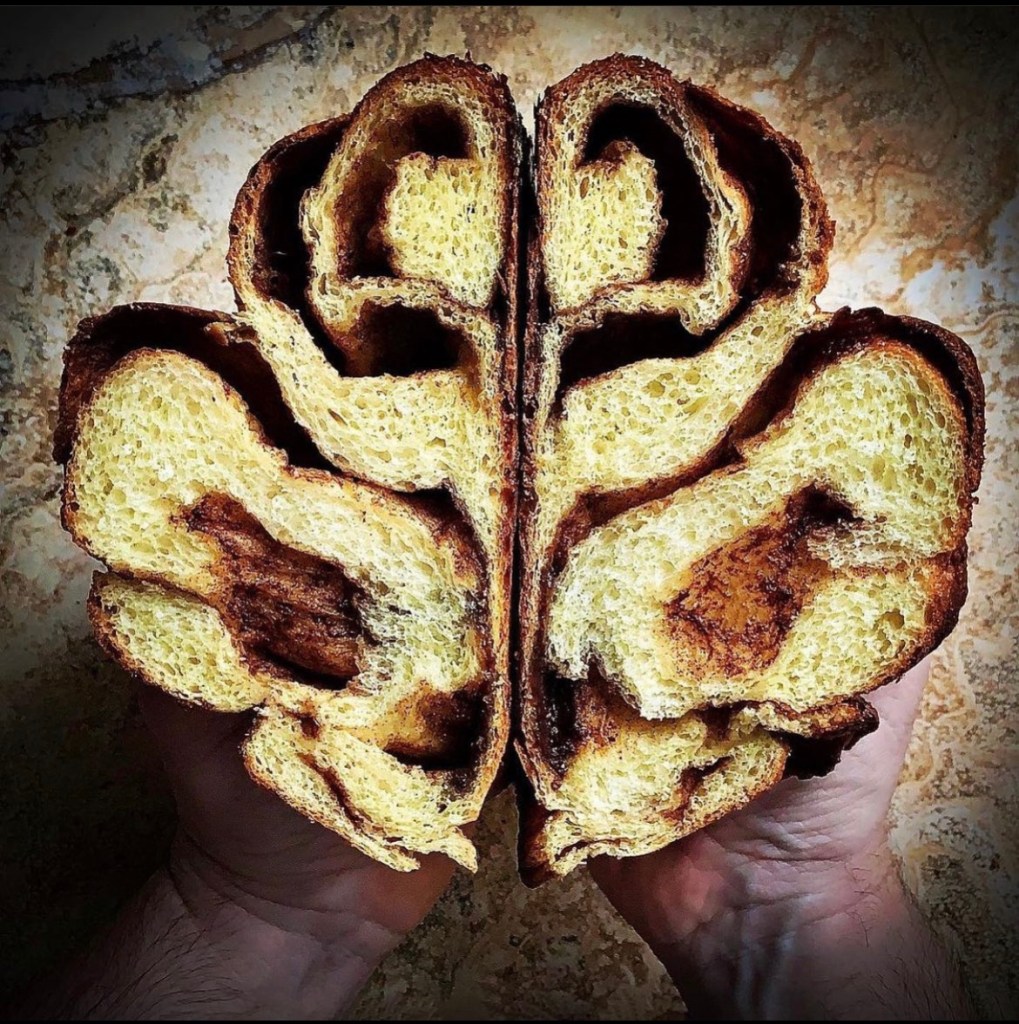
  • The dough’s elasticity is massively improved allowing better workability, a better rise and a more pleasing, open crumb to your loaf when sliced

*When using the Autolyse method you add instant yeast after the autolyse is complete, dissolve them in a small amount of warm water (1 ounce) reserved from the autolyse

About Dough Enhancer (Dough Conditioner)

This is a dry ingredient added to your dough mix, made up of a number of ingredients which boost your doughs basic properties. Think of it as a “food supplement” to your dough. Typically a dough enchancer/ conditioner will be made up of

  • Gluten- Additional gluten to that already present in your bread flour helps gives your dough some extra muscle. It will amke your dough more elastic and easy to work
  • Acidic Element- Typically Viamain C or Asorbic Acid this acts to strengthen the gluten bonds that from around the bubbles caused from the yeast reaction in the mix. It also acts to boost the effectiveness of your yeast, as well as improving the longevity of the finished loaf.
  • Lecithin- This helps gives your finished load a lighter, softer texture akin to a store bought loaf but within the mass production nasties. Better rising is also a side-effect of this addition. It also helps increase the keeping quality of your bread, giving you some extra time to enjoy.

The Magic of Yeast Water

img_5498
First they came for the hand sanitizer, then they came for the TP. Finally they came for…the flour & yeast? Yeah- The Time of Covid has been a stressful, testing and, let’s face it, downright weird one. Panic induced mob-mentality has led to mass line-ups outside grocery stores and bulk buying of household items in order to weather self-isolation orders and solitude. 

Whether it’s genuine creativity or social media induced compulsion it’s also led to an exponential increase in people home-baking. Despite the majority of grocery market shelves being repopulated with once scare items, a social distance complying stroll through any baking aisle will reveal barren, flour dusted shelves that once accommodated flour of all varieties and it’s habitual partner-in-crime…yeast.

Yeast shortage bedamned! Whilst I realized that I did NOT have the space to accommodate a domestic flour mill, what I could set about investigating was yeast and it’s production. I mean- I’d had already gotten a pretty solid hold on the process of Kombucha brewing -whatever else there is NO shortage of scobies at my house! That process involved yeast and it’s cultivation so how different could growing yeast for baking be? Turns out not so much. Use of a base fruit to cause a fermentation reaction (I use raisins here) and a few more steps. Said reaction then causes the production of yeast with which you can make use of in bread-making. Seems easy right? Well technically it is. BUT don’t expect it to be a speedy process. It takes almost a week to brew the initial yeast water- and that’s BEFORE you actually start on the bread production- which is slow. It seems that making bread by using naturally grown yeast, weather via a dough starter or yeast water, is a slower process than using your packet or jarred variety. 

Please don’t think that I’m nay-saying the process. Quite the opposite in fact. Is the slow lengthy process of brewing and proofing so bad after all? In world now fraught with anxiety and frustration, is spending time on things so bad? Basking in the mindfulness of a task or hobby is hardly disadvantageous. I mean- time isn’t one of those things in shortage right now? Although a lengthy effort to make and bake with yeast water I can definitely say it’s one heck of a rush of elation and satisfaction when cutting in to the final baked loaf.  And I will say it’s a delay well worth waiting for once you taste the final protracted fruits of your labour. Using natural yeast adds so much more character and dimension to your loaf that you’ll never get with the speedy but banal convenience of quick yeast again.

Another positive aspect (if more practical) is that once the initial yeast water is brewed there is minimal, if none at all, upkeep of it in comparison to it’s celebratory sourdough starter cousin. “Apparently” it’s just a process of just drain off the fruit, storing the yeast-rich water in the fridge, using it when needed. You only need to add more components when the source water runs low and you need to make more. (I say “apparently” as I’m in the middle of this process myself – so expect updates!)

I’m still testing out varying methods of dough proofing and crafting, and in doing so am trying a various hodge-podge of principles and methods “a little of this, a little of that”. Initially I used a sourdough method of using a starter and levain. As this method resulted in success (see the final video) it’s the one I detailed here.

*Later in the recipe I use a bench scraper to help with the procedure. Whilst not essential, you can use your hands, it does make the job easier.
I also make reference to something called  “50/50 mix”. This is a half and half mixture of bread flour and rice flour. The smaller, coarser grains of the rice flour helping to overcome dough sticking


Yeast water base
  • 4 Tablespoons raisins
  • 2 Tablespoons sugar
  • 1 cup tepid water
  1. Add all ingredients to a 1 litre bottle (in the photogrpahs below I started off in a Kilner jar but later transferred to a bottle). I’ve used a spare SodaStream bottle but the main thing you want is something that can be sealed and airtight. Mix to shake and leave to ferment in a warm (room temperature) place. I leave it in my pantry. Over the next 4 days shake the bottle at least once a day to ensure than the contents remain mixed and to avoid mould growth on the fruit. Over this time you will gradually see the fruit starting to float and a layer of bubbles form on the surface of the liquid
  2. After the forth day release the cap carefully as the contents will be choc-full of carbonation and fizzing. You should also notice an odour reminiscent of beer/ over-ripe fruit. You’ll know it- it’s pretty distinctive. Once the contents have settled add an additional 4 cups of water and shake to mix the contents. leave overnight in your selected warm location
  3. The following day, again carefully release the cap and wait for the carbonation to subside. Add in a further 1 tablespoon of raisins and 1/2 cup of water. Shake again and set aside for at least 4 hours before initial use

Starter dough

  • 30g Bread Flour
  • 30g Yeast Water (drained of any fruit)
  1. Mix these two ingredients together in a jar and set aside overnight in the same location as your yeast water. If you water is successful (ie alive!) the mixture should have increased in volume and be quite bubbly. If not I’m afraid it’s pack to the drawing board for you. Perhaps try fresh fruit instead of dried? I’ve read of some recipes where figs, dates, and even apples have been used. Also see my note below*

Levain

  • Rested Starter dough, as above
  • 60g Bread Flour
  • 30g yeast water 
  1. Transfer you starter mix from the jar to a large bowl. Add in the bread flour and additional yeast water. Stir to combine well (the mixture should be like a thick slurry paste). Leave this to rest for minimum 6 hours in the same location as your yeast water. The next step is were you’re actually going to make the bread dough! (A word to the wise here – select a bowl large enough to contain you’re final amount of dough after proofing)

img_5348

Bread dough

  • Rested levain, as above
  • 400g bread flour
  • 10g salt
  • 350g tepid water
  1. Combine all the ingredients in a large mixing bowl. Using your hand in a “claw” shape mix them until they are well combined. Cover with oiled cling wrap or a plastic bag and set aside for 30 minutes (this is called the autolyse)
  2. After 30 mins remove the covering and again with your hand in a “claw” shape mix the dough. Continue for another few minutes until it gets to the stage where the dough is a roughly a single ball/ lump in the centre of the bowl and is “cleaning” the sides of the bowl of any residual mixture. It should still be quite sticky
  3. Transfer the dough from the bowl onto a counter top. I find there is no need to flour or oil it as this way helps it stick- enabling stretching and gluten strand formation. This are is where you’ll develop your own technique for kneading the dough. As a heads up while you knead the dough it will become firmer and dryer, sticking less to the surface. My method of kneading is to grab the dough by either side and pull it up, away from the counter surface, causing the centre to stick to the surface. If the complete doughball comes away slap it to the counter surface whilst still holding either end. Then fold either end back on top of the main body of dough and repeat. I think this part of kneading is quite specific to the person doing it- almost like a signature. I continue this for 15 minutes by which time the dough has become firmer, dryer and holds it’s shape a lot better. At this point transfer back to the large bowl for First Proof. Cover loosely with oiled cling wrap and leave in a warm location (you guessed it- same as your yeast water!) The proofing of this will be rather slow so I’ve left mine overnight until it has more than doubled in size. 

The following day

  1. Your next step in dough production! Tip the risen dough out on to a clean counter top lightly dusted wit a 50/50 mix of bread flour and rice flour. You don’t actually want to knock it back too much here unlike when you ‘re making a standard bread loaf. Using a bench scraper gently scoop up and fold the dough in on itself. You’ll want to do this all around the dough ball. I usually end up doing it at between 6 to 8 times. What you’ll end up with is a dough ball with a very smooth, tight bottom (!) and it’s seams gathered at the top. Gently scoop the dough ball up and transfer it to a prepared banneton (heavily dusted with 50/50 mix) or bowl lined with a heavy-dusted cloth. Cover the banneton/ bowl with oiled cling-wrap, return it to your “yeast water” place and leave to proof/ rise for a second time. I’ve had to wait up to 6 hours for this to happen. When it has risen and doubled in size it’s now time for the next step

img_5373

  1. Preheat your oven to 425 degrees F at least 15 mins before wanting to bake. Line a baking tray with baking parchment. Dust the top of your dough (in the banneton) with 50/50 mix. Place your lined baking tray over the top of the banneton/ bowl and quickly invert. The dough should fall out onto the prepared tray. If not it may take some gentle coaxing with flour dusted fingers. Once your dough has turned out onto the tray, slash/ score the top of it (as fancy or as plain as you like) and you good to go!
  2. Place the dough in your preheated oven and bake for 20 mins. After this time reduce the temperature to 390 degrees F and continue to bake for another 15-20 minutes. Your loaf should develop a hard, crisp out crust and sound hallow when tapped from below. Remove from the oven and leave to full cool before cutting