
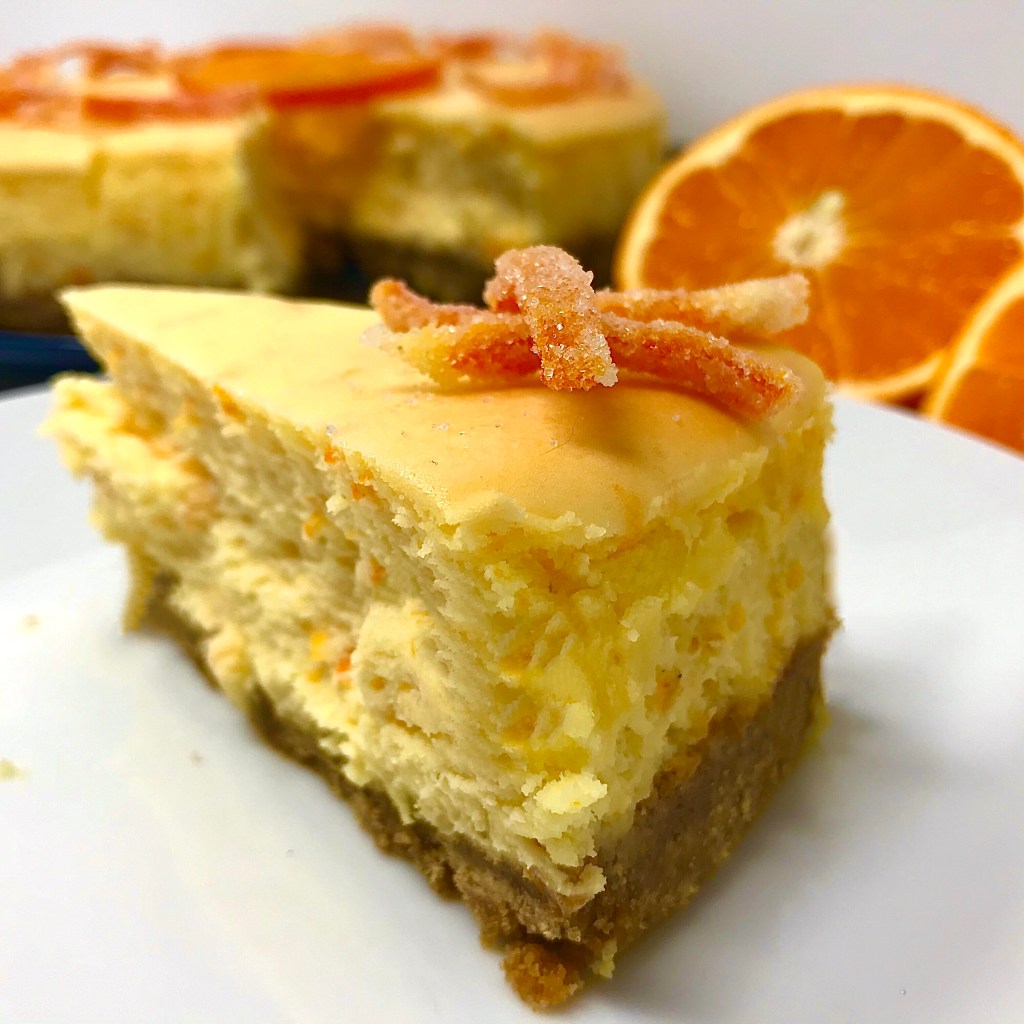
I was hankering after a baked cheesecake and coming across them seemed too coincidental to ignore. Plus it was an ideal excuse to try something new and adventurous in the kitchen. The resulting flavour of the fruit is light and summery without having an overwhelming tartness. Adding cardamom to the base gives some complimentary citrus notes to the tangelo filling while at the same time cutting through the rich, creamy texture.
*In this recipe I use the terms Minneolas Tangelo, Tangelo and Honeybell interchangeably.
Ingredients
Base
- 1 1/2cups graham cracker crumbs
- 5 tablespoons salted butter, melted
- 1/4 cup packed brown sugar
- 1 teaspoon ground cardamom
Filling
- Three 8 oz packs cream cheese, at room temperature
- 1 1/3 cups sugar, divided
- 3 tablespoons cornstarch
- 2 large eggs
- Juice of 1 Minneolas tangelo (Honeybell)
- Zest of 2 Minneolas tangelos (Honeybell)
- 2/3 cup heavy whipping cream
Method
This cheesecake is best made the day before you plan to eat it. The extra time in the refrigerator will help firm it up and the flavours to intensify.
To make the crust/ base
- Preheat the oven to 350°F
- In a bowl combine all the base ingredients and stir to ensure they’re well and evenly mixed
- Press the graham cracker crumbs into the bottom of an 8″ springform pan. Gently press down on the crumbs using a small (1/4) measuring cup, or your fingers, until the crumbs are an even layer at the bottom of the pan
- Bake the crust, on the bottom 1/3 shelf, for 10 mins. After baking remove and set aside to cool until needed later
- Keep the oven on at the current temperature. Move on the prepare the filling
To make the filling
- Wrap the cooled tin with a triple layer of aluminium foil. Do this gently so as to ensure you don’t damage the baked crust. Once you have triple-wrapped the tin, set aside and prepare the filling
- In a large bowl of a stand mixer, fitted with the paddle attachment, beat 1 package of the cream cheese, 1/3 cup of the sugar, and the cornstarch together on low until creamy, about 3 minutes, scraping down the bowl several times. Blend in the remaining cream cheese, one package at a time, beating well and scraping down the bowl after each. Here I find that beat for 3 minutes after each package on medium speed proves effective
- Beat in the remaining sugar, then the vanilla. Blend in the eggs, one at a time, beating well after each to make sure they’re incorporated
- Add in the tangelo zest, juice, and mix to incorporate. Beat in the cream until just completely blended. The filling will look light, airy, and smoot. Be careful not to overmix! Check the paddle attachment as sometimes the zest can stick and gather here. If it does simply scrap off into the mixture and fold in using a spoon or spatula
- Gently pour the batter over the cooled crust
- Place the cake pan in a large shallow pan containing hot water that comes halfway (about 1 inch) up the side of the springform. Bake until the edge is light golden brown, the top is light gold, and the center barely jiggles, about 1 1/4 hours. If the cake still feels soft around the edge, let it bake for 10 minutes more
- When the baking time is up, turn off the heat but leave the cheesecake in the oven with the oven door open a crack (you can use a wooden spoon to help here) for the next 2 hours. After this take the cheesecake out of the oven and remove it from the water bath, transfering to a wire rack, and let cool for another 2 hours minimum. After this, leaving the cake in the pan, cover loosely with plastic wrap, and refrigerate until completely cold before serving, preferably overnight or for at least 6 hours
To serve
- Release and remove the side of the springform, leaving the cake on the bottom of the pan. Refrigerate until ready to serve. Slice with a sharp straight-edge knife, not a serrated one, rinsing the knife with warm water between slices.
Refrigerate any leftover cake, tightly covered, and enjoy within 2 days, or wrap and freeze for up to 1 month.
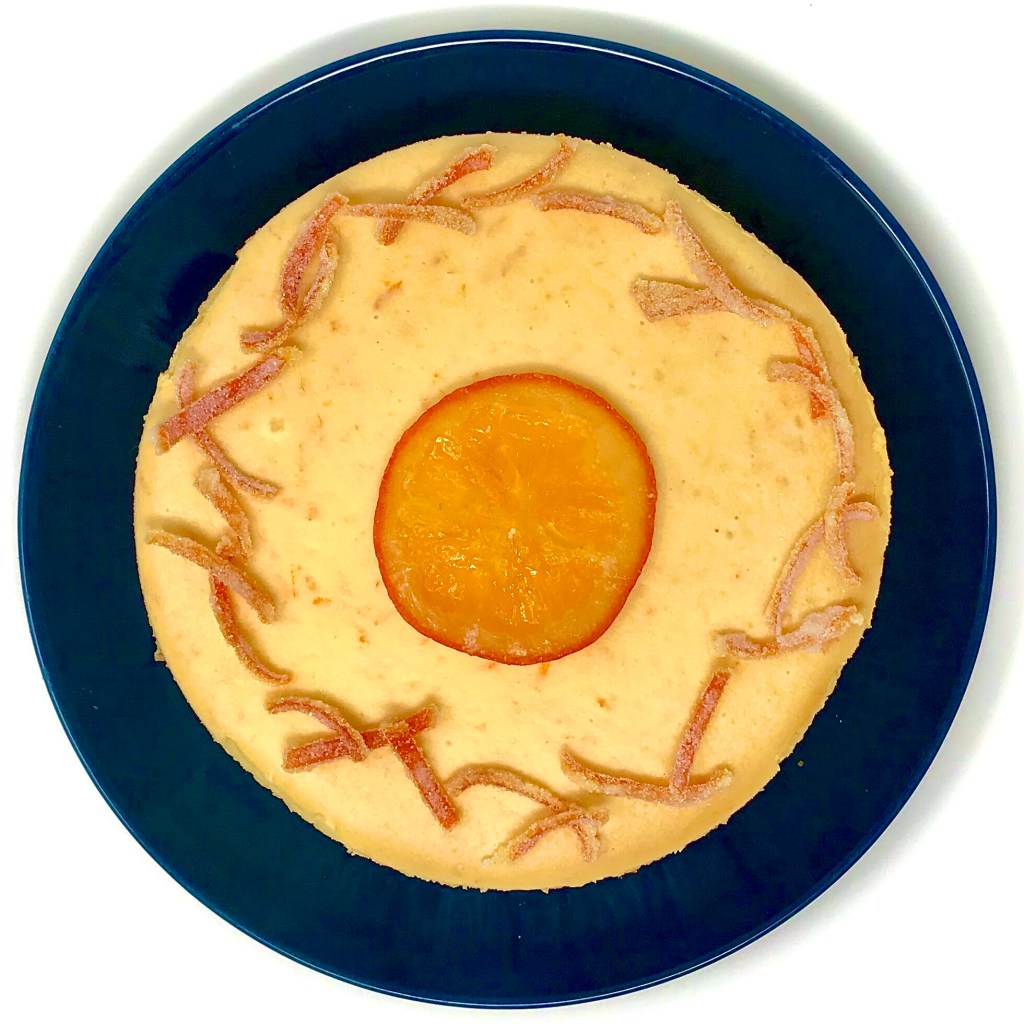
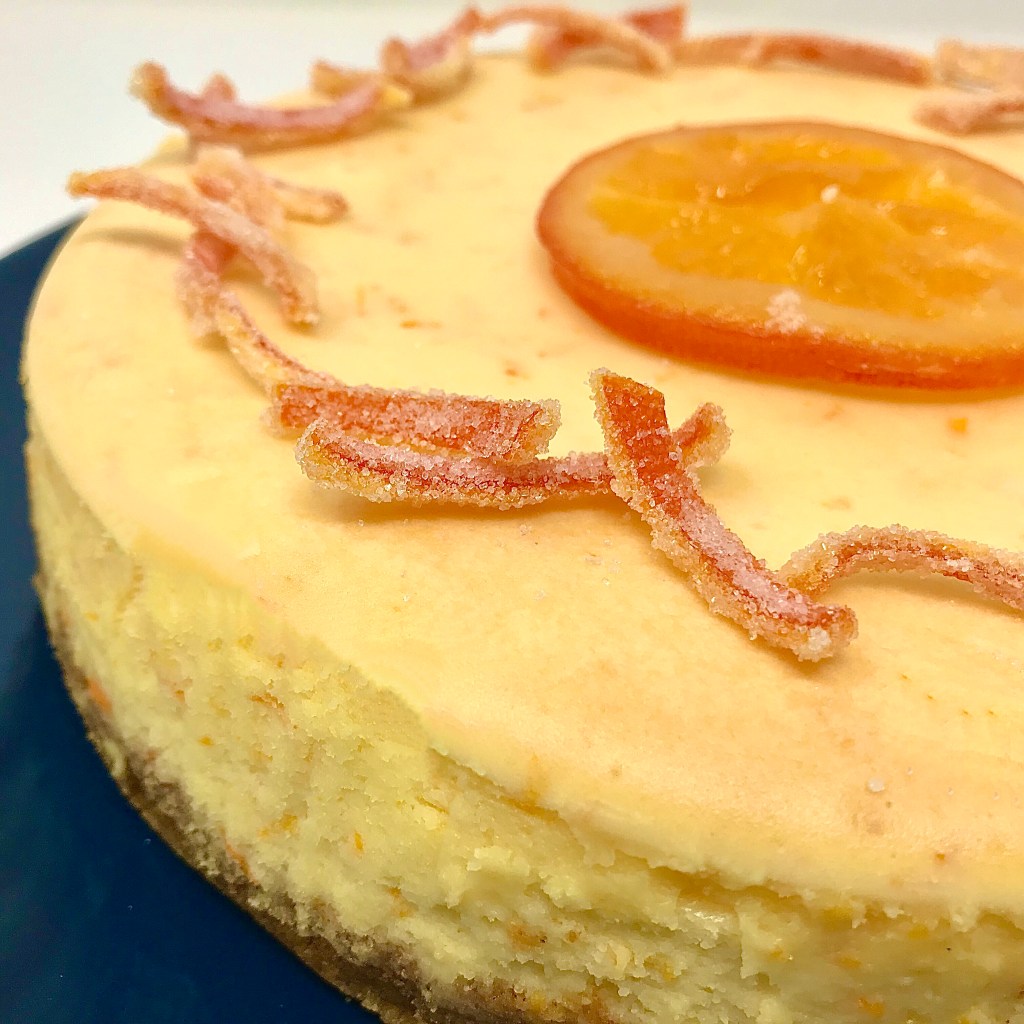
Here I finished mine with a slice of candied Honeybell and some candied Honeybell peel. My advice would be to skip trying to candy the slices of fruit. Part of the attraction of the Honeybell is that it is quite easy to pull away from its rind and de-segment. This however has the downside that when you trying to flip the slices in sugar syrup they easily break up. In fact the one centre slice that you see above was the sole survivor of 5 slices that I initially wanted to have candied. A much easier and straightforward garnish is to candy some sliced peel pieces (as I have on the perimeter of the finished cheesecake above).
These steps are entirely optional. You can finish the cheesecake whatever way you wish to your personal taste
- Remove the rind from a Honeybell, trying to keep it as intact as possible. Using a teaspoon scrap away the bitter inner white rind. Slice the remaining outer orange rind into strips just less than 1/4″ thick
- In a pan I combined 1 cup water with 1 cup of fine granulated sugar, bring to a boil and then reduce to a summer
- Add in the Honeybell peel strips and stir to coat. Leave in the simmering liquid for 30 mins appx until the strips are translucent
- While the strips are cooking line a baking sheet with baking parchment
- After 30 mins carefully remove the strips from the sugar syrup with tongs and toss in some fine granulated fine sugar. When coated set on the baking parchment and leave overnight to dry out. Use as desired

Pingback: Meyer Lemon Bars – Mr. Mom's Kitchen