Heat oven to 350 degrees F. Line a 9x13x 3 inch high baking pan with parchment paper and set aside
Strawberry & Rhubarb Filling
In a medium-size saucepan over medium heat, combine the rhubarb & strawberries, sugar, cornstarch, lemon juice and water. Stir frequently until the cornstarch begins to thicken and the fruit has softened – about 10-15 minutes. Remove from heat and set aside to cool
Streusel Topping
In a large bowl, combine the brown sugar, flour, and cinnamon. Using a pastry cutter, or your fingers, the butter into the sugar and flour mixture until it resembles coarse sand. Use your hands to squeeze handfuls of topping together, creating some larger clumps, then place on the fridge to firm up
Cake Layer
Whisk together flour, sugar, baking powder, baking soda, and salt in a large bowl. Using a pastry knife or your fingers, cut butter into flour mixture until it resembles coarse sand. In a separate bowl, mix eggs, sour cream*, milk* and vanilla. Pour into flour mixture; stir until just combined. Try not to over-mix. The mixture will be quite thick and similar to a loose biscuit batter
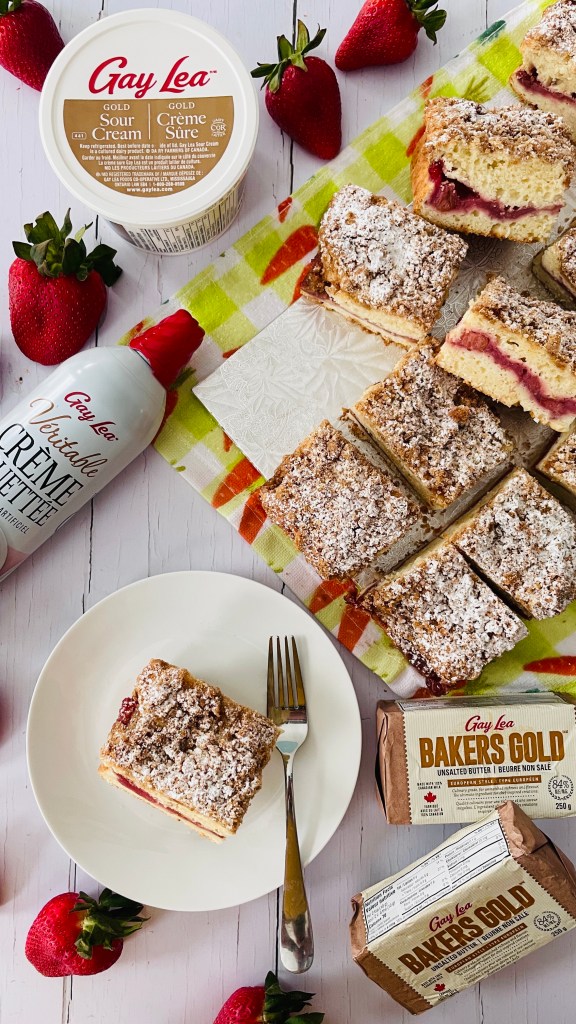
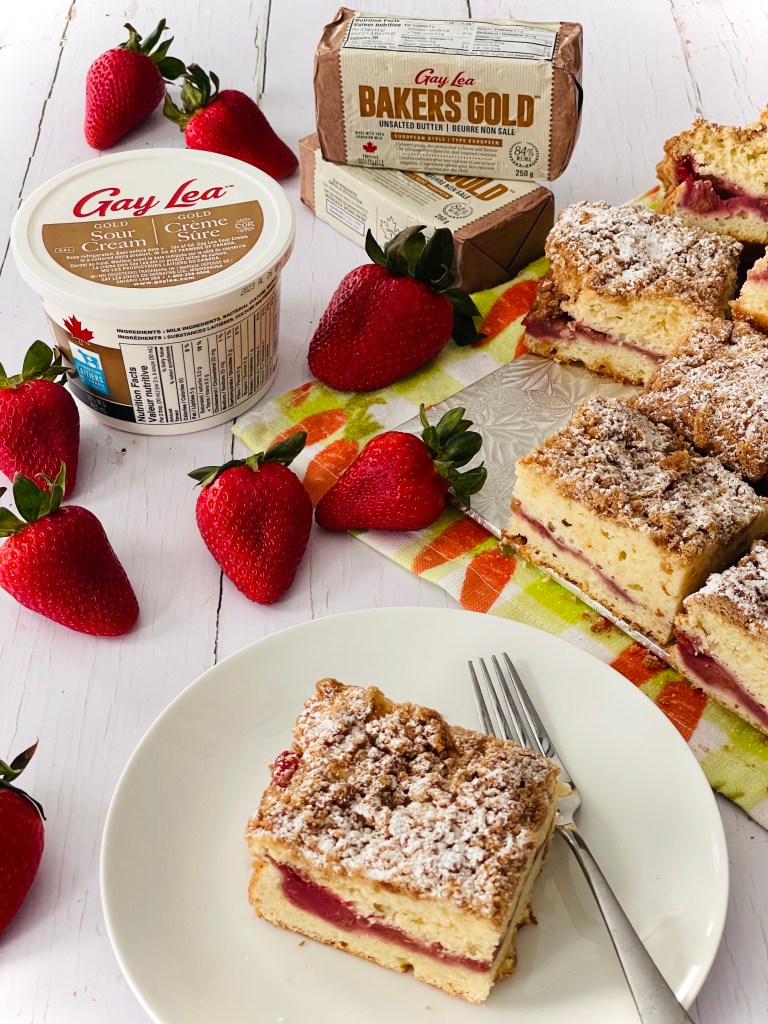
Spread half the cake batter evenly into the prepared pan. Top with the strawberry & rhubarb filling. Carefully spread the remaining batter over the fruit. Sprinkle with the chilled streusel topping, squeezing handfuls of topping to make sure there are at least some larger chunks of topping
Bake until cake is golden brown and springs back when touched in the center, about 1 hour. Transfer pan to a wire rack to cool slightly. Dust the top with powdered sugar. Serve warm or at room temperature, cut into squares, with a good squirt of Gay Lea Real Whipped Cream on the side
I adore peaches. Nothing sums up Summer quite like the heady waft of a ripe peach just before you bite in, followed by the trickles of sweet juice running down your chin. Ahh Summer days! Needless to say as a result I’m a sucker for all things peach- bakes and desserts. One of my favourites being Peach Cobbler. Being synonymous with the American South there’s a deluge of recipes of the sweet peachy dish which has been baked into the history and hearts of people, each tweaked in accordance with individual family traditions and tastes.
You will of course by now know of my love for the unexpected in baking, turning things on their heads. So why not Peach Cobbler- but make it cake? Yes, I know it’s been done before…but featuring tea as an ingredient? Welcome to my world!
For those of you who followed my adventures in the kitchen of Food Networks Canada’s Great Chocolate Showdown, you’ll of course remember there was a Tea Challenge- where bakers were tasked with incorporating a selected tea into their desserts. The perfect springboard for this recipe!
This recipe gave me the perfect opportunity to work with Pluck Teas. Pluck Teas is an award-winning female-founded Canadian small business and tea maker, producing premium quality tea blends in Toronto for tea drinkers who value quality and sustainability. Hand-blended in small batches with several of the brand’s favourite ingredients (like lavender, grapes and ginseng) grown and dried in Ontario, ensuring that the product is fresh while also reducing the brand’s carbon footprint.
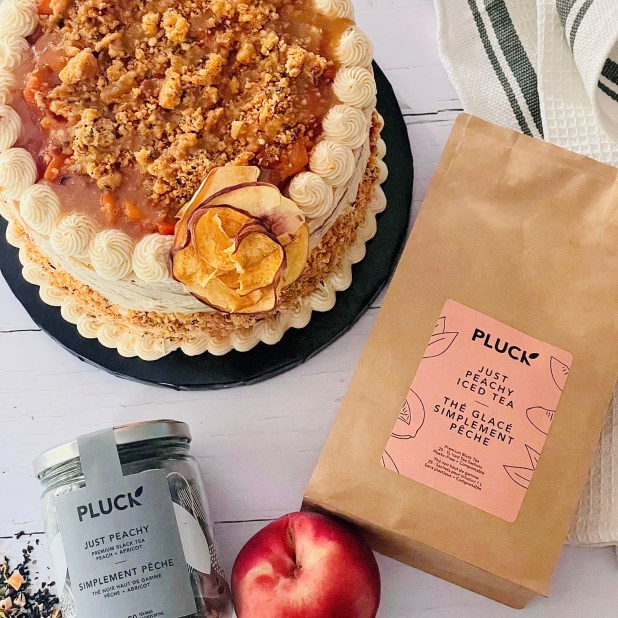
I’ve created this Peach Cobbler Cake using their “Just Peachy” tea blend. “Just Peachy” is one of Pluck’s black teas – a delicious, soft, and fruity infusion featuring a full black tea character layered with luscious ripe peaches. Perfect for a Summer tea treat!
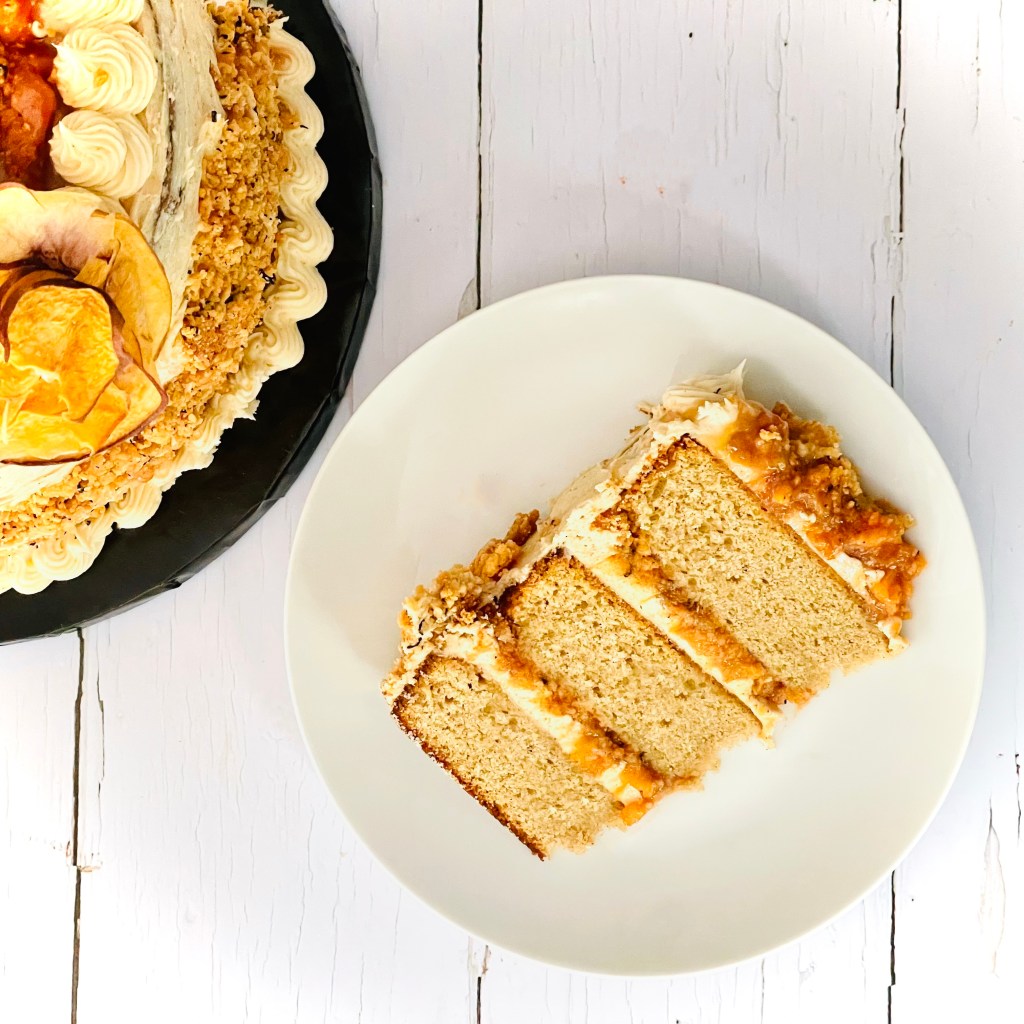
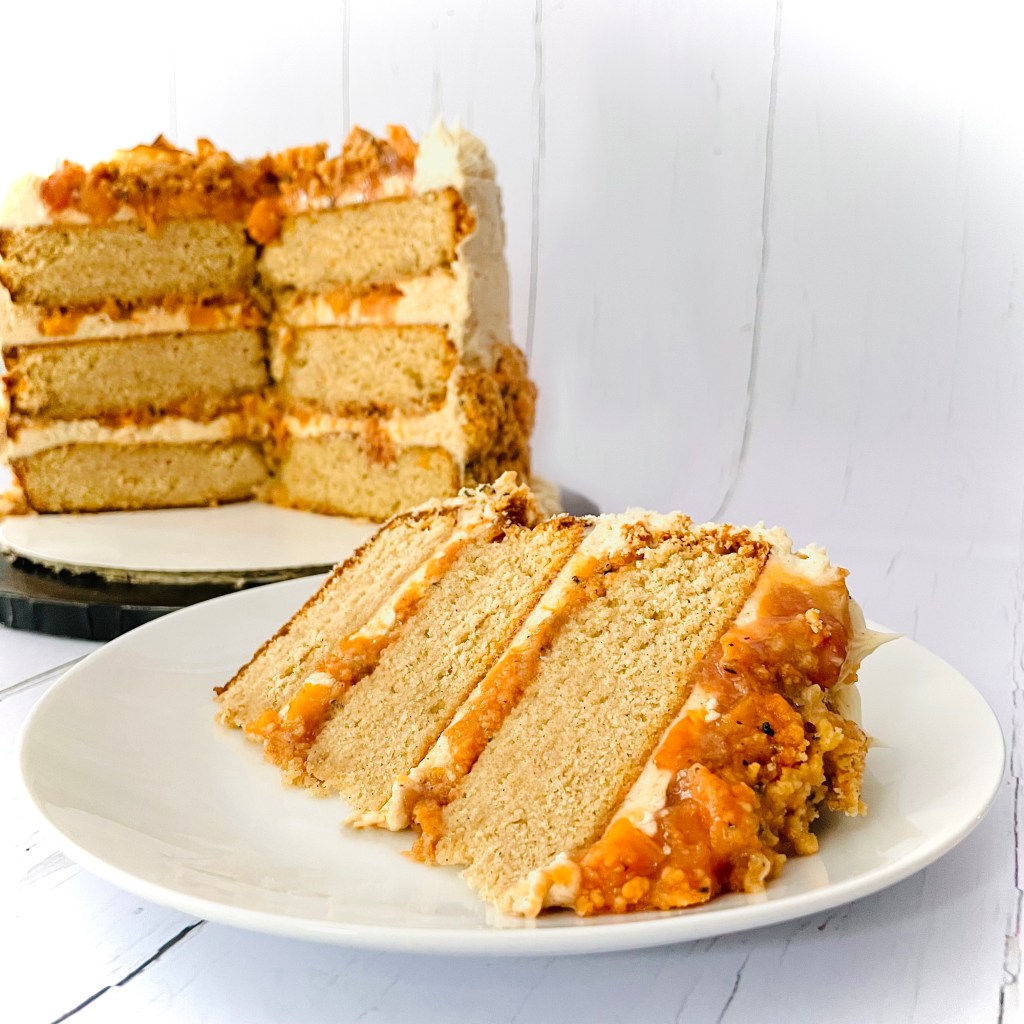
Layers of tasty cinnamon sponge filled with juicy Ontario peaches, peach flavoured crunch, enrobed in sumptuous brown butter buttercream, and finished with a delectable caramel drizzle. All infused with Pluck “Just Peachy” tea blend. Everybody likes tea and cake, right?
*This is a sponsored post
Ingredients
Cinnamon Sponge Cake
2/3 cup milk, room temperature
1 sachet Pluck Tea “Just Peachy” tea*
3 cups all-purpose flour
1 Tablespoon baking powder
2 teaspoons ground cinnamon
3/4 teaspoon salt
1 cup butter, room temperature
2 cups granulated sugar
4 large eggs, room temperature
2 tsp vanilla extract, or paste
Cake Syrup
1 cup water
1 sachet Pluck Tea “Just Peachy” tea*
1 cup white sugar
Peach Filling
5 Peaches, diced
1 Tablespoon lemon juice
1/3 cup brown sugar
1 sachet Pluck Tea “Just Peachy” tea*
¼ teaspoon fresh nutmeg
1 Tablespoon corn-starch
Peach Crunch
20 Golden Oreo Cookies
1 sachet (85g) Peach Jell-O powder
1 sachet Pluck Tea “Just Peachy” tea*
¾ cup butter, melted
Brown Butter Buttercream
1/3 cup whole milk
1 sachet Pluck Tea “Just Peachy” tea*
1 ½ cups (3 sticks) butter (divided in to 2 sticks and 1)
½ teaspoon Kosher salt
5 cups powdered sugar
Caramel drizzle
1/3 cup boiling water
1 sachet Pluck Tea “Just Peachy” tea*
1 Tablespoon liquid glucose, or light corn syrup
1 ½ cups sugar
¾ cup heavy cream, room temperature
1 teaspoon Kosher salt
3 Tablespoons butter, room temperature
*Pluck Tea “Just Peachy” sachets used here are from the “Just Peachy” Iced Tea selection. If you are using “Just Peachy” loose leaf it is 2 ½ Tablespoon equivalent (along with using a tea steeper ball where required)
Method
Cinnamon Sponge Cake
Preheat oven to 350F. Grease and flour three 8″ cake rounds and line with parchment
In a small pan combine the milk and tea sachet. Gently heat the milk to just below boiling. Remove from heat, set aside to infuse until needed later
In a medium bowl, whisk flour, baking powder, cinnamon, and salt until well combined. Set aside
Using a stand mixer fitted with a paddle attachment, cream butter until smooth. Add sugar and beat on med-high until pale and fluffy (approx 10mins)
Reduce speed and add eggs one at a time fully incorporating after each addition. Add vanilla
Alternate adding flour mixture with cooled milk/ tea infusion, beginning, and ending with flour (3 additions of flour and 2 of cooled milk/ tea infusion). Fully incorporating after each addition
Spread batter evenly between the prepared pans and smooth the tops.
Bake for approx. 35mins or until a toothpick inserted into the centre comes out mostly clean
Place cakes on wire rack to cool for 10mins then turn out onto wire rack to cool completely
Caramel Drizzle
In a large pan, steep the tea sachet in the boiled water for 15mins.
Remove the tea sachet, add in the sugar, and glucose (or light corn syrup if using). Swirl the sugar to ensure it is fully soaked with the tea infusion
Heat over a low heat until the sugar is melted, gently swirling the occasionally
Increase to high heat to bring to a boil, allow to boil for 1 minute, then reduce to medium heat and simmer for 7 minutes
Remove from heat, add the heavy cream and salt. Take care here as the mixture will steam and bubble. Whisk at a steady pace to combine the mixture. If the caramel seizes around your whisk don’t worry continue to stir until almost combined
Return the pan to a medium heat and simmer for a further minute to fully melt the caramel. If the caramel bubbles too high, reduce the heat
Your caramel should now be smooth. Remove from heat, and gently stir in the butter pieces a Tablespoon at a time, ensuring each is fully melted before adding the next
Once all the butter has been added, transfer to bowl to cool fully
Cake Syrup
Combine all the syrup ingredients in a pan. Heat gently to dissolve the sugar
Increase to a boil for 1 minute, then remove from heat and allow to infuse for 15 minutes before removing the tea sachet
Set aside to cool until needed
Peach Filling
In a large pan combine the chopped peaches, brown sugar, lemon juice and tea sachet
Bring to a gentle boil, stirring occasionally and taking care not to break the tea pouch
Once boiling reduce heat and simmer for 5 minutes
After this time remove the tea sachet, add in the corn starch. Continue to simmer until the mixture has thickened
Remove from heat, transfer to a bowl to cool. The mixture will thicken further as it cools. Set aside until needed
Peach Crunch
Preheat your oven to 350F. Line a baking tray with baking parchment
Place the Oreo cookies in the bowl of a food processor, and process to a medium crumb
In a medium bowl, combine the cookie crumbs and the Jell-O powder. Stir to combine
Add in ½ cup of the melted butter and stir to combine. You’re looking for texture similar to cheesecake crumb base (damp sand). If the mixture is too dry, add the remaining butter a Tablespoon at a time until the desired texture is achieved
Once ready, spread the crumb on to the prepared baking try and bake f or 7- 8 minutes
Remove from the oven and set aside to cool until needed
Brown Butter Buttercream
In a small pan, combine the milk and tea sachet. Heat until just below boiling, remove from heat and set aside to infuse until needed
In a pan, heat 1 cup (2 sticks) of butter until fully melted. Continue to heat until the butter starts to foam. Take care in case the butter bubbles up too much. If it does, reduce the heat until it subsides, then return the heat. Continue to heat the butter, stirring constantly, until you noticed it start to turn a light brown and smell a nutty aroma. Transfer the browned butter to a heat proof bowl, chill until cool and almost set
Once cooled, combine the brown butter and remaining stick of butter in the bowl of a stand mixer, along with the salt. Beat until smooth and fully combined
Add in the powdered sugar 1 cup at a time, beating between each addition until fully combined
To the butter/ sugar mixture, add the milk/ tea infusion a tablespoon at a time. Beat rapidly between each addition to whip the buttercream
When all the milk has been added increase to a high speed and whip for 2 minutes until light and fluffy
Set aside and start assembling the cake
Cake Assembly
Gently brush the top side of each sponge layer with some of the cake syrup. Use enough so that the layers feel moist to the touch
Place the first sponge layer on a cake board, syrup side up. Spread a layer of butter cream over the top. Pipe an additional border around the edge of the sponge layer
Inside the buttercream border, spread some of the peach filling. Top this with the peach crunch sprinkled over (breaking up any large pieces)
On top of this place the next sponge cake layer and repeat the process with fillings and the third/ top layer
Apply a crumb coat of buttercream to the cake, before a final coat of buttercream, finished to your preference
Finish the top sponge with any remaining peach filling and a final sprinkling of peach crunch before drizzling with the caramel sauce (to your preference)
*I like to pipe a border around the edge of the top layer to keep the final peach filling/ crunch layer in place
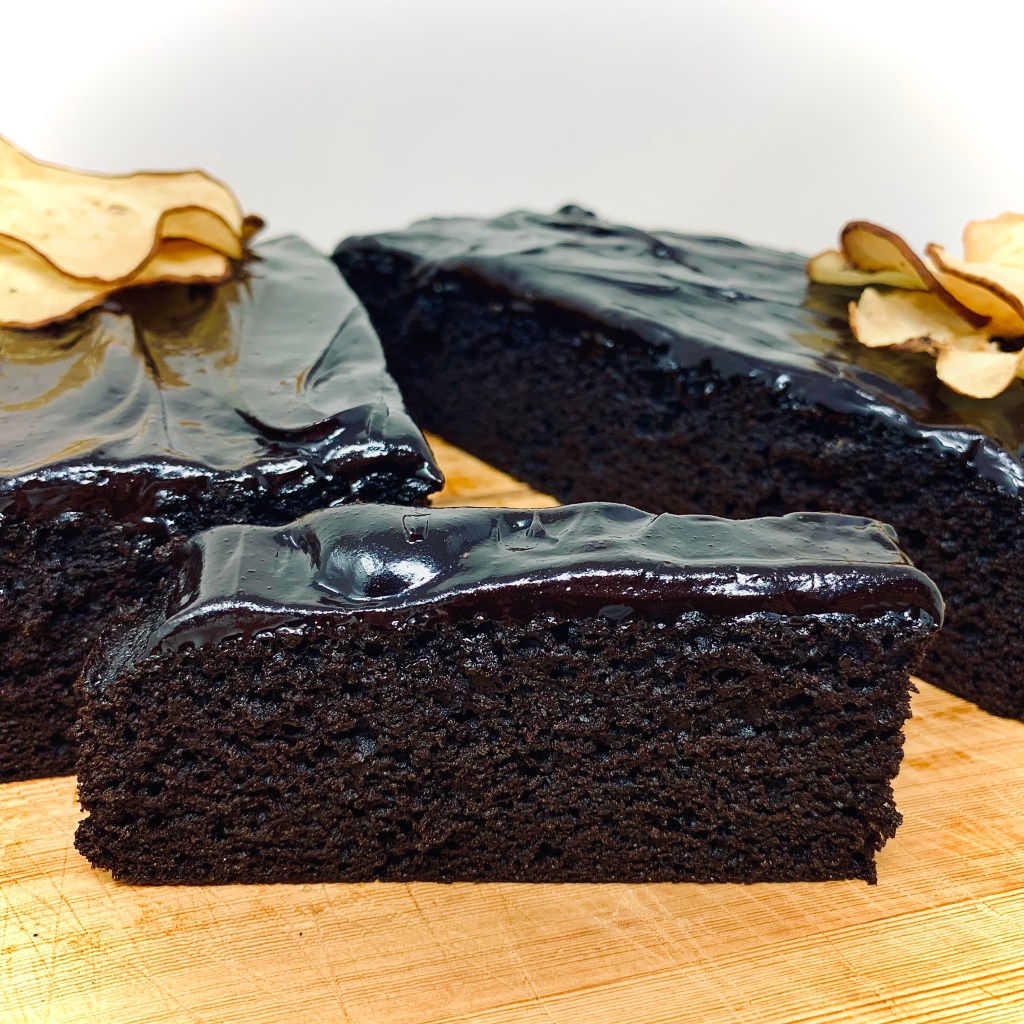
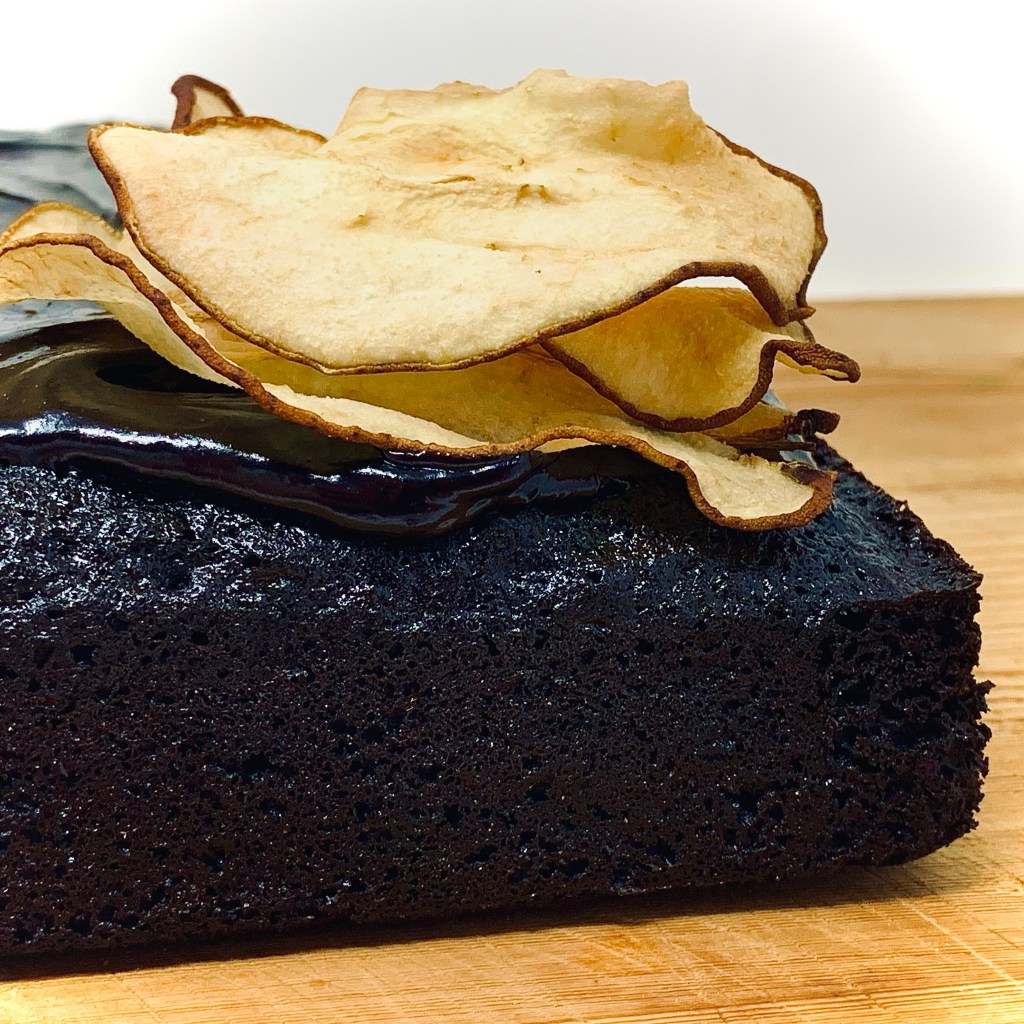
So this started as riff on my Spiced Chocolate Cake and grew from there. I absolutely love those chocolate-covered ginger biscuits. You know the ones – those crunchy, brittle ginger-snap like ones that have that slow-burning throaty heat, enrobed in decadent dark chocolate? Yup- I can easily demolish an questionably inhuman amount of them in one sitting! So I thought of recreating that addictive marriage of heat and bitterness in cake form. Not content with just any form if chocolate flavor I wanted an extra oomph! Switching up to using black cocoa not only gives in my view wonderfully deep, earthy chocolate flavor but also the alluring sumptuous midnight-black of the title. Although it does provide a chocolate flavor, it’s a world away from the sometimes cloying richness of a traditional cocoa-fueled cake.
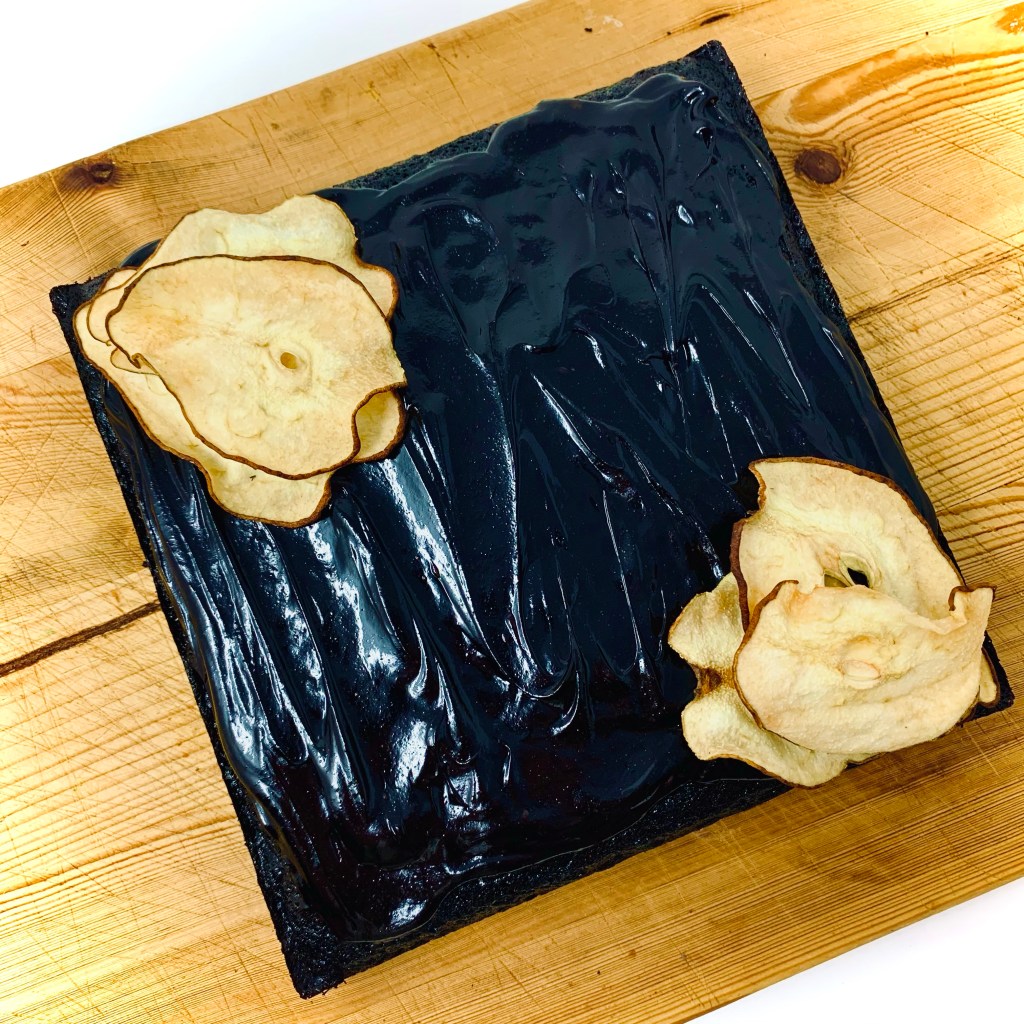
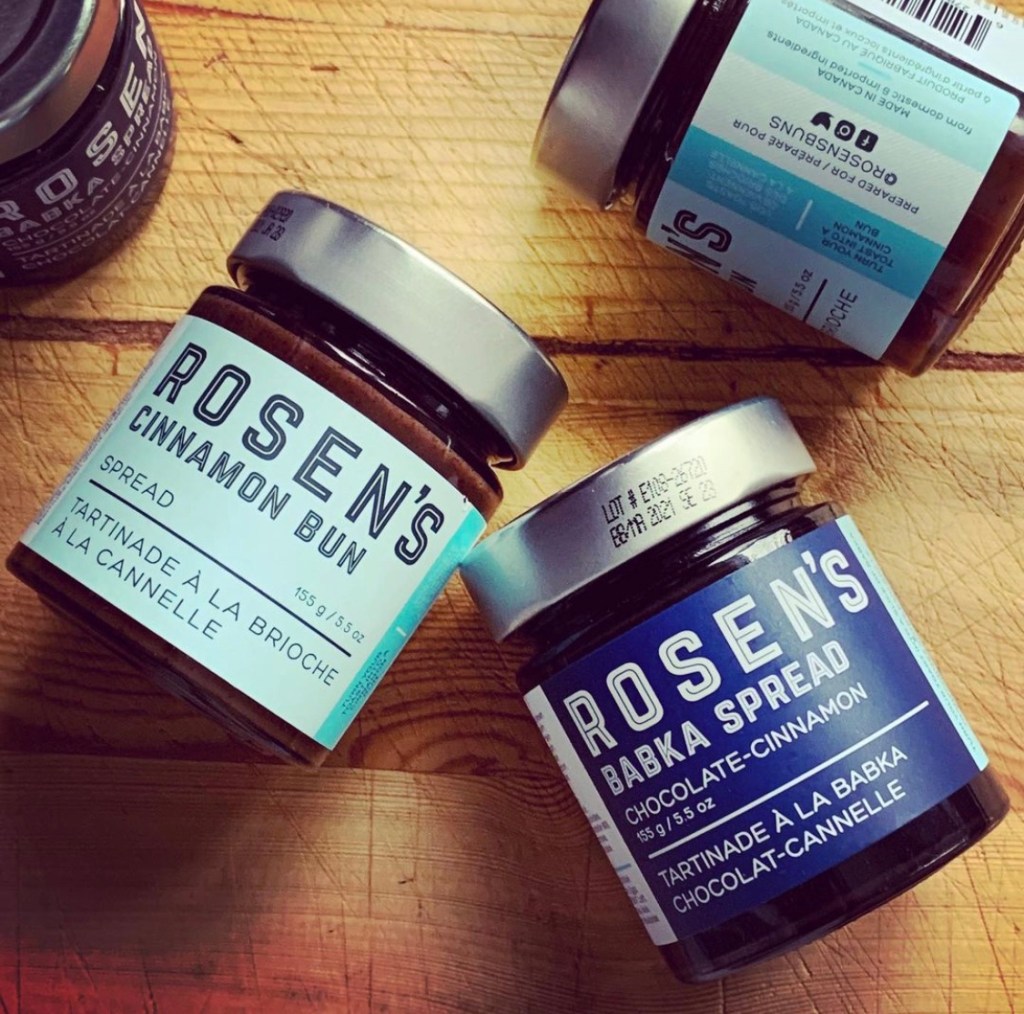
I also thought it would provide the perfect canvas for my newly acquired stock of Rosen Bun’s bun-inspired spreads– here, the deliciously addictive Babka variety, with it’s “deep chocolate flavor with a cinnamon left hook”. The darkly, luxurious flavors of the spread combining with the spicy, gingery antics of the cake. You can rest easy as using the spread here is nothing more complicated than spreading, or rather smearing, it in hypnotic, glossy waves of velvety, sweet goodness over the top of the cooled cake. In fact the hardest part is restraining yourself from scoffing the cinnamony-cocoa spread straight from the jar! Seriously – this is sinfully finger-licking good stuff. Check out the Rosen Buns website for a list of stockists.
Decoration of the finished covered cake is entirely to your own taste. I used dehydrated pear slices as I was experimenting with a newly purchased kitchen gadget. Using the dried pear slices as decoration rather than munching them straight out of the bag providing some form of self-deluding restraint in my mind!
As always with my posts where I mention, or name drop, specific items it’s done from a place of support and elevation. The producing companies are small, local Toronto businesses whose products have earned a special place in this cynical, hungry heart (and I mean LITERALLY). If there has been any compensation, sponsorship or re-imbursement, I’ll clearly flag it up for clarity and yes, it usually still involves me being head-over-heels with the product (case in point here, with the awesome team at Station Cold Brew Coffee).
I hope you enjoy this little exercise and experiment in flavors from me- who knows there may be more to come! In the meantime stay safe, stay home (and bake!) and mask up!
Ingredients
1 cup all-purpose flour
1/2 cup black cocoa powder
3/4 tsp baking soda
1/4 tsp salt
3 tsps ground ginger
1 tsp ground cinnamon
1/4 tsp ground cloves
1/2 cup Canola oil
1/2 cup fancy molasses
1/4 cup orange juice
3/4 cup dark brown sugar
2 eggs
1/2 tsp vanilla extract
1/4 cup whole milk
1 jar Rosen’s Babka Spread
Method
Combine the oil, molasses, juice and sugar in a small saucepan. Set it on low heat and stir till the sugar has dissolved. Set aside to cool for about 10 minutes
In a bowl combine the flour, cocoa, baking soda, salt and spices. Whisk to combine and set aside until needed
Preheat your oven to 325 degrees F. Grease an 8″ x 8″ square cake pan with oil and line it with baking parchment, allowing allow the edges to overhang for easy removal
Transfer the cooled molasses mixture to a large mixing bowl and add in the eggs, vanilla and milk. Whisk well until smooth and well combined
Fold in the flour mixture gradually into the liquid until incorporated. Make sure the there are no pockets of dried flour mixture. The final batter may look a little lumpy- this is okay
Pour the batter into the prepared tin, level the top and bake for 35 to 40 minutes until a toothpick inserted into the center comes out clean. If the top is darkening quickly, cover the tin loosely with foil and continue baking
Allow the cake to cool in the tin for 15 minutes, then invert, remove and place on a wire rack to cool completely.
Once completely cool spread the babka spread over the top as you would a ganache. Decorate as you like. Here I’ve used some dehydrated pear slices (for no other reason than I was playing with a new piece of kitchen equipment!)
Slice and enjoy!
Store in an airtight container for about 3-4 days at room temperature
These recipes began life as part of quest to use locally produced goods in my recipes whilst at the same time peddling for some coverage (I am a “struggling artist” after all!) Using unexpected ingredients in unexpected places is something that I love doing- creating a talking piece as well as something delicious. The recipes here take mustard, an ingredient traditionally confined to the realms of condiment and served in unadulterated accompaniment with (mainly) savoury dishes and use it an ingredient in ways elevated beyond that of a cold cuts sidekick.
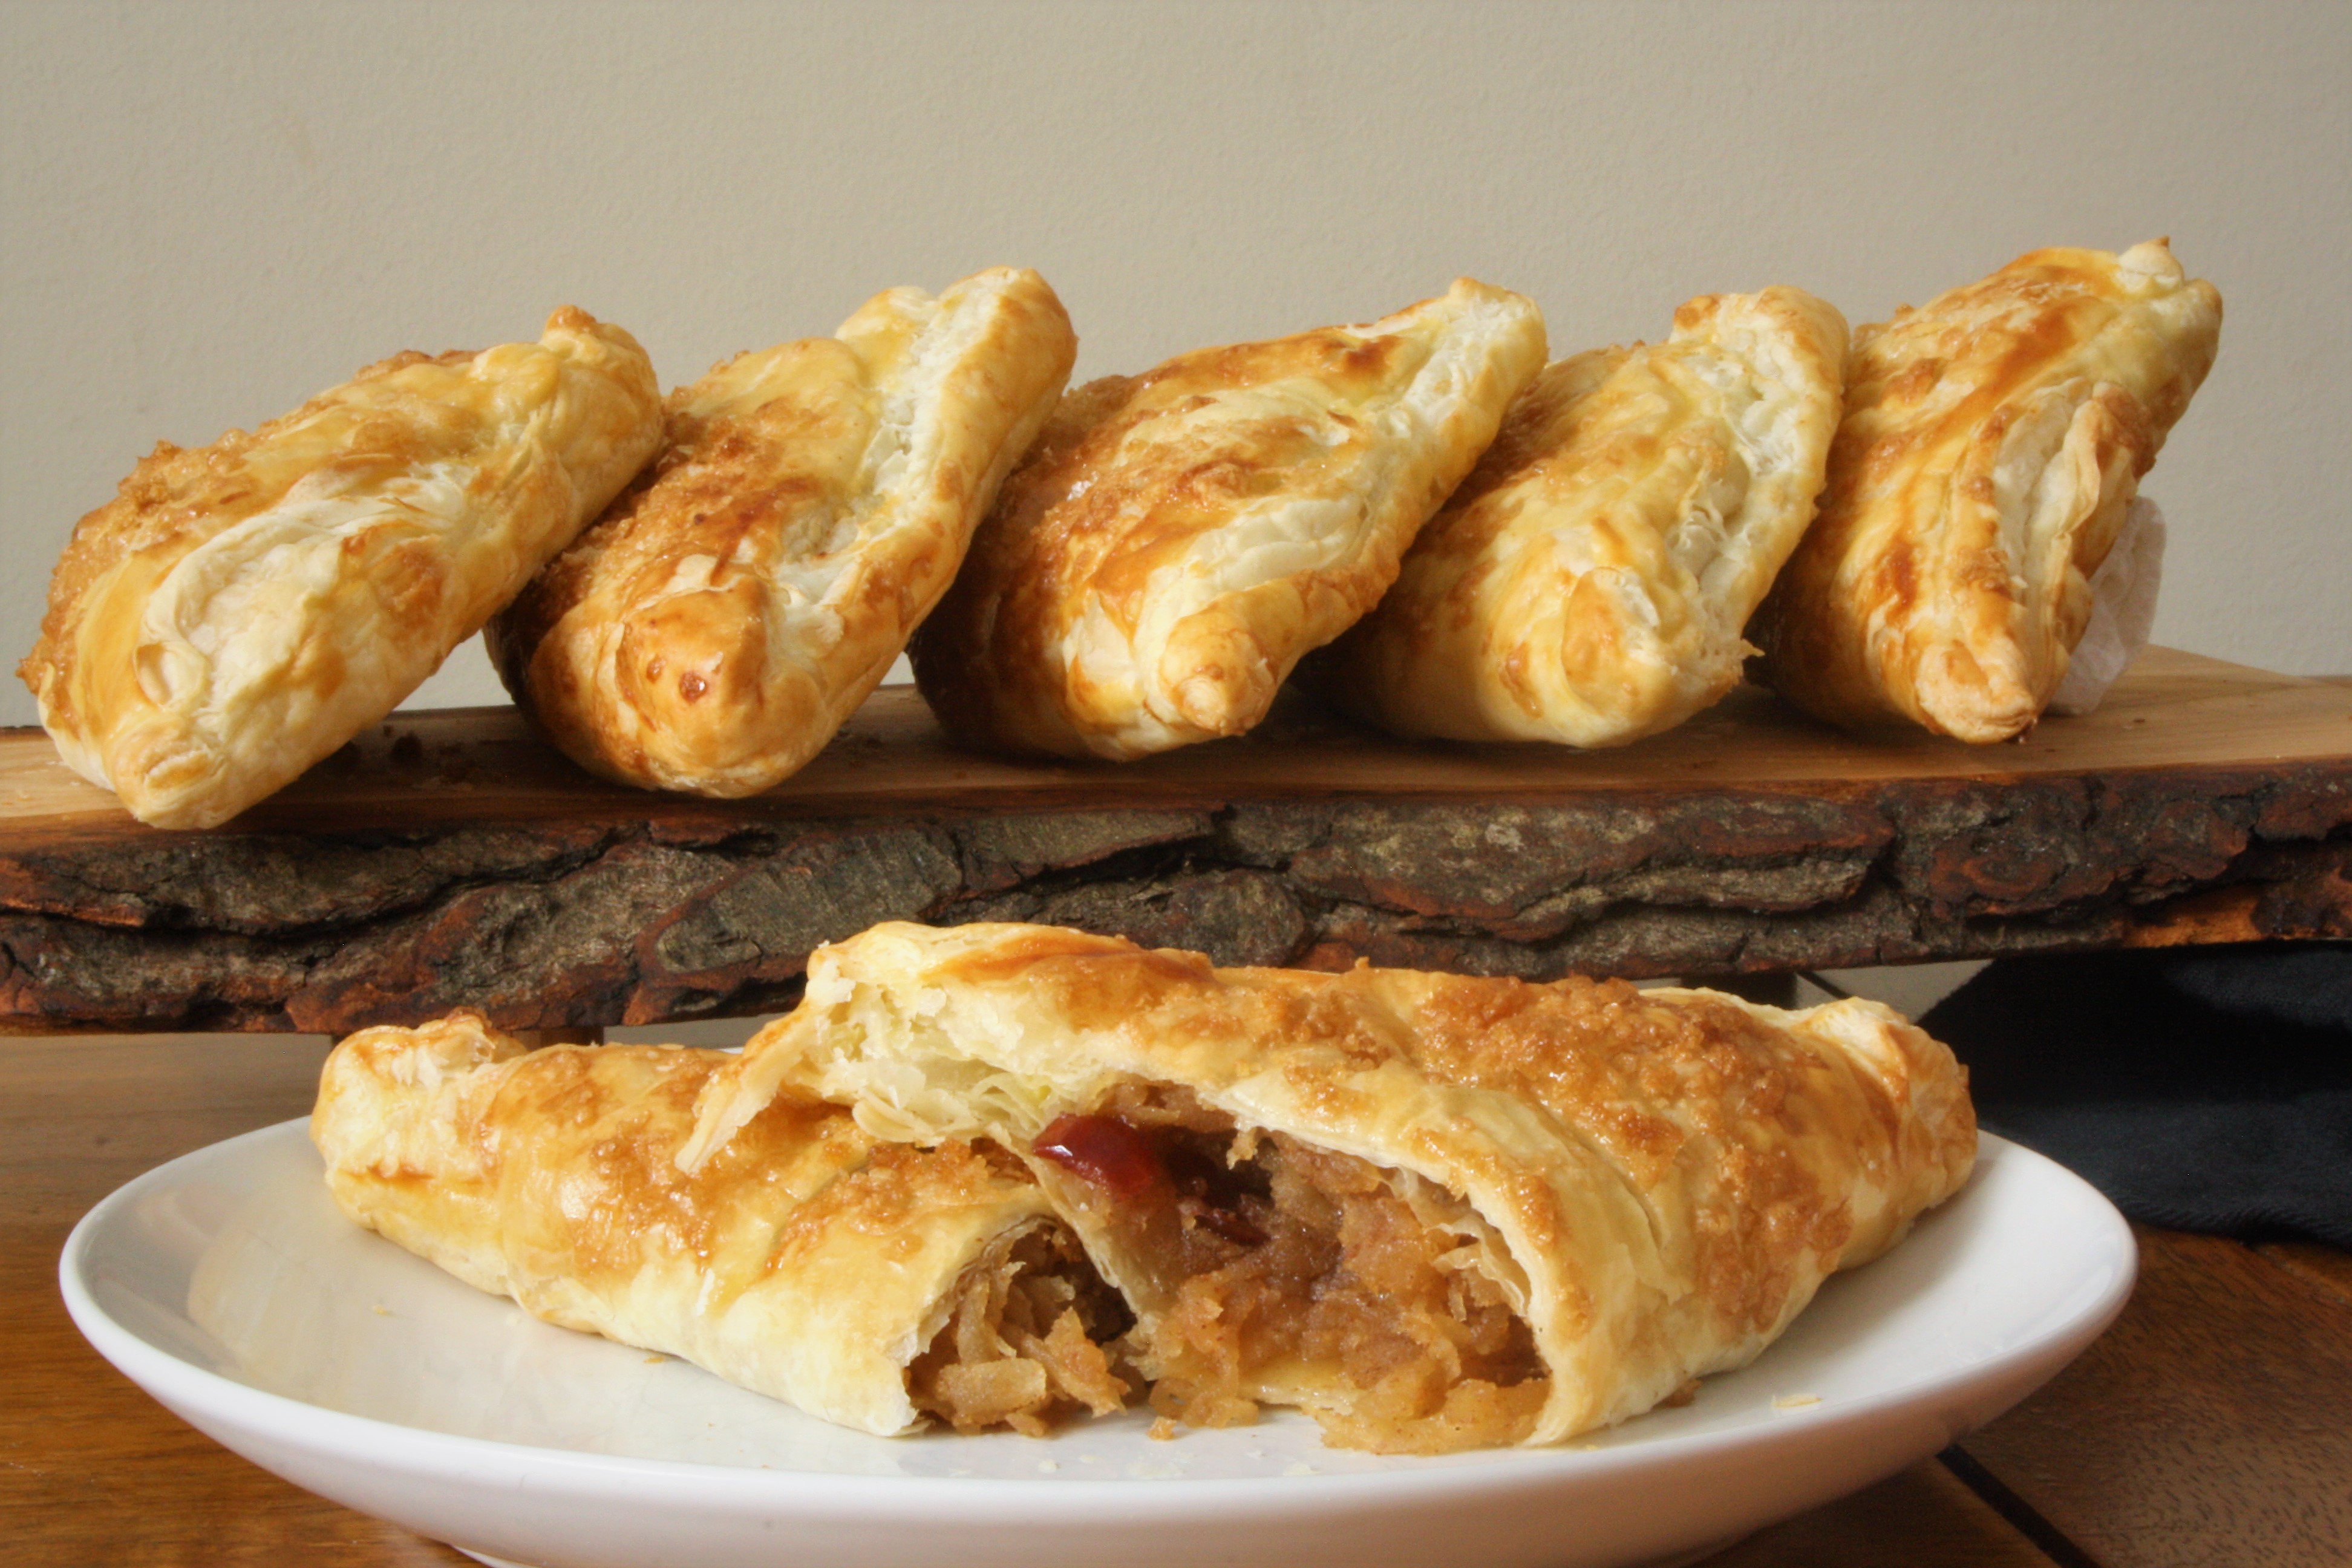
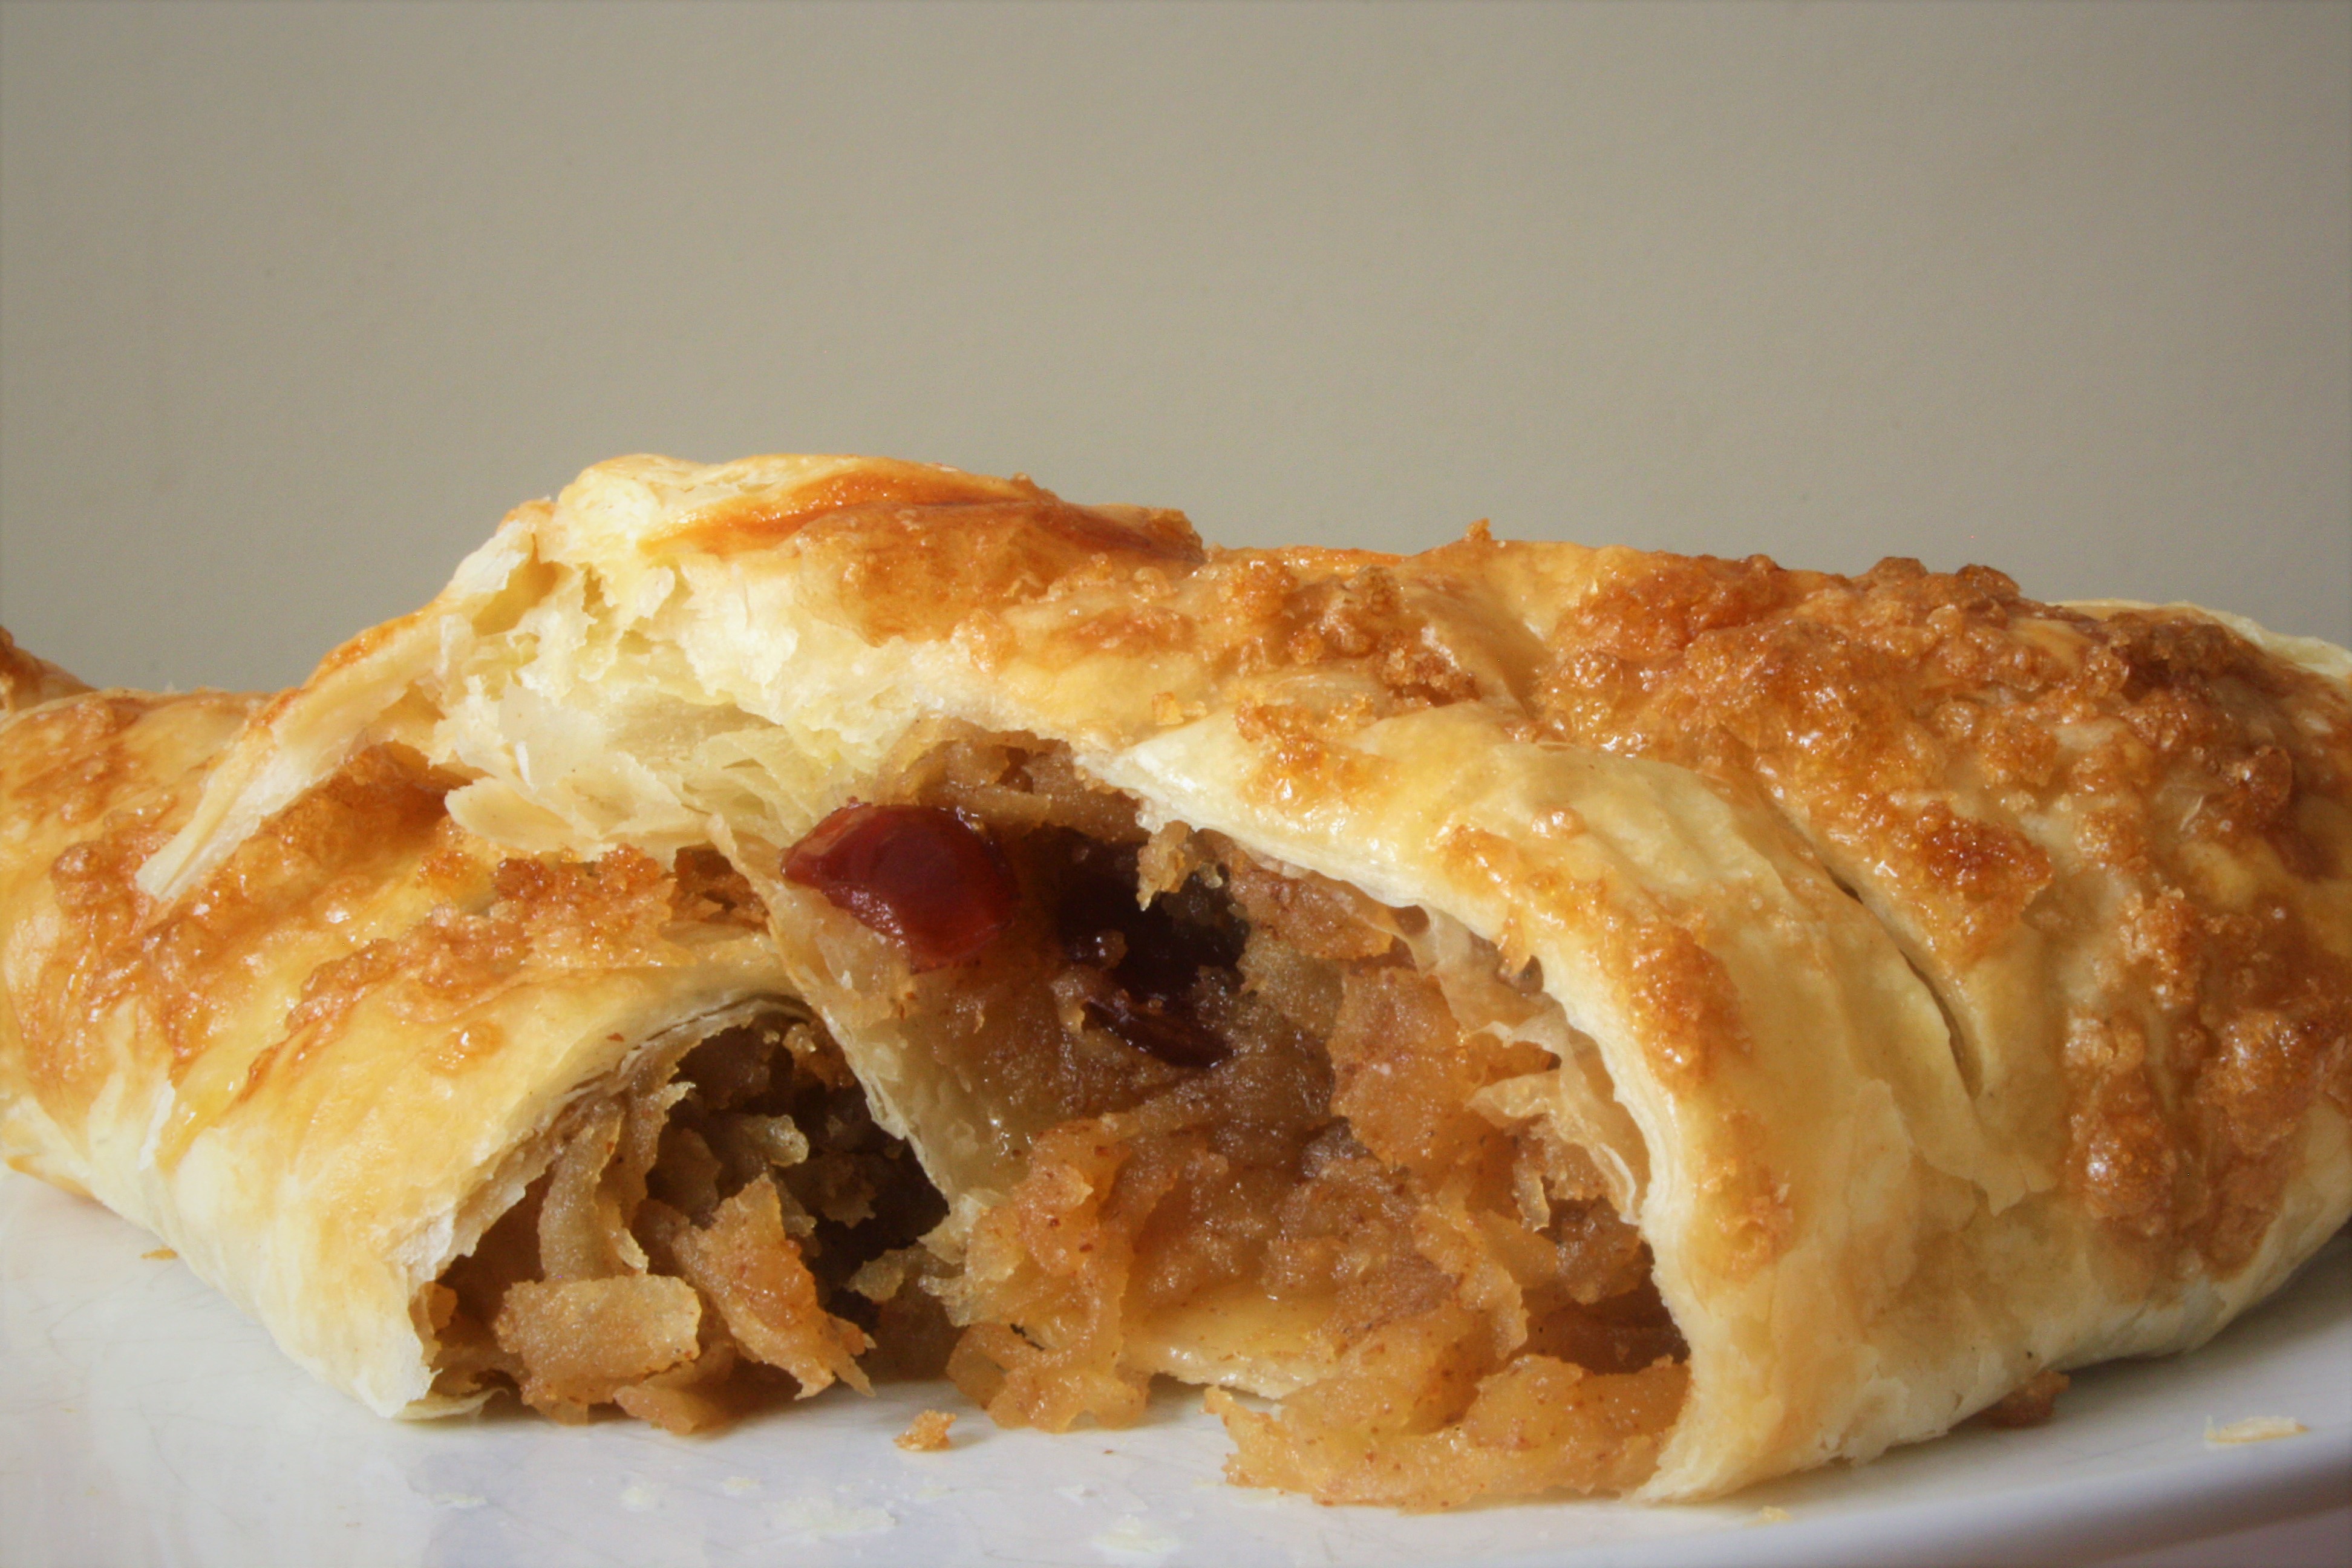
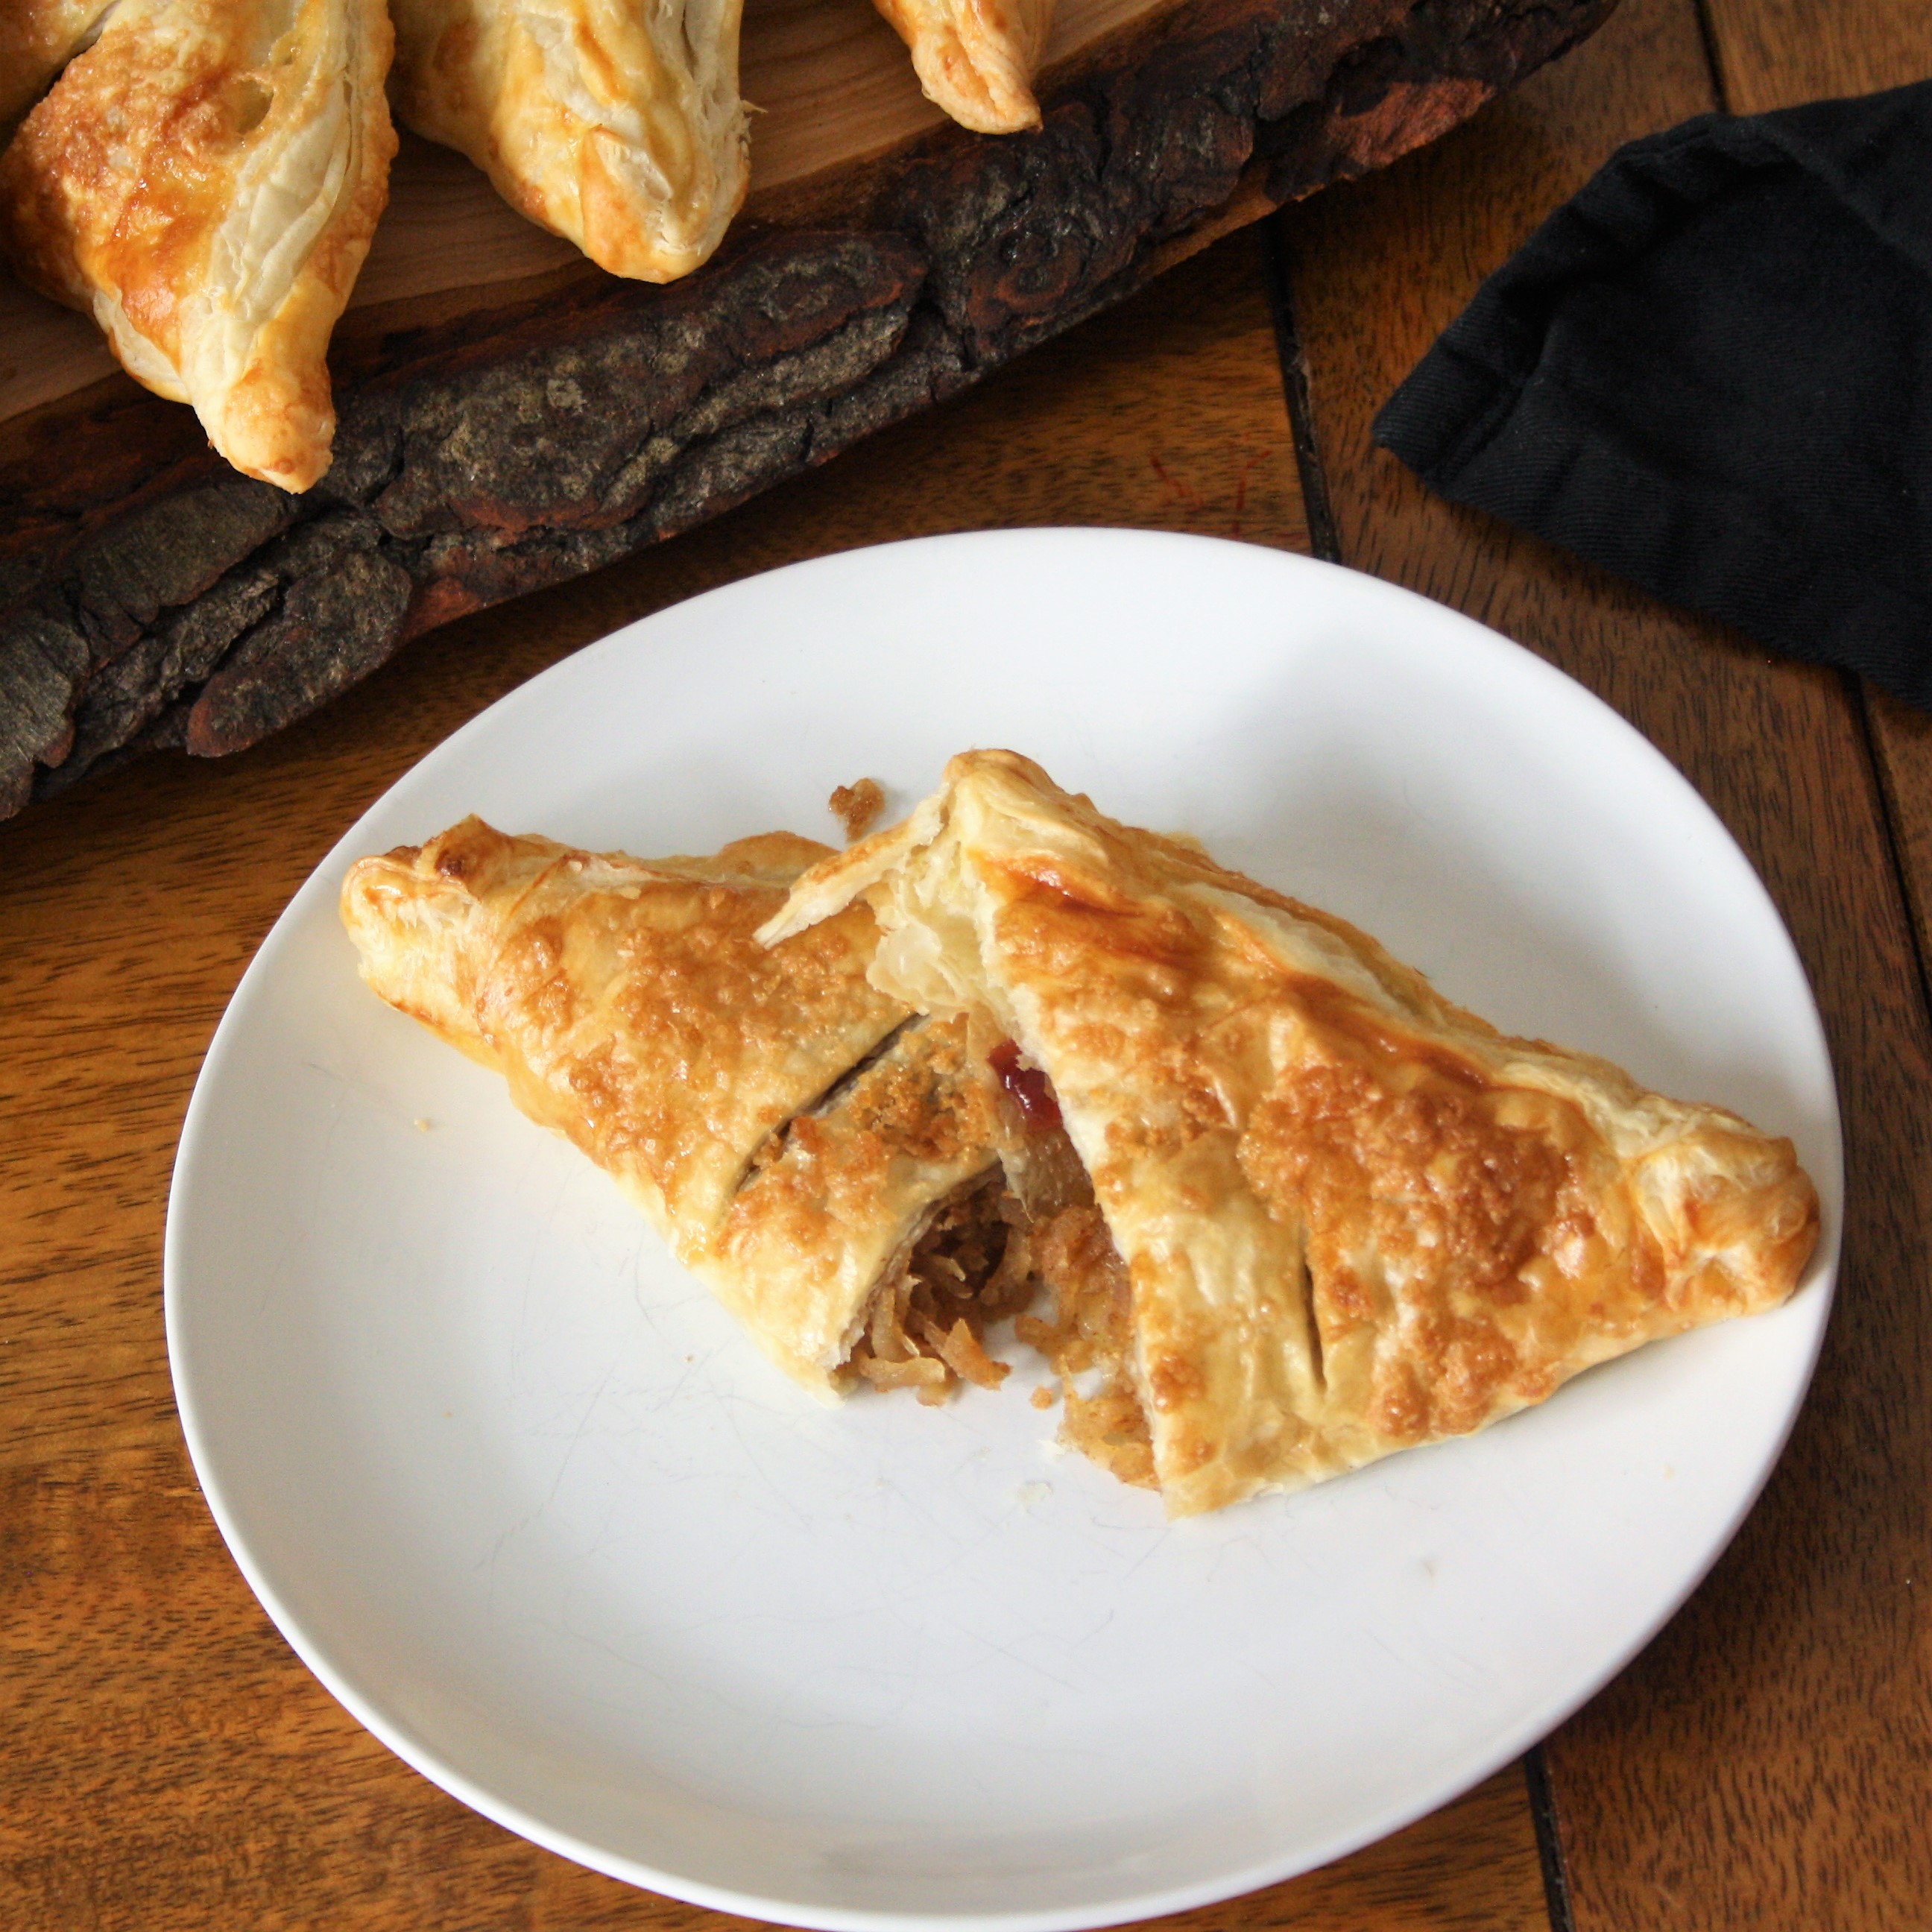
From the outset I wanted to include a “sweet” dish or bake in this bunch of recipes. The turnovers drew inspiration from that quintessential combination of pork, apple and mustard. What would happen if I removed the pork element of the dish? A juicy fruit pocket with a comforting earthy taste and slight sweetness. Lightly warm them and you have a great coffee break treat.
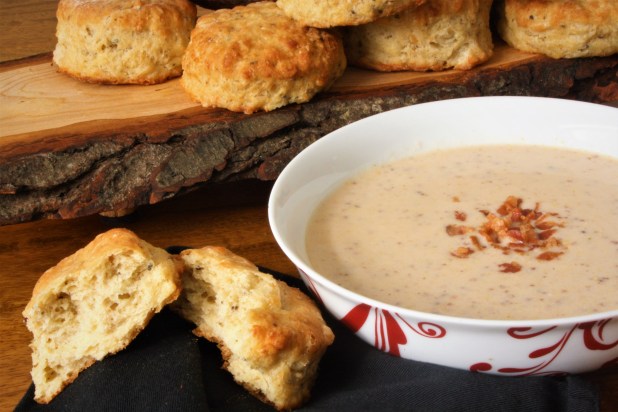
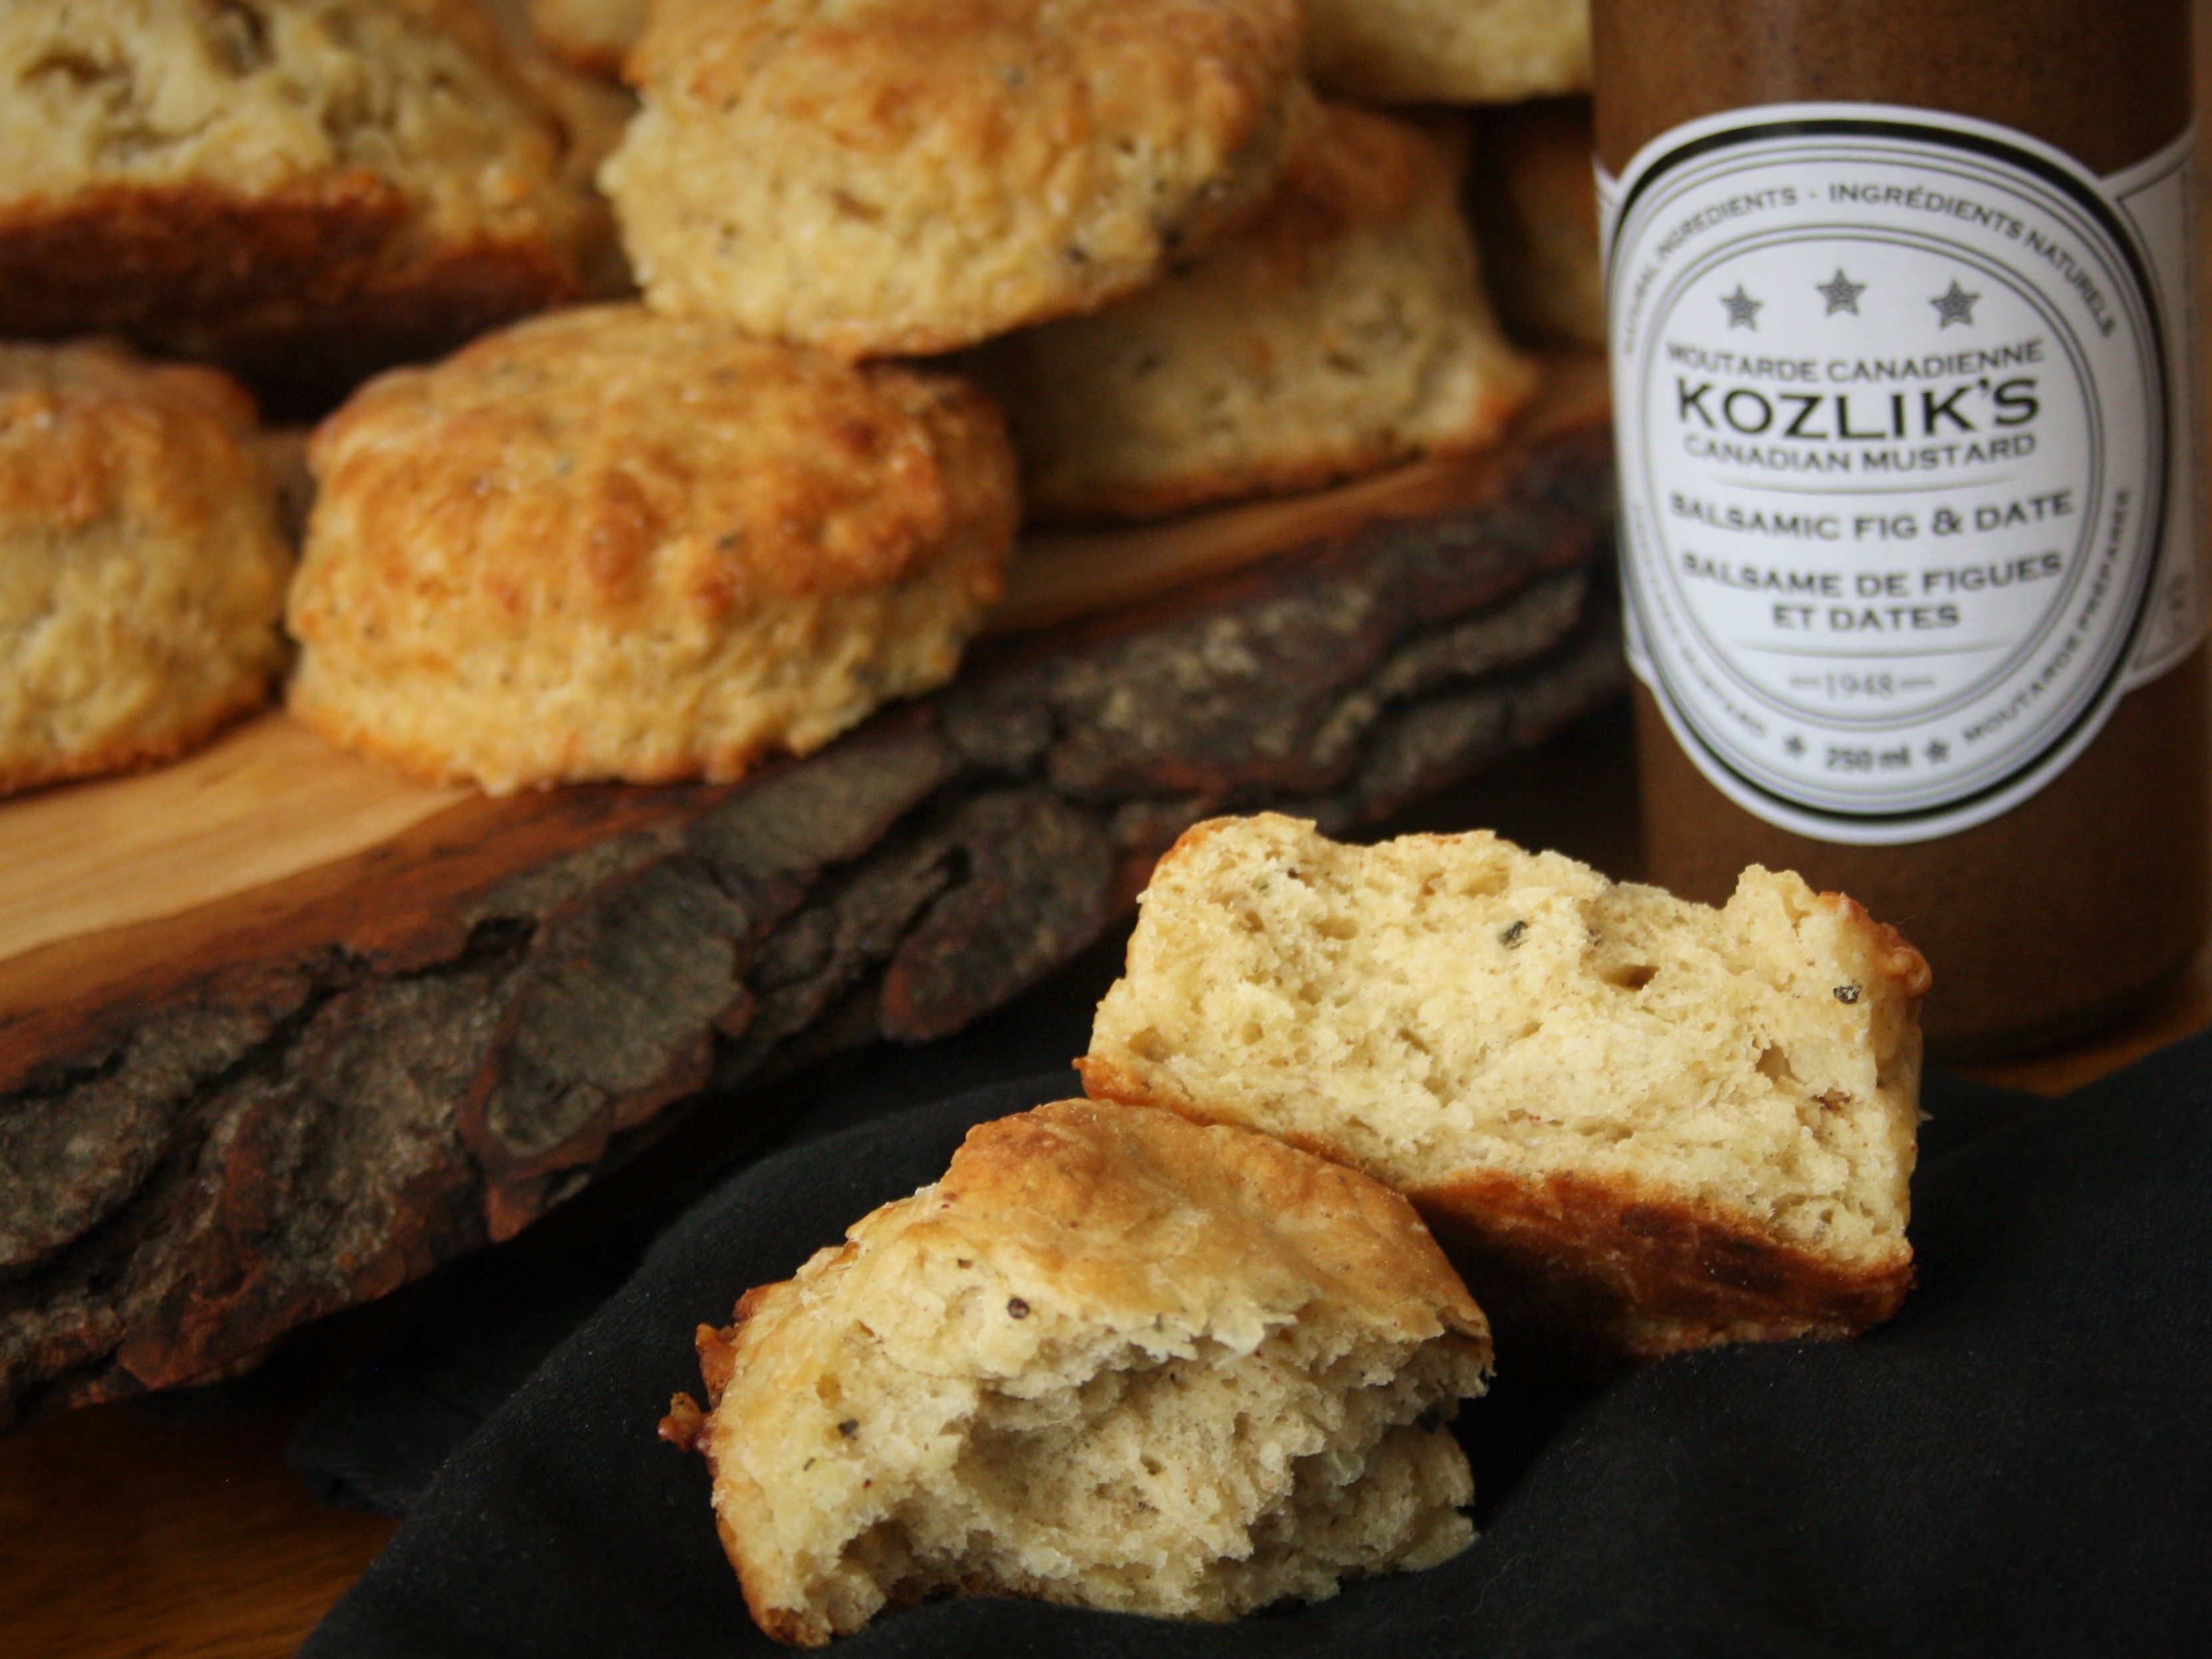
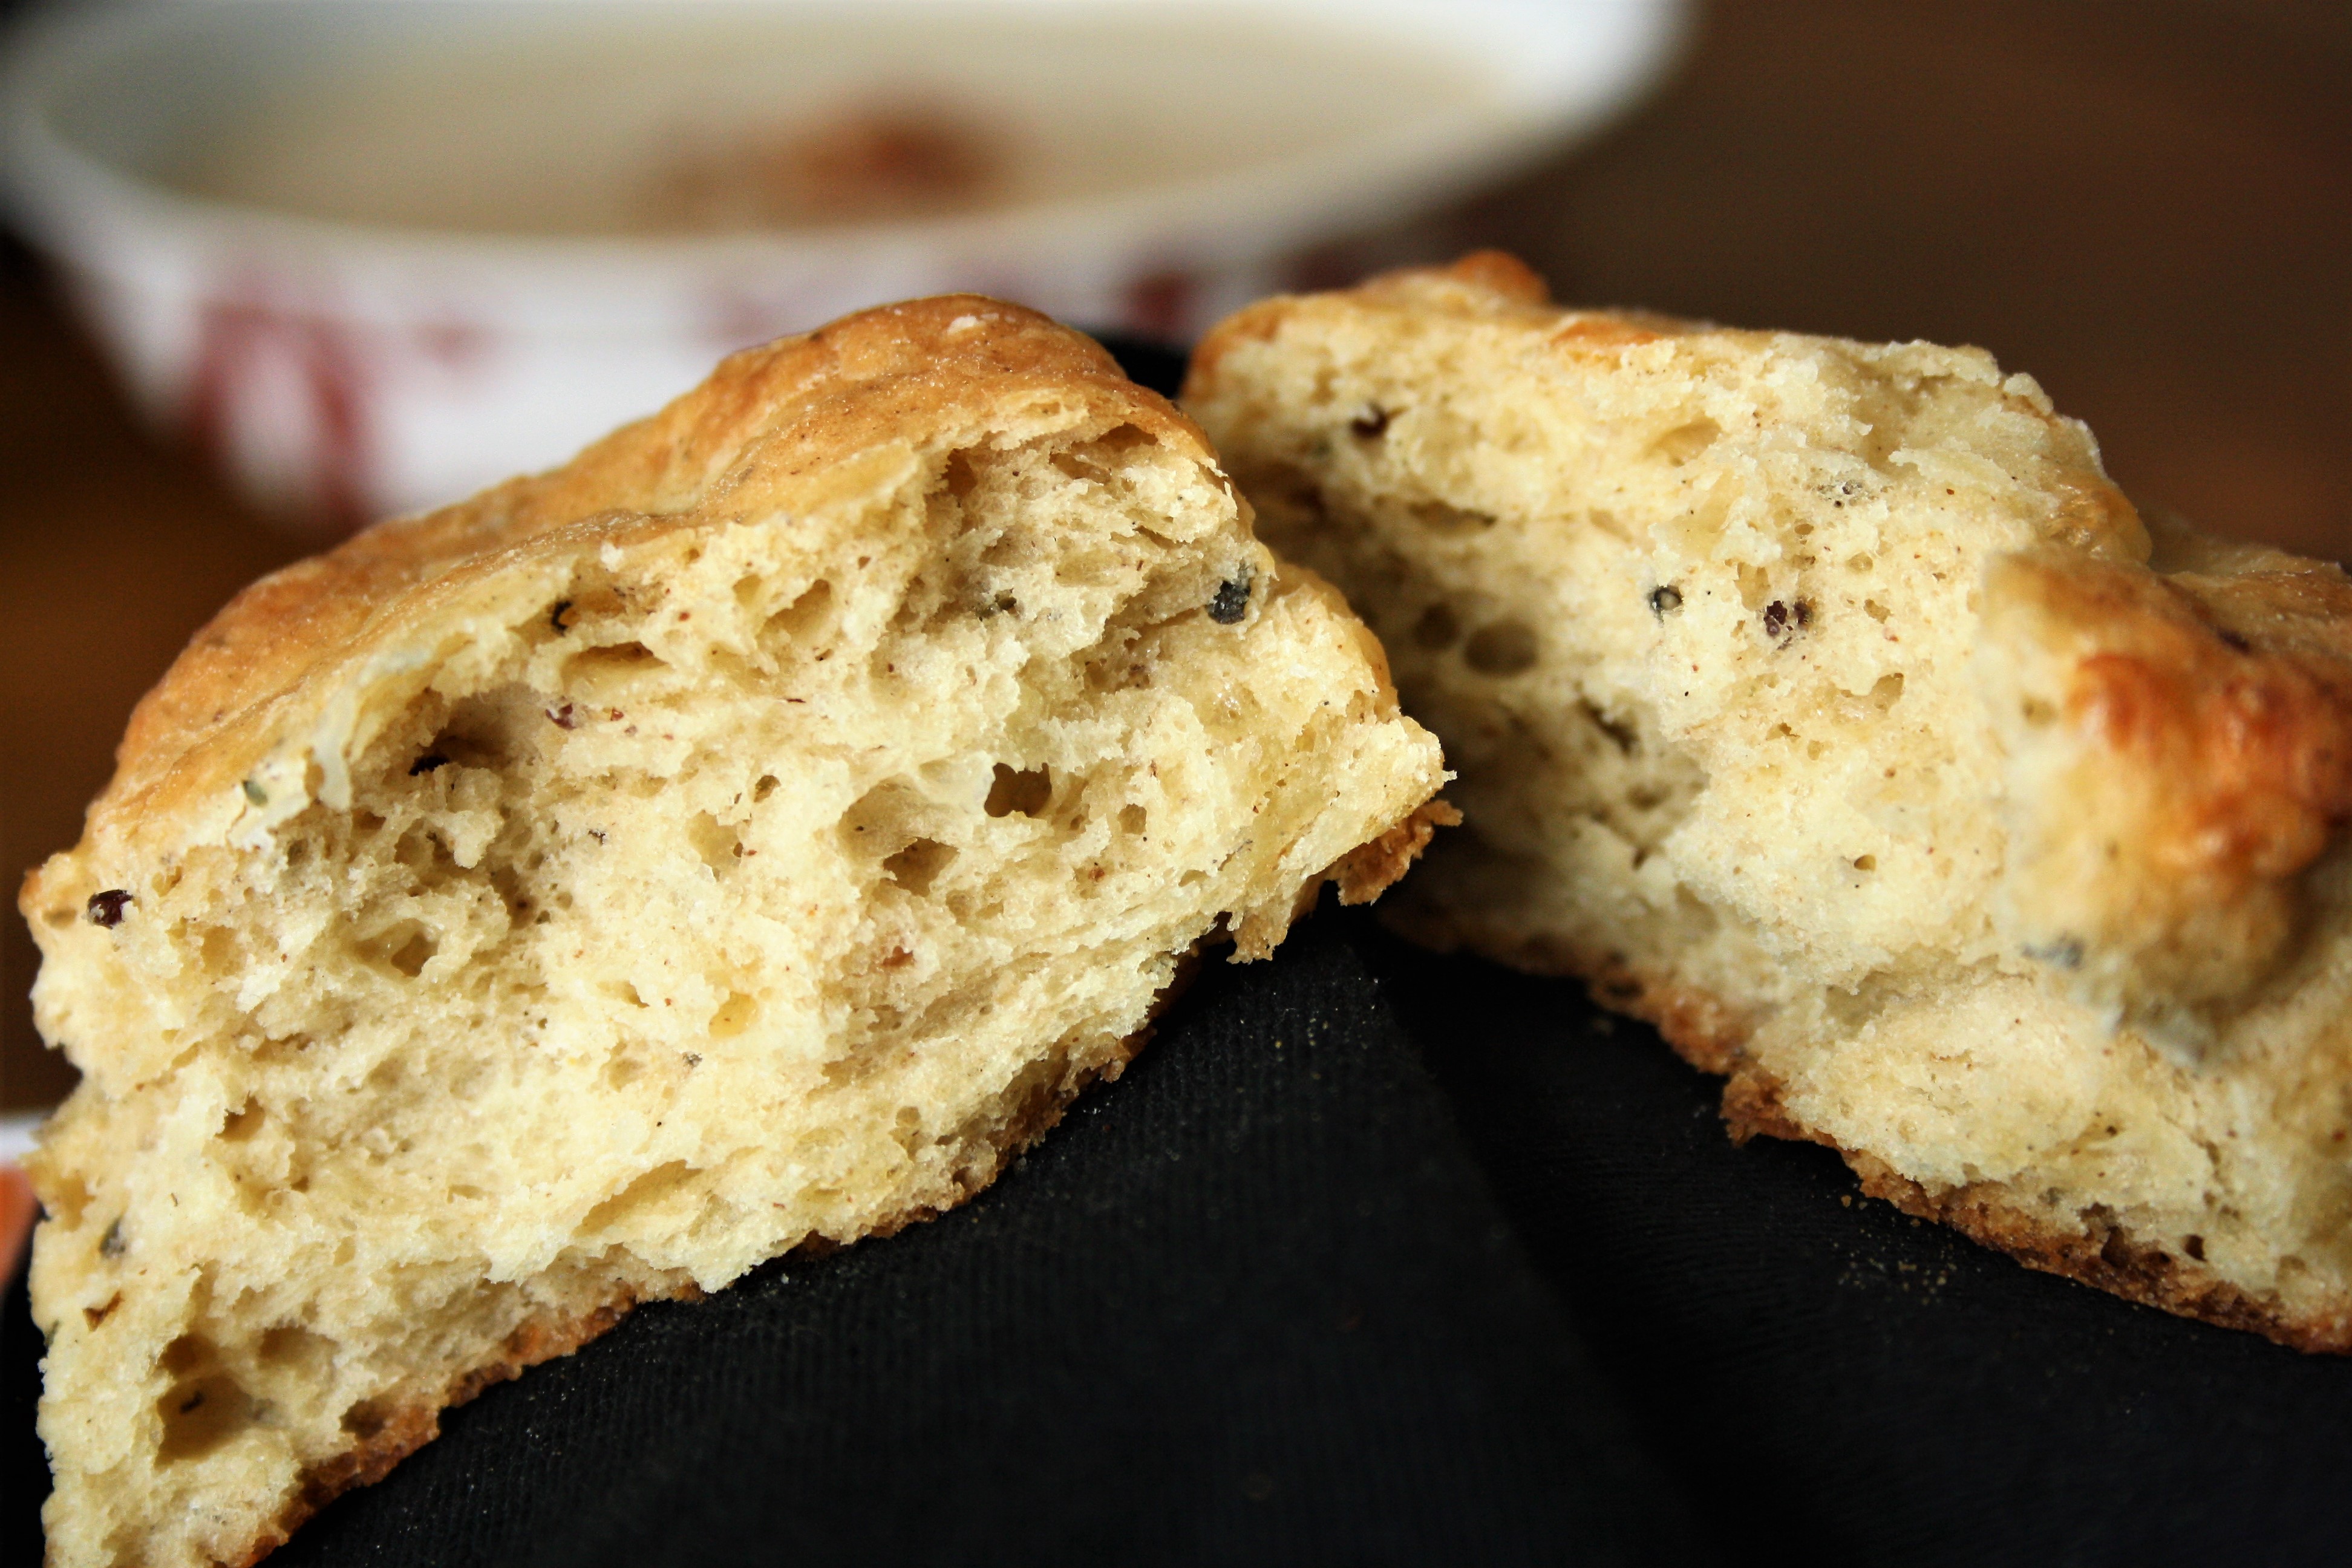
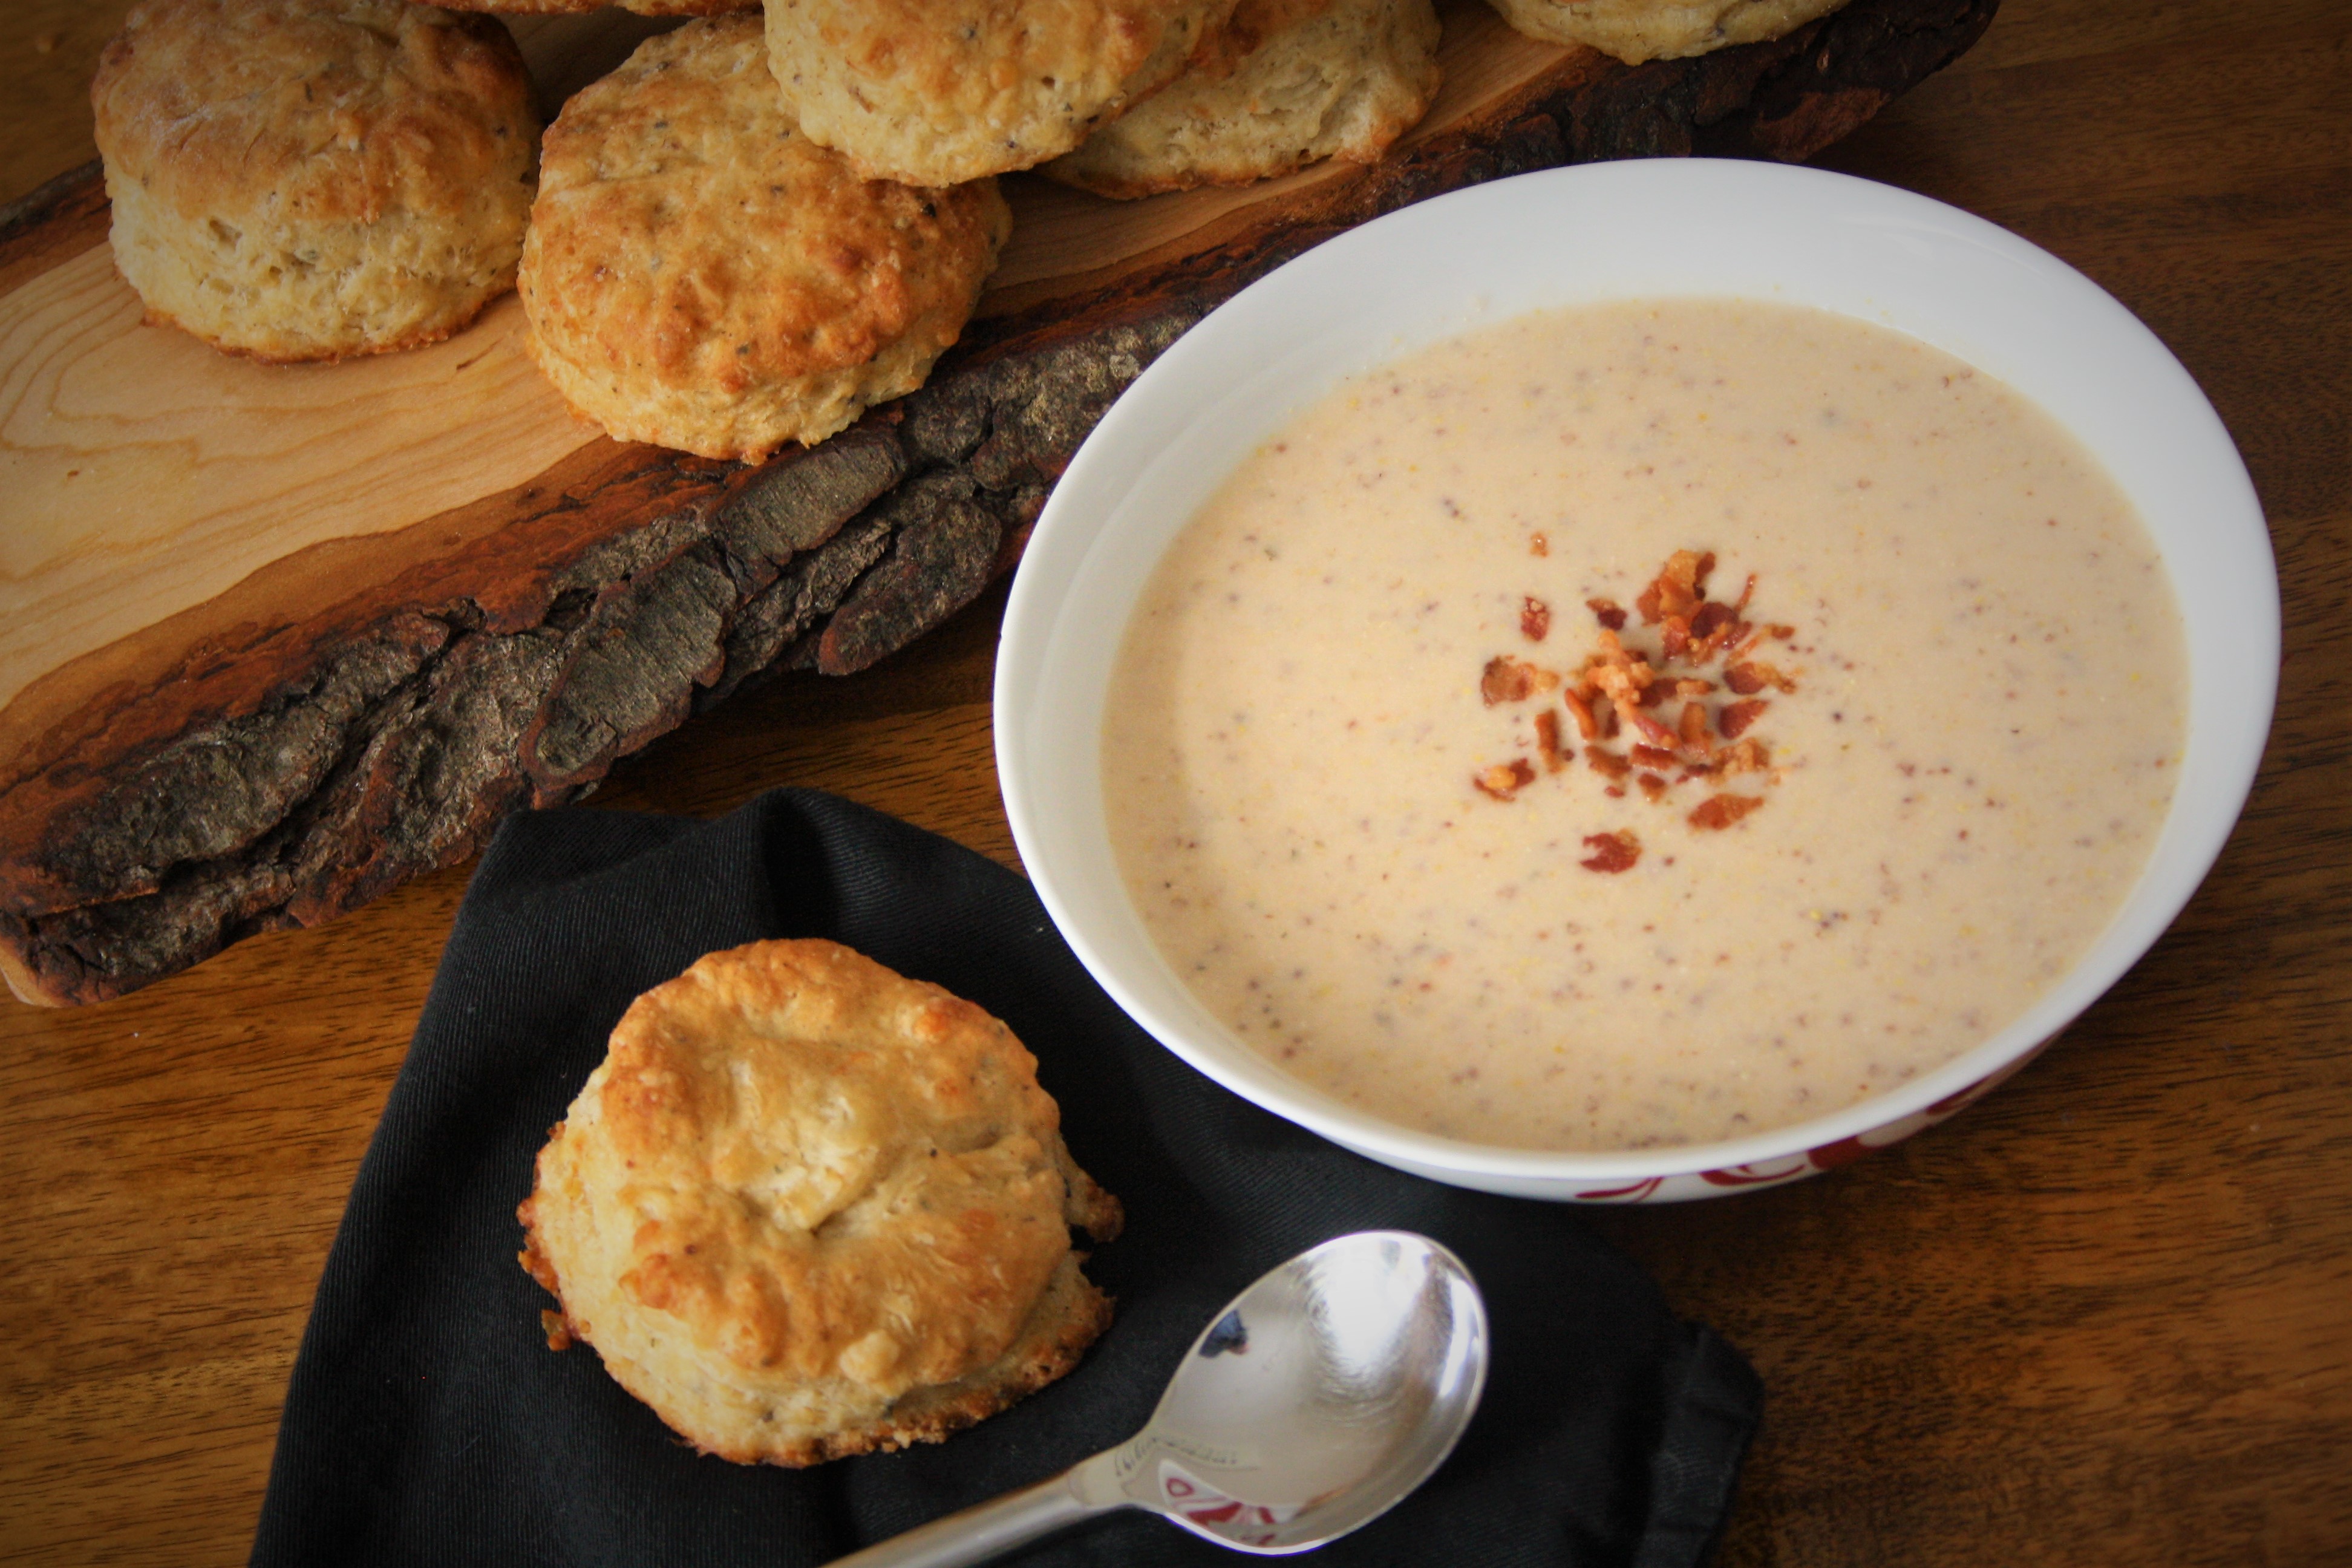
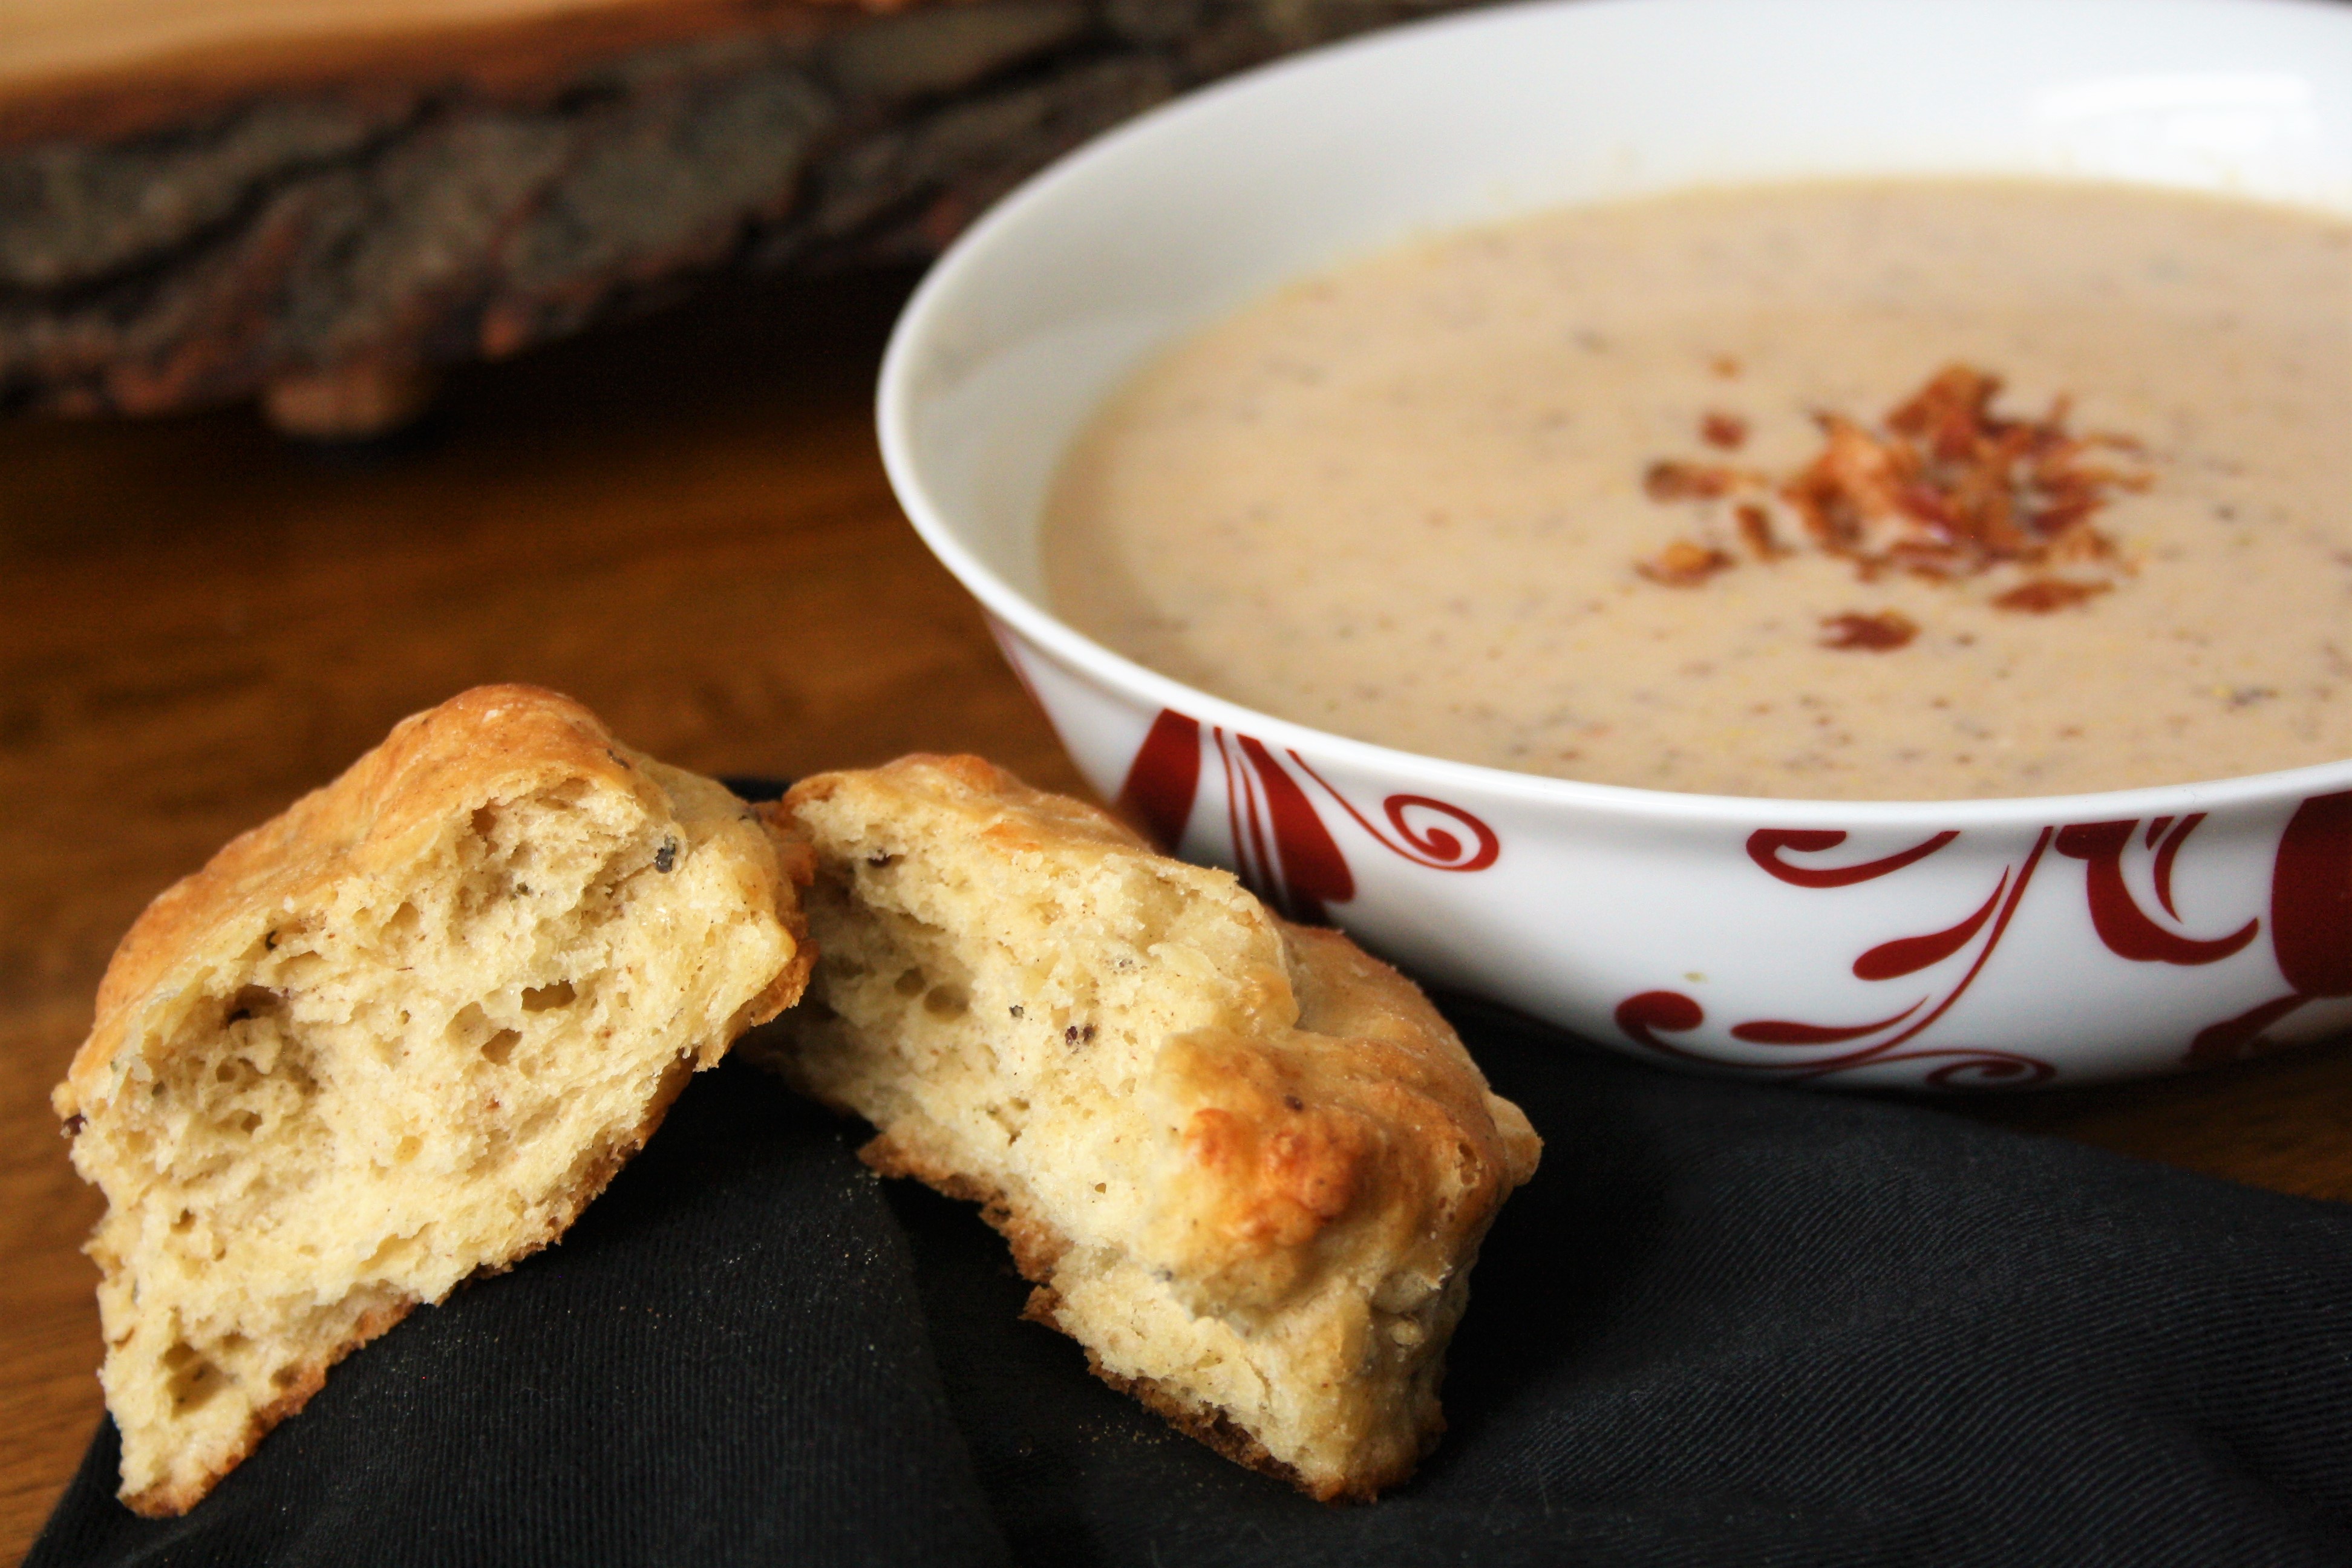
My cheese, herb & mustard biscuit recipe is my take on that stalwart recipe of any Canadian baker- the savoury biscuit. The flavour of the mustard adds a depth of flavour so that it’s like sampling the most perfect cheeseboard in each bite. By sheer coincidence (and luck?) they go very well with the last recipe for Dutch Mustard Soup.
This soup is based on a traditional soup from the Netherlands that I came across in the course of researching uses for mustard as an ingredient. Don’t be put off by the name. It is no way pungent or strong flavoured like you might imagine. The dairy elements of the soup give it a mildness and creaminess that help to highlight the mustard seeds flavours, without letting it take over.
Apple & Cranberry Turnovers
Makes 8
Ingredients
2/3 cup dried cranberries
2 Tablespoons butter
2 cups chopped Granny Smith apple (peeled) (2-3 apples)
1/4 cup dark brown sugar
1/4 cup granulated sugar
1/4 cup Maple flavor mustard (I used Kozliks Amazing Maple)
1 lb puff pastry, thawed
1 large egg white
sugar for sprinkling
Method
Melt the butter in a pan over a medium heat. Once melted add apples, sugars and mustard. Fry until apples are softened and other ingredients start to thicken. Remove from heat and cool
Line two baking trays with baking parchment
Preheat the oven to 375 degrees F
Make an egg wash with one large egg white and 1 tablespoon of water by whisking them together
On a lightly floured work surface, roll out one sheet of puff pastry into a 12 x 10-inch rectangle. Cut the dough into four equal rectangles measuring 5 x 6 -inches each. Place 2-3 Tablespoons of cooled apple filling on one side of the rectangle and brush edges with egg wash. Fold the dough over the filling to make a 5 x 3-inch rectangle. Press to seal the edges and using a fork to crimp and seal the edges. Use a sharp knife to cut a few slits in the top of each hand pie for ventilation
Repeat with the second sheet pf pasty
Brush pies with egg wash and sprinkle with sugar
Place 4 turnovers on each baking tray
Bake for 15 before rotating trays and swapping shelves minutes. Bake for a further or minutes until golden brown and puffed up
Remove from the oven and let cool for at least 20 mins before trying
Cheese, Herb & Mustard Biscuits
Makes 12
Ingredients
2 1/2 cups all-purpose flour
2 tablespoons granulated sugar
2 1/2 teaspoons baking powder
1/2 teaspoon baking soda
1/2 teaspoon salt
1/2 cup cold butter cubed
1 cup strong cheddar cheese, shredded
2 tablespoons mustard (I used Kozliks Balsamic Fig & Date)
1 cup buttermilk
1 egg
Method
Line a baking tray with baking parchment. Preheat your oven to 400°F (200°C)
In bowl, whisk together flour, sugar, baking powder, baking soda and salt. Using pastry blender or 2 knives, cut in butter until in coarse crumbs
In a separate jug whisk together the buttermilk, egg and mustard
Stir into flour mixture with fork to make soft doughWith lightly floured hands, press dough into ball. On lightly floured surface, knead gently to a maximum of 10 times
Pat into 3/4-inch (2 cm) thick round. Using floured 2-1/2-inch (6 cm) round cutter, cut into rounds
Place on lined baking tray and bake in oven until golden, 12 to 15 minutes
Remove from the oven and leave to cool on a wire rack
Dutch Mustard Soup
Ingredients
4 ounces streaky bacon, chopped
2 TB unsalted butter
2 TB all-purpose flour
1 onion, chopped (about 1 cup)
4 TB coarse grain mustard (I used Kozliks Triple Crunch)
1/4 cup heavy cream
2 ounces goat cheese
4 cups vegetable or chicken stock
Method
In a medium saucepan over medium-high heat. Add the bacon, and cook until the fat is rendered and the pieces are crispy. Once cooked, remove from pan and set aside, and drain pan of all bacon grease
In the same pan, add the butter and the onion. Melt the butter butter and saute the onions until translucent, about 5 minutes. Sprinkle with the flour and coat the onions, stirring until the flour is a cooked, about 2 minutes. Add the stock and mustard, and bring to a boil
Reduce the heat to medium and, using a stick blender, puree until smooth. Add the cream and the cheese and stir constantly until the cheese is melted and well incorporated
Top with a sprinkling of the bacon, and serve
I’d like to state that although these recipes use Kozliks Canadian Mustard, this post was in no way paid for or sponsored by the people at Kozliks.
If you are interested in collaborating with me at Mr. Mom’s on a project, whether it’s food, baking, photography or writing, you can contact me at chef@mrmoms.kitchen