Spiced Chocolate Cake

This cake started out life as something different. In it’s original form it took inspiration from Bejamina Ebuehi’s “Hidden Pear Cake” from her book The New Way To Cake (which I thoroughly recommend). I loved the idea of having the pear fruit cheekily peaking though the ginger cake loaf, inviting you to dig in and explore what lies beneath. In one of my typical left of centre epiphanies I found myself reminiscing about a favorite childhood dessert- Pear Belle Helene. There always seemed to be something so refined and regal about this desert in my mind. Even now it conjures up images of sophistication and elegance- ivory pears poached to sweet, glistening tenderness slick with silky, warm chocolate syrup swirling hypnotically with pear syrup and melting vanilla ice cream.- each bite a sweet, sandy indulgence. So? could I create this in a cake? Well check out my IG feed for more details.

The resulting cake was good enough that I wanted to make it the feature on it’s own- fudgey, rich chocolate cake with a warming spiced undercurrent. For those of you in Ireland and the UK it has more than a passing resemblance to the infamous McVities Jamaica Ginger Cake. Here however the spicy ginger it is pared down a notch so it works in tandem with the rich chocolate flavor of the cake. Allowing this cake to sit for a day allows the texture and flavors to really develop. I would recommend making the cake and let to sit for at least a day in an airtight container at room temperature and bam! you’ll hit that sweet spot.

Now I’m somewhat of a puritan when it comes to eating cake. Not for me the silky adornment of cream or the smooth chilly sensations of ice cream- I like mine sliced pure & simple and this cake is a treat as such. However I do know that it tastes just as awesome when gently heated adjacent to a scoop of vanilla ice cream, or tenderly enrobed in smooth custard. The choice is yours.

Ingredients

  • 1 cup all-purpose flour
  • 1/2 cup cocoa powder
  • 3/4 tsp baking soda
  • 1/4 tsp salt
  • 2 tsps ground ginger
  • 1 tsp ground cinnamon
  • 1/4 tsp ground cloves
  • 1/2 cup Canola oil
  • 1/2 cup fancy molasses
  • 1/4 cup orange juice
  • 3/4 cup dark brown sugar
  • 2 eggs
  • 1/2 tsp vanilla extract
  • 1/2 tsp chocolate extract
  • 1/4 cup whole milk

Method

  • In a bowl combine the flour, cocoa, baking soda, salt and spices. Whisk to combine and set aside until needed
  • Combine the oil, molasses, juice and sugar in a small saucepan. Set it on low heat and stir till the sugar has dissolved. Set aside to cool for about 10 minutes
  • Preheat your oven to 325 degrees F. Grease an 8″ x 8″ square cake pan with oil or line it with baking parchment and allow the edges to overhang for easy removal
  • Transfer the cooled molasses mixture to a large mixing bowl and add in the eggs, vanilla and milk. Whisk well until smooth and well combined
  • Fold in the flour mixture gradually into the liquid until incorporated. Make sure the there are no pockets of dried flour mixture. The final batter may look a little lumpy- this is okay
  • Pour the batter into the prepared tin, level the top and bake for 35 to 40 minutes until a toothpick inserted into the center comes out clean. If the top is darkening quickly, cover the tin loosely with foil and continue baking
  • Allow the cake to cool in the tin for 15 minutes, then remove and place on a wire rack to cool completely before slicing. Store in an airtight tin for about 3-4 days at room temperature, or refrigerate, tightly wrapped, for a week

Elvis Banana Bread

Elvis. The very name conjures up images of sweaty excess, sexy rhythms and snake-hipped gyrations. I have to admit to not being a fan of the man himself but there’s one thing that I can’t deny and that’s his impact on the world.

Aside from his groundbreaking impact on the world of music and movies, Elvis’s impact even stretched as far as the food world. Yes it may not be fancy but the grassroots ingredients of peanut and banana have become synonymous with the Graceland god. Google “The Elvis” and you will find a plethora of entries on the unnervingly mouth-watering combination of peanut butter, banana and bacon- usually in sandwich form. Is this actually a combination so off the wall it works? The answer is actually- yes. The unctuous smoothness of the peanut butter and banana spiked by the salty bites of bacon crispiness stopping it becoming overwhelming and bland.

It was within a week of watching cookery competition shows and Netflix culinary food-show binging that I noticed a bizarrely serendipitous trend- the theme of PB&J and Elvis appeared to crop up rather a lot. We’re talking epiphany-like levels folks. The universe was speaking to me and it was saying, “Elvis”. But how to incorporate this make-up into something unexpected? The answer was literally right under my nose- I pondered the question whilst munching on a slice of last week’s banana loaf.

Now whilst I love banana bread, a certain Covid-quarantine ennui had settled on my taste buds in regards to it. I had become a lockdown Lancelot in a quest to revamp the moist. rich loaf- as my recipe for Buttermilk & Cardamom Banana Bread bares testament to. And this Memphis-kissed combination provided another excuse for kitchen experimentation.

The peanut/ banana combination was an obvious treatment for the loaf itself, and pockets of flavored jelly would of course provide surprising nuggets of sweet, sticky joy in the dough. But where to work in the final signature ingredient of the King? I didn’t want anything as obvious as just a couple of bacon slices on top. My other concern was that mixing bacon pieces into the batter would cause them to become chewy and soft gribene-esque morsels in the batter. So how better to avoid them becoming gummy crumbs than to put them outside the batter…on top…in a topping…a STREUSEL topping!

Et viola! Elvis Banana Bread…enjoy!

Ingredients

  • 3 large bananas
  • 4 Tbspn Peanut butter (smooth or crunchy to you taste)
  • 1/2 cup Canola oil
  • 1/3 cup milk
  • 1 tspn Vanilla extract
  • 2 1/3 cup AP flour
  • 3/4 cup Dark brown sugar
  • 2 tspn Baking powder
  • 1 tspn cinnamon
  • 1/4 tspn Kosher salt
  • 1/3 cup Grape jelly (feel free to sub with whatever flavour you like)

Streusel Topping

  • 5 slices bacon, cooked and crispy
  • 1/4 cup Dark brown sugar
  • 1/4 cup fine sugar
  • 1/4 cup AP flour
  • 1/2 tspn cinnamon
  • 2 Tbspn Butter, cold and diced
  • Pinch Kosher salt

Method

To make the streusel topping

  1. In a bowl combine both the sugars, flour, cinnamon, salt and butter pieces. Rub the mixture together with your fingertips until a pea-sized sand texture is achieved and a crumble is formed. Crumble in the crispy bacon slices, mix through and set aside until needed later. *This makes more than enough streusel topping with plenty left over for additional uses. It’ll keep in the fridge for up to 3 days in an airtight jar

To make the banana bread

  1. Preheat the oven to 350°F. Grease a 9″ x 5″ loaf pan and line the bottom & with parchment paper (this will help to lift the baked loaf out)
  2. In a large bowl, mash the bananas. Add the peanut butter, oil, milk and vanilla, whisk well to combine and set aside. In a separate bowl, whisk together the flour, sugar, baking powder, cinnamon and salt
  3. Pour the banana mixture into the dry ingredients and fold together until just combined and there are no spots of dry floury residue
  4. Pour 1 /2 of the batter into the loaf pan. Using a piping bag or spoon, place dollops of the jelly along the top of the loaf batter leavings about 1 inch border around. Once you’ve got the jelly piped in how you’d like,  pour the remaining loaf  batter over to cover the jelly and roughly level the top. Generously sprinkle over the streusel topping to an amount of your liking
  5. Bake for 50 to 60 minutes, or until well risen and a toothpick inserted into the center comes out clean
  6. Remove the baked loaf from the oven, allow to cool for 5 minutes in the loaf pan before lifting out using the parchment paper, and leave to cool completely on a rack before slicing

Cinnamon & Toasted Coconut “Babka”

img_8293

Covid quarantine has been interesting to say the least. Amongst everything else the lighter side of things including apocalyptical shortages of toilet tissue; mind-numbing cabin fever and Netflix binges galore to say the least. But it’s the baking I’ll remember. Never in any pandemic themed movie was there a world where the protagonist’s quest revolved around that of All Purpose flour and yeast. CV-19 triggered peoples’ inner baking gusto. Was it the yearning for self-sufficiency in an uncertain world, or perhaps that solace of creative therapy? Everyone has their own answer no doubt. What I do  know is that never have my social media feeds been so alive with breads and bakes from domestic kitchen alchemists. Sourdoughs, scones and banana bread. Oh- the plethora of banana breads! 101 ways with that familiar speckley brown fruit. But another baked bread that’s been quietly enjoying a renaissance is the Babka.

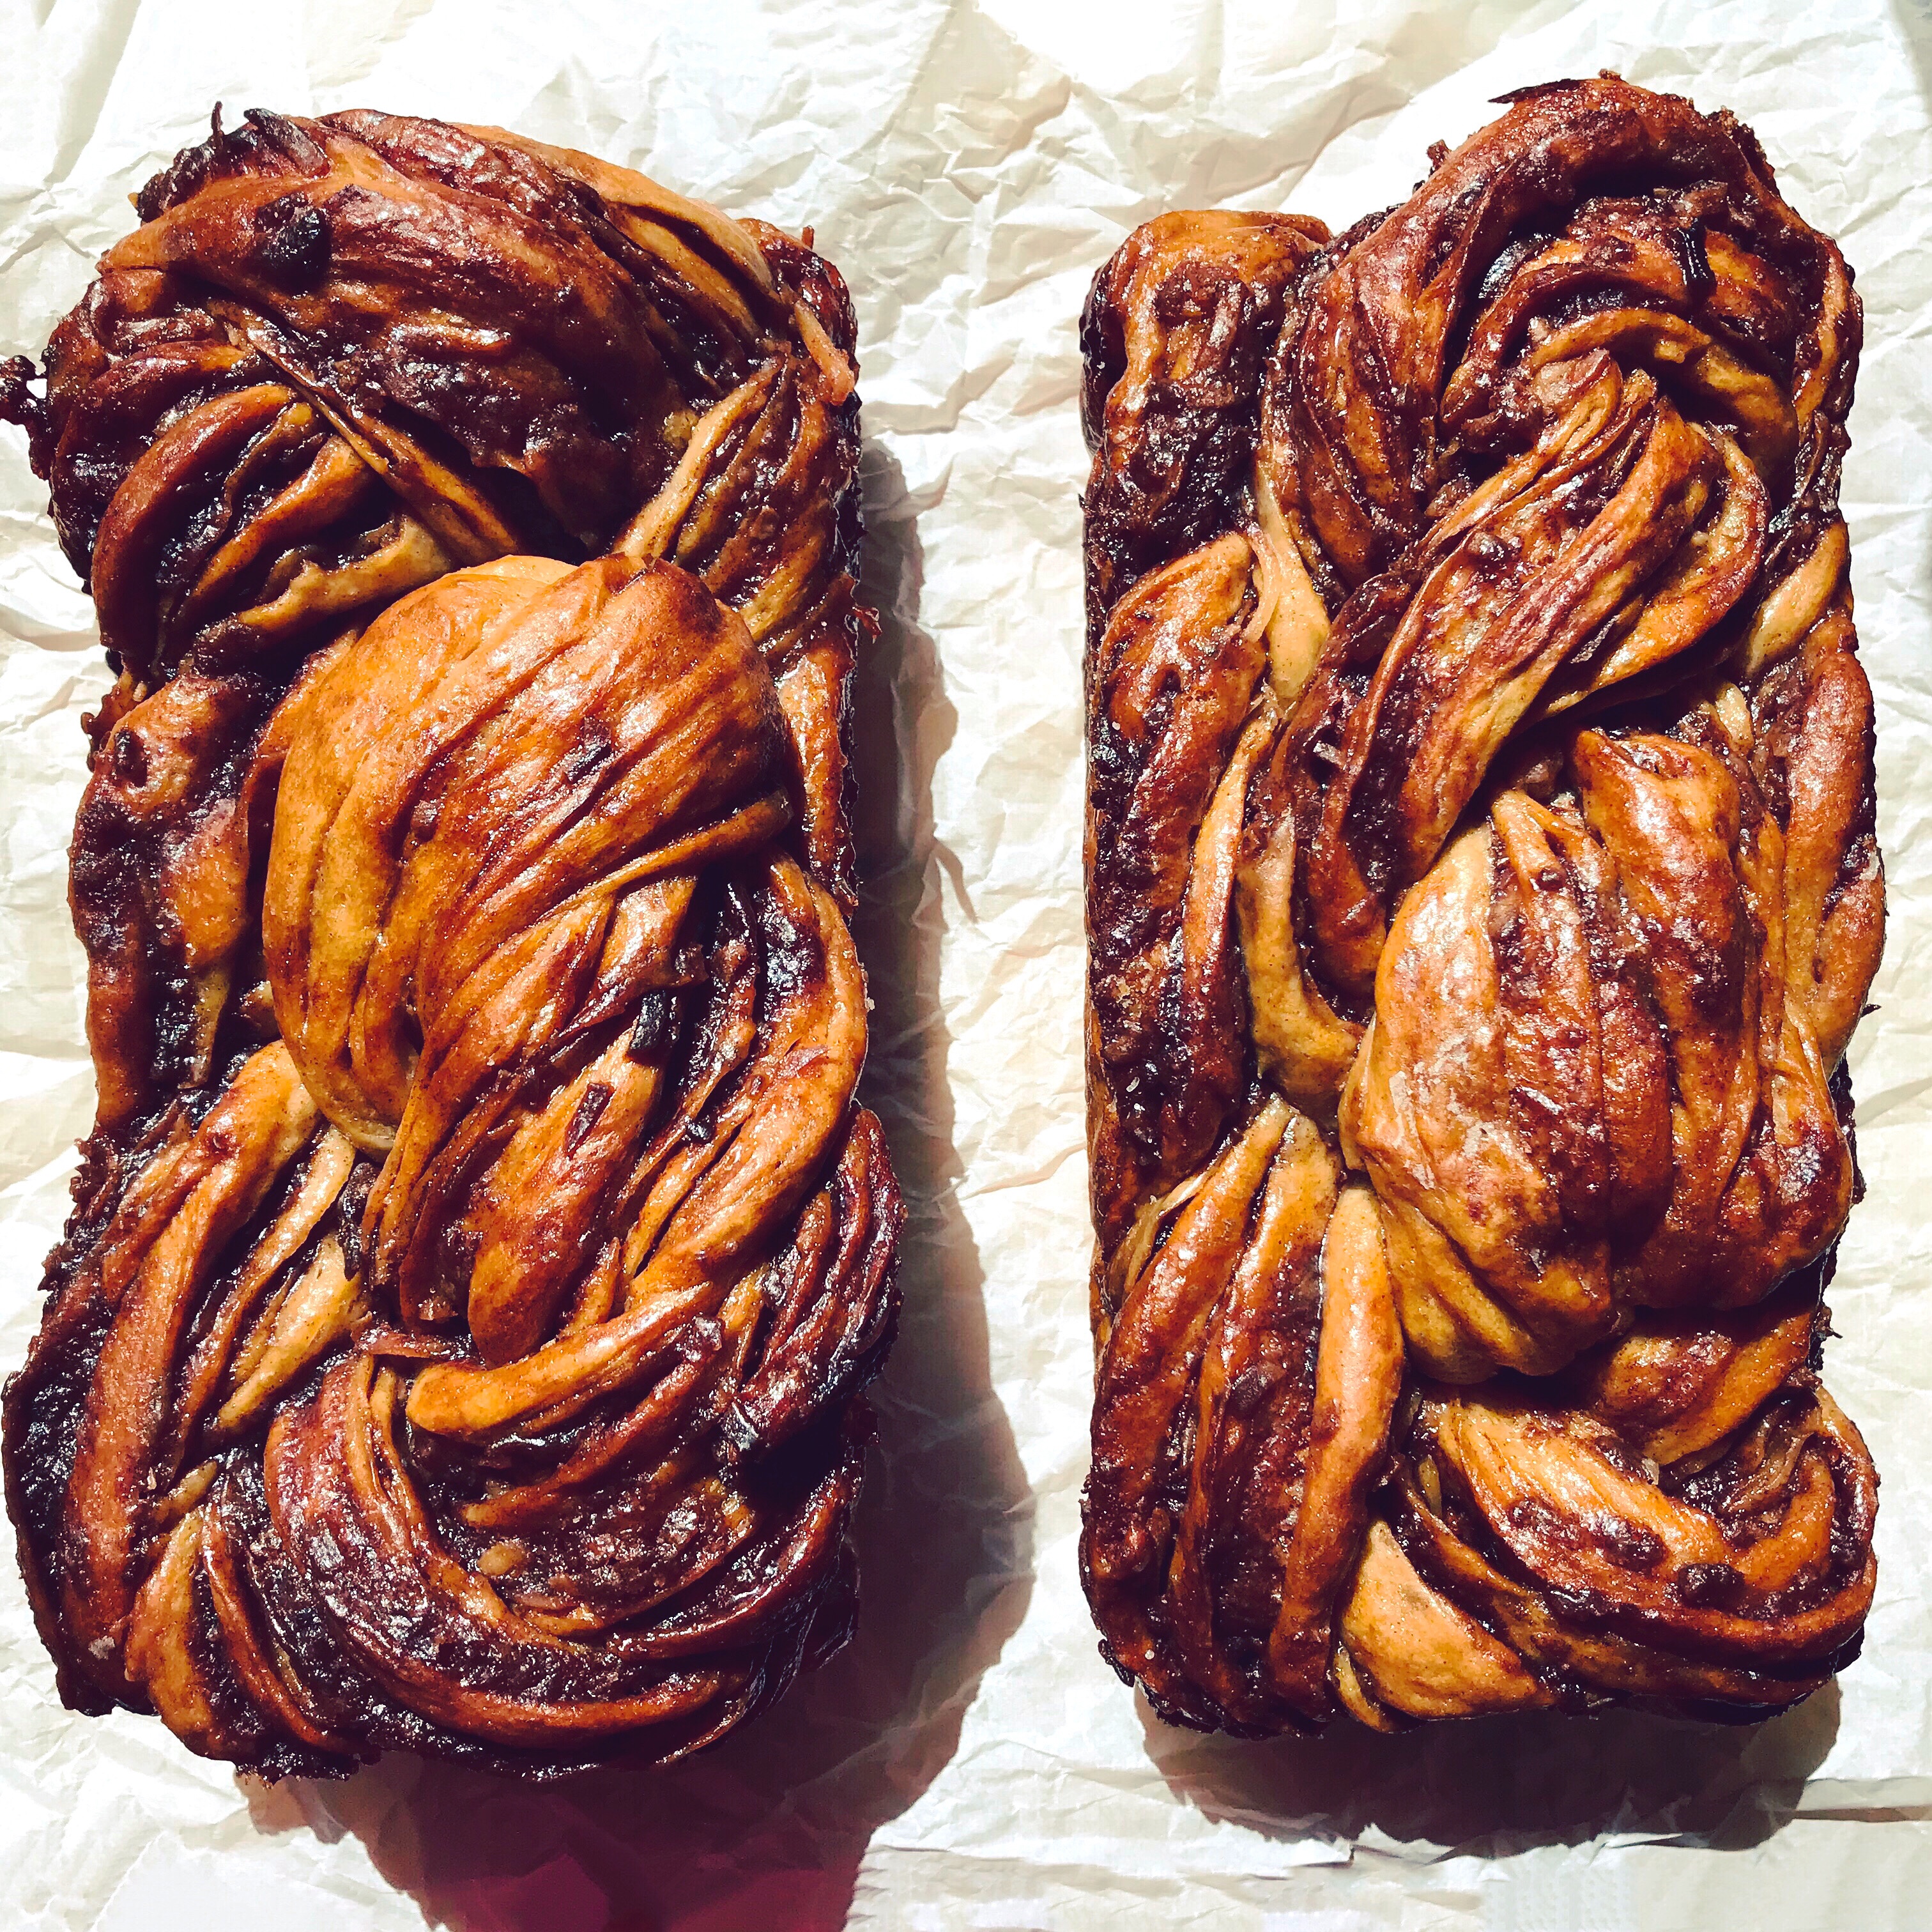
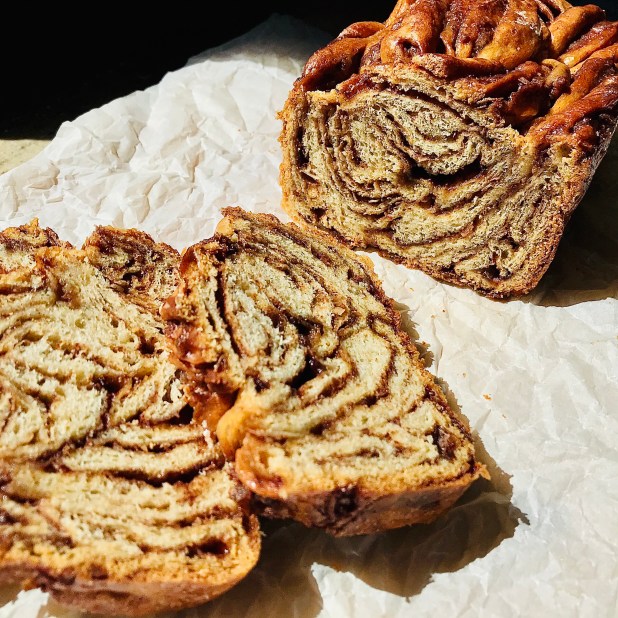
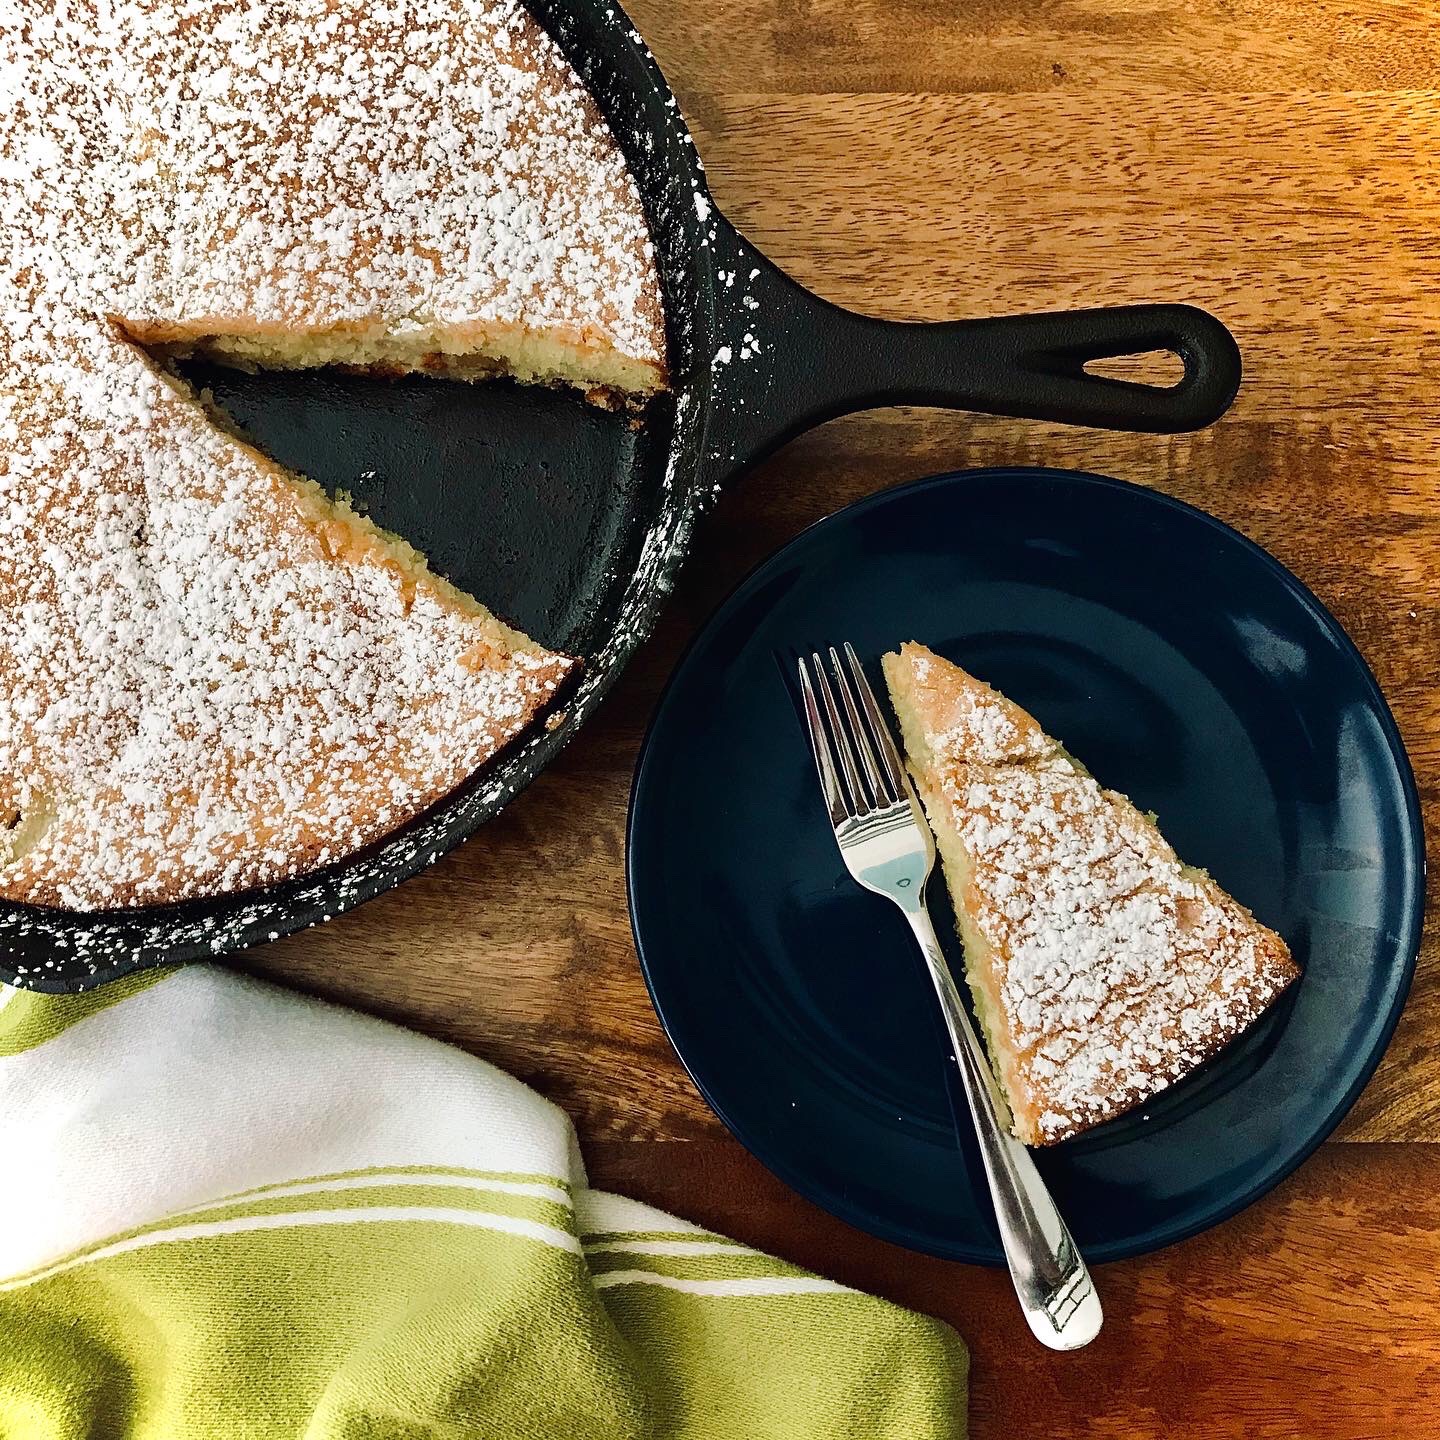
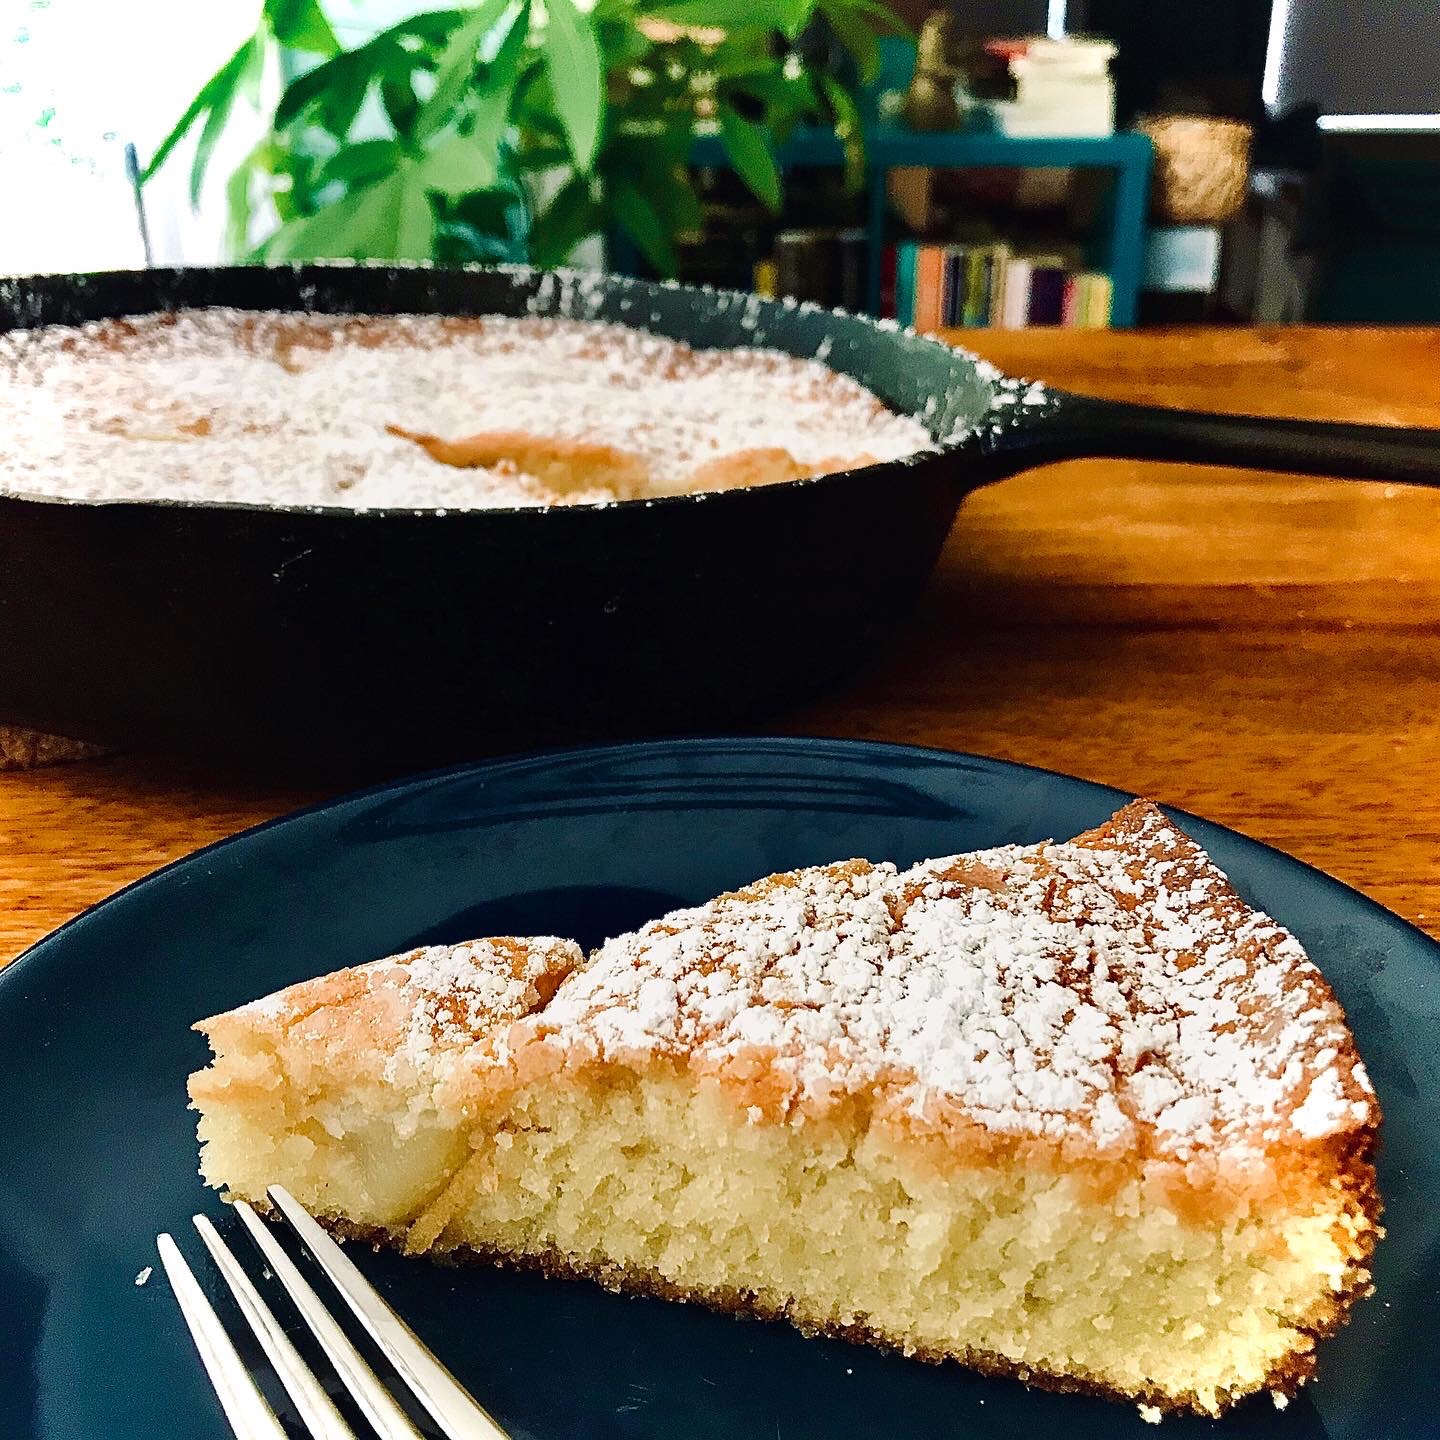
This one’s been on my ‘To Do’ list for a while. Surely I’m not the only one who finds something hypnotic about the ripples, folds and swirls of the this loaf. And so multi-purpose too! Stuck for breakfast? Lightly toast a slice as a perfect crispy-edged morsel with your coffee. Last minute dessert needed? Gently oven warm and top with a scoop of French vanilla ice cream, and melt into the sublime comforting gooeyness.

There appears to be much debate about which is best, and dependent on which part of which city you live in who’s is best. Whether it’s to be chocolate filled, or cinnamon laden; sweet or savory. Just like the layers in a babka the opinions are many and varied. I will freely admit to using the term “babka” here in air quotes. Whilst it might have to multi-layered look of the traditional Jewish bread I use my go-to recipe for enriched dough which usually forms the basis of my cinnamon bun recipe. Whilst it’s not a laminated dough, in the sense of croissant structure, it is more akin to a couronne with layered structure twisted and on show.

I feel it only right to give a quick, but hopefully respectful, snapshot history on the baked loaf. The loaf’s name itself is in reference to it’s root’s in the Jewish communities of Eastern Europe- “babka” meaning “little grandmother” in Ukranian, Russian, and Eastern European Yiddish. It’s told that on Shabbat, grandmothers would twist leftover scraps of challah bread with seeds and nuts, forming something not that dissimilar, if a little less sweet, to the babka we know today. With the influx of Eastern European Jews to the United States, especially New York, sweeter fillings were introduced. Chocolate, for instance, was much more obtainable and was included in the bake making the babka closer to the sweet treat we know of today.

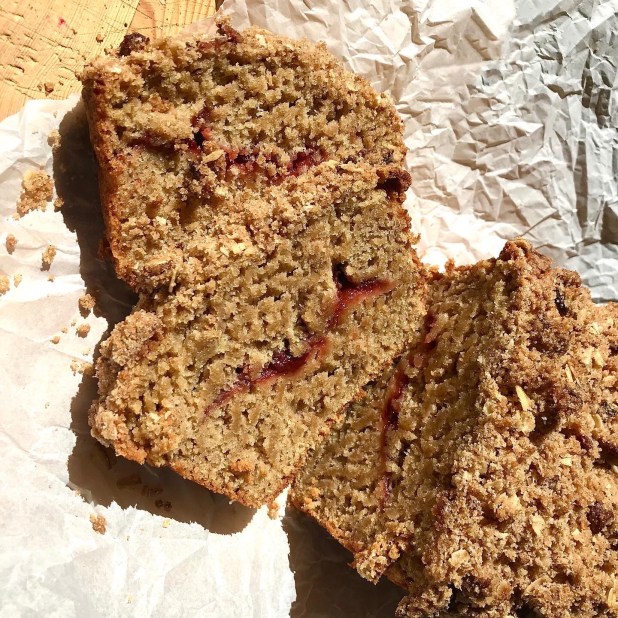
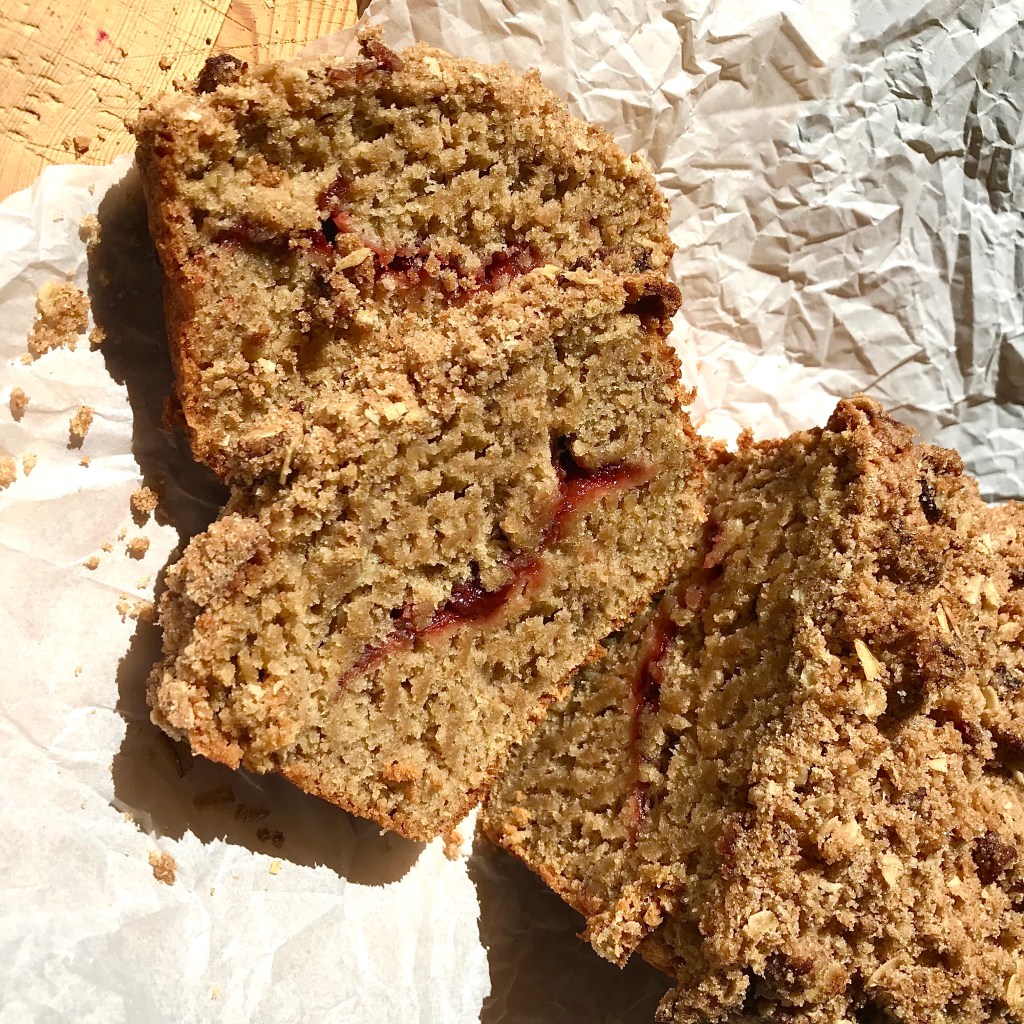
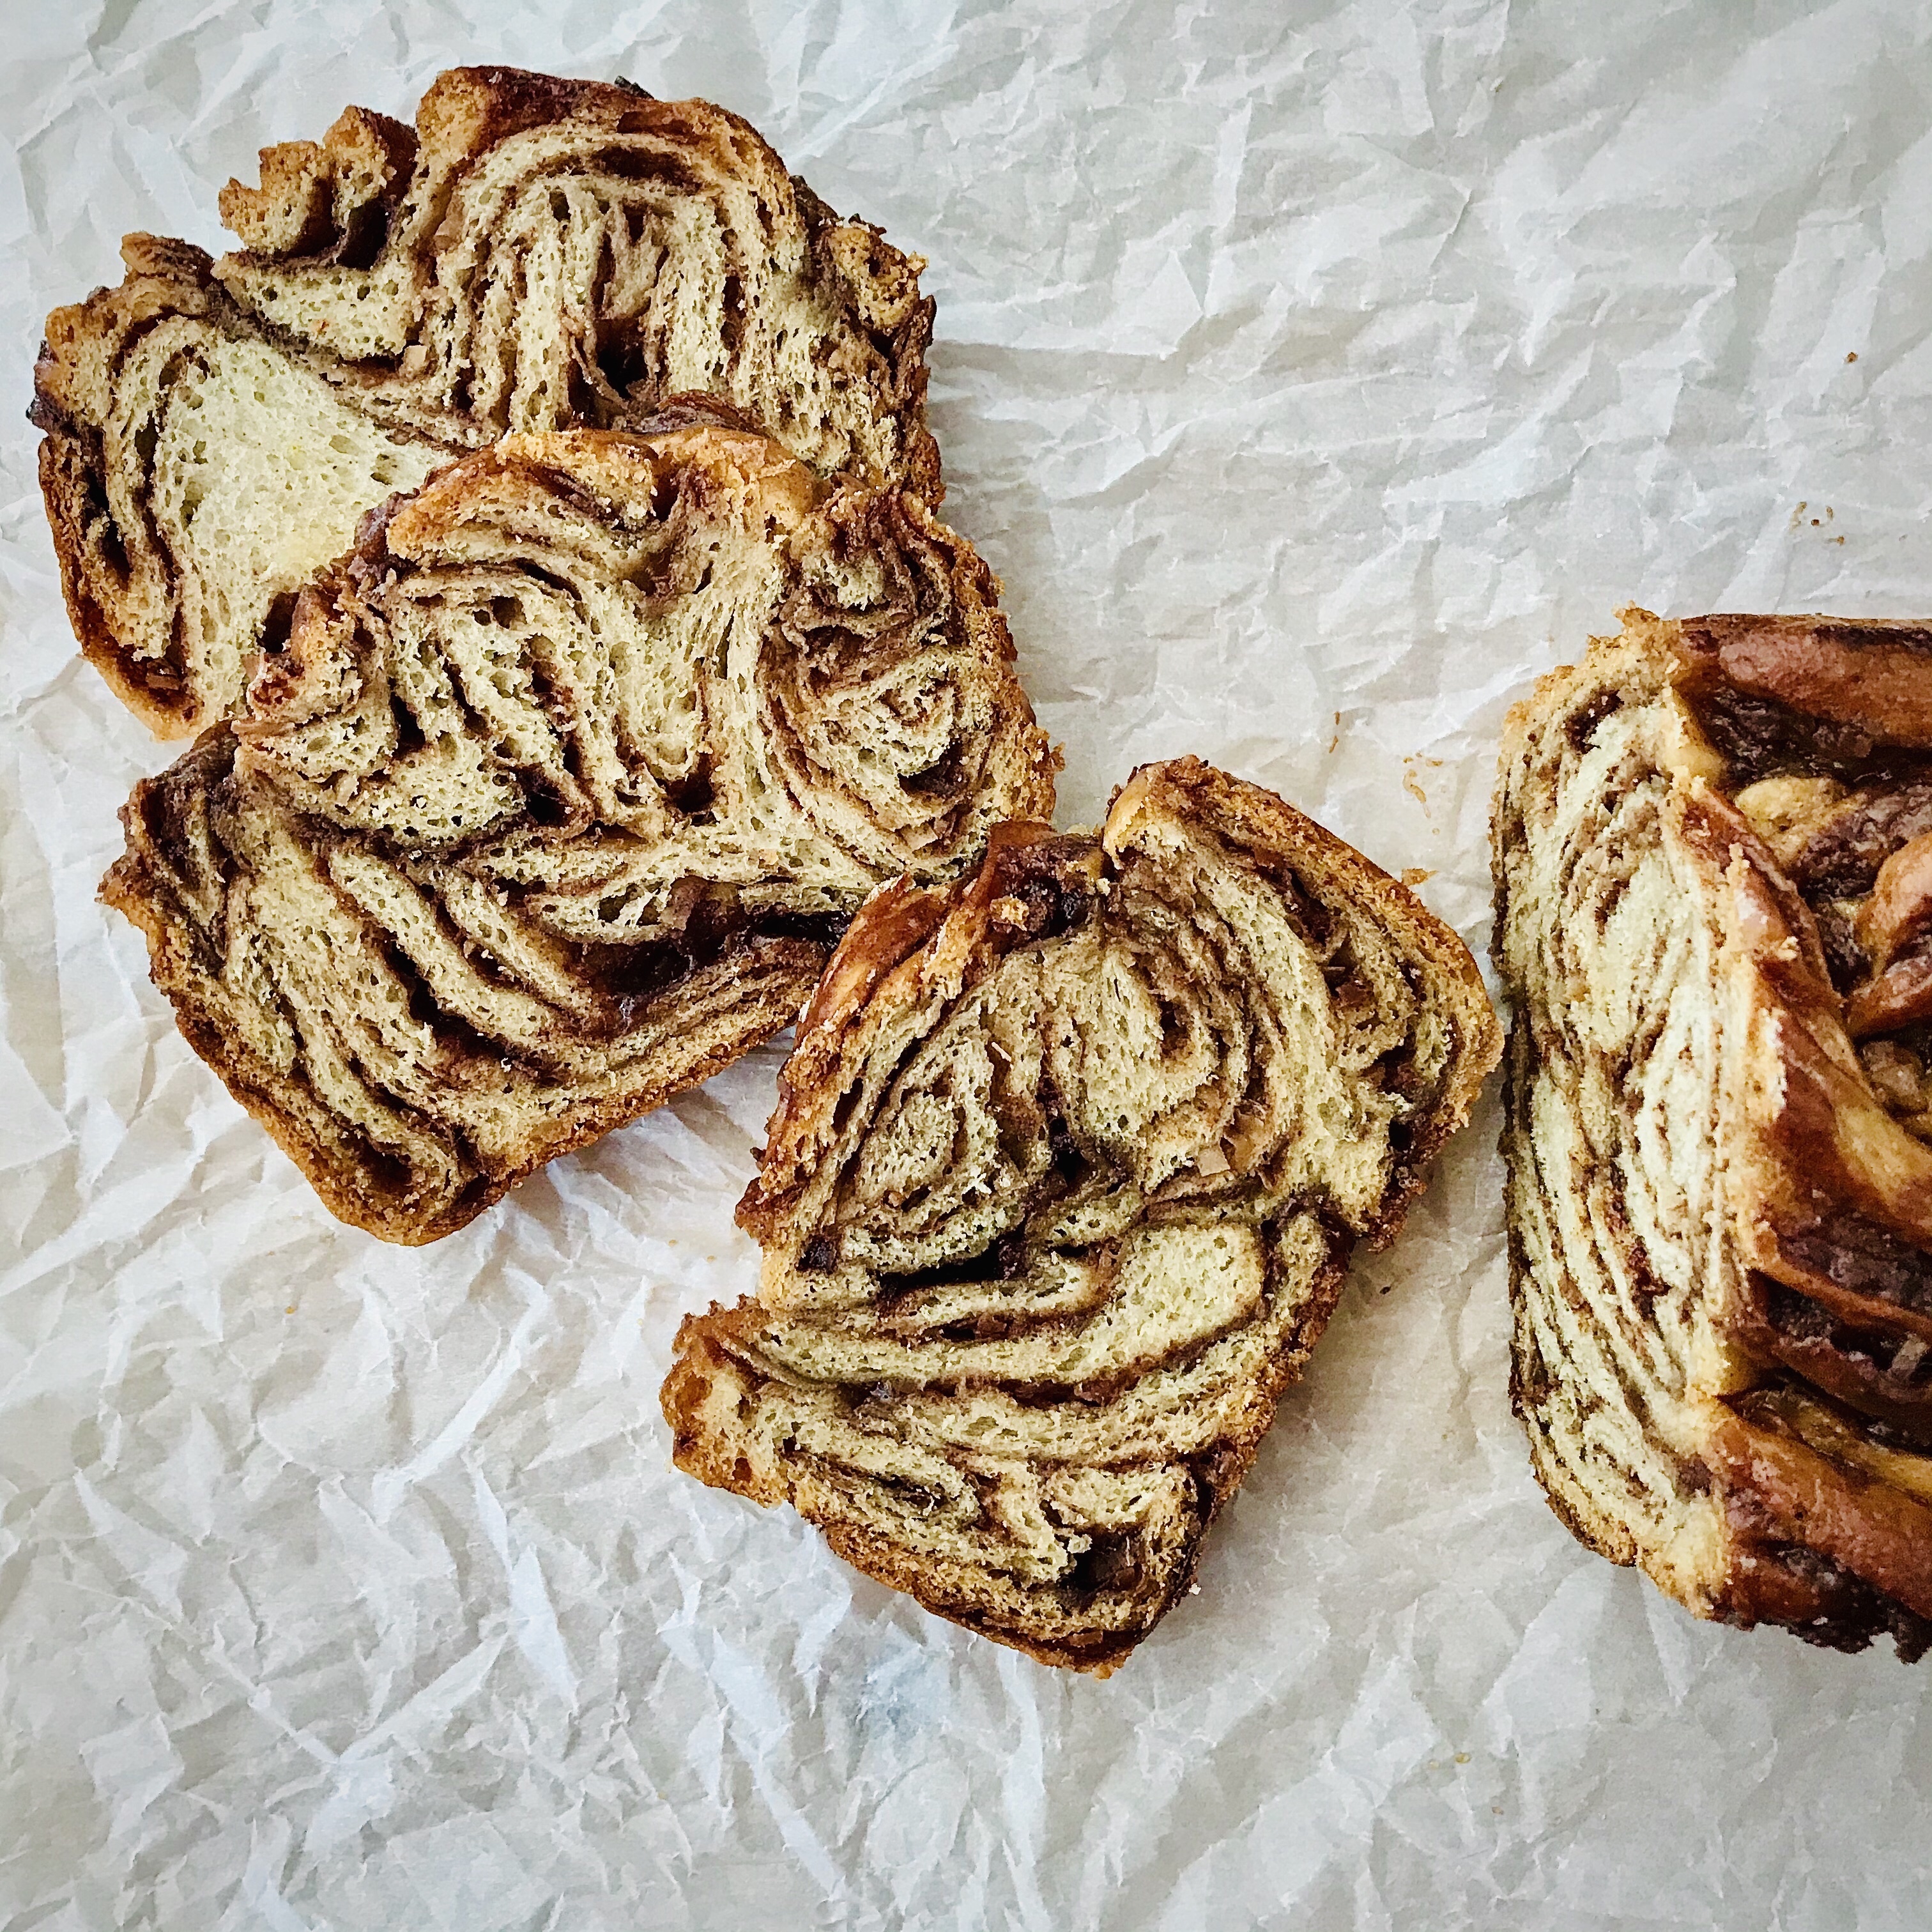
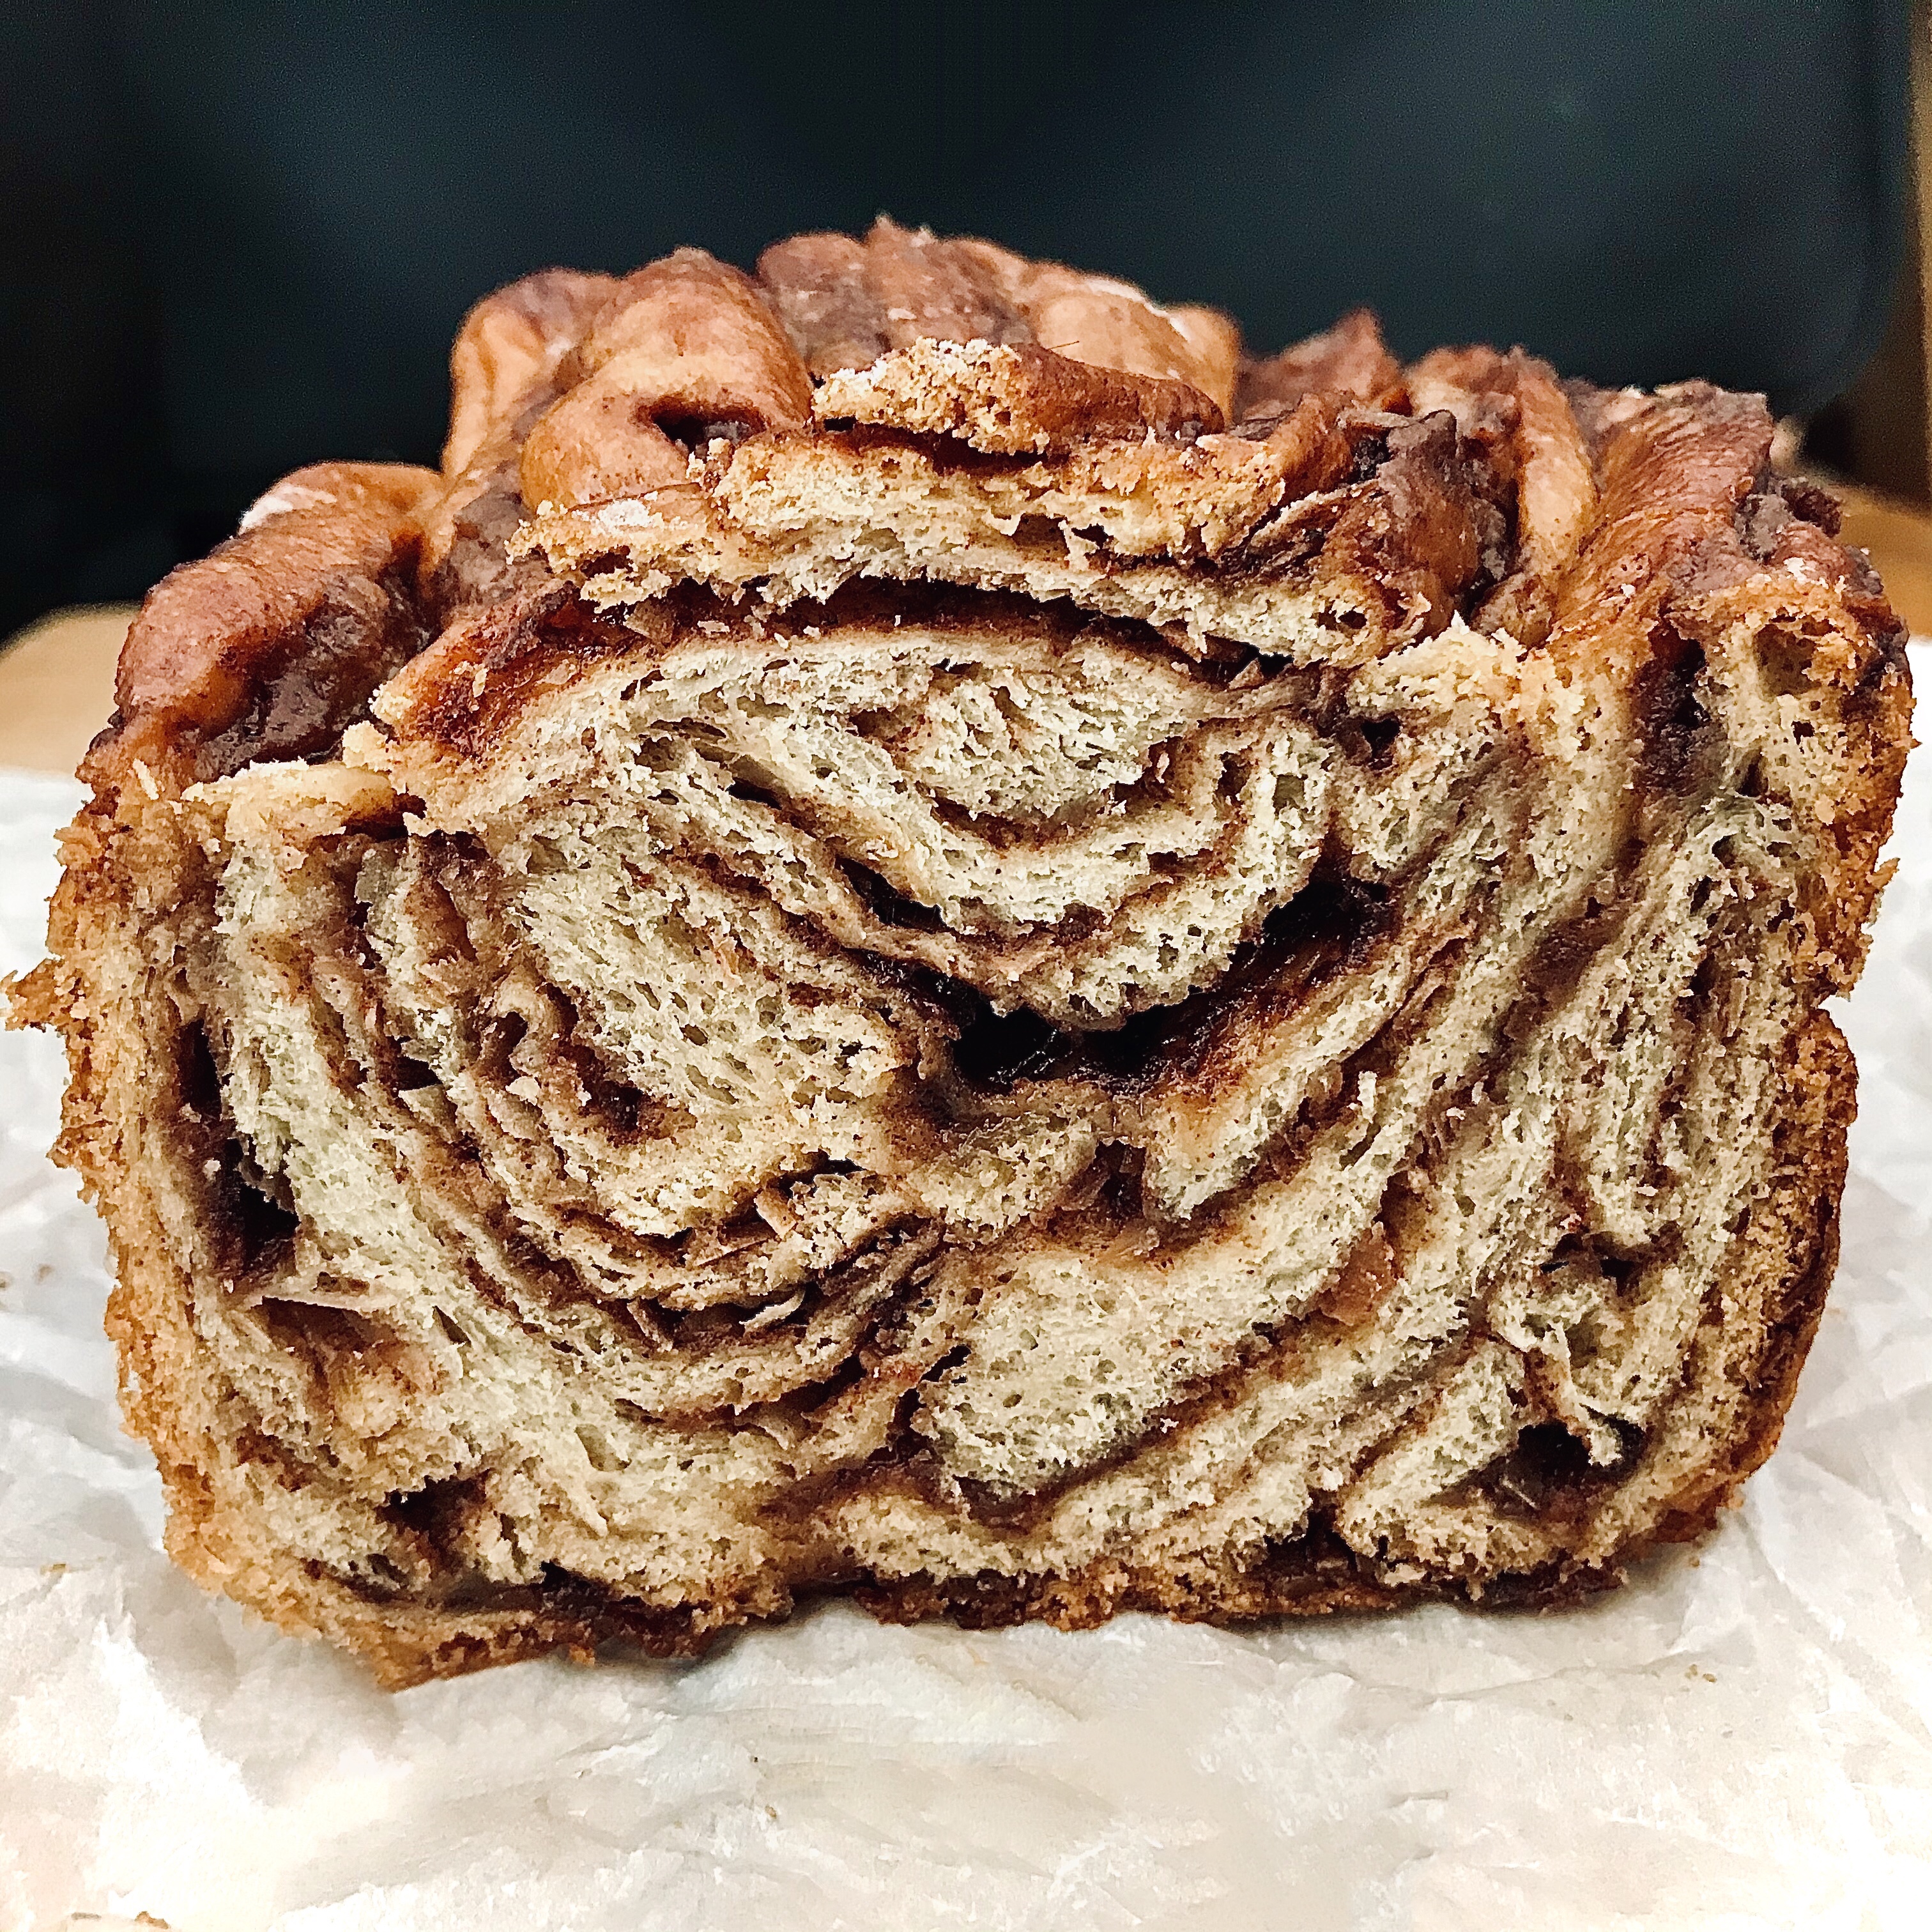
Whilst traditionally there seems to be a preference for topping the loaves with a sweet streusel topping I opted here for the lesser known alternative of a simple syrup glaze in order to have those wonderful braid-induced swirls on show. I’ve added toasted coconut to the traditional cinnamon paste filling to add an extra layer to the caramel tones of the paste whilst appealing to my penchant for all things “coconuty”. The recipe here is ample for two loaves- one for immediate scoffing and the other is ideal to pop in the freezer for later date. Simply thaw at room temperature until defrosted to enjoy!

Ingredients

For the simple syrup glaze

  • 1/2 cup fine sugar
  • 1/2 cup water

For the dough and filling

  • 1 cup milk
  • 3/4 stick salted butter
  • 2 1/4 tspns active yeast
  • 1 tspn sugar
  • 1/4 cup lukewarm/ tepid water
  • 4 cups AP flour
  • 1/2 tspn kosher salt
  • 1 tspn ground cinnamon

For the filling

  • 1 cup shredded coconut
  • 1 cup dark brown sugar, packed
  • 1 stick salted butter, softened
  • 3 Tbspns ground cinnamon
  • 2 Tbspns maple syrup

img_8294

Method

To make the simple syrup

  1. Combine the sugar and water in a small saucepan
  2. Bring to the boil over a medium high heat, until the sugar is dissolved
  3. Remove the pan from the heat and allow the syrup to cool fully

To make the dough

  1. In a jug combine the yeast, sugar and warm water. Stir and set aside for 10 minutes until foaming
  2. Gently heat together the milk and butter over a medium heat until the butter has fully melted. Remove from heat and set aside to cool until lukewarm
  3. In a pan over a medium heat, toast the shredded coconut until golden brown and fragrant. Set aside until needed
  4. In the bowl of a stand mixer with bread hook attached, combine the AP flour, salt, and cinnamon. Once the yeast mixture has foamed up nicely, tip it on, along with  the cooled butter/ milk mixture. Set your mixer to knead for between 6-7 minutes until it comes together in a single ball and has cleaned the bowl
  5. Remove the dough from the mixer bowl, place in an oiled large bowl, cover and leave to rise until at least doubled in size
  6. Whilst the dough is rising you can make the filling. In a bowl combine the softened butter, brown sugar, ground cinnamon, and maple syrup. Stir these together until well combined
  7. Line 2 loaf pans with baking parchment, up and over the sides
  8. Divide the dough in half and set one piece aside. Knock back the first piece of dough and shape into a rectangle, approximately 12″ x 18″
  9. Spread half of the cinnamon paste over the flattened, shaped dough. Once you have this done, then sprinkle half of the toasted shredded coconut over the paste covered surface.
  10. Roll up the dough, along the long side, until fully rolled into a swiss/ jelly roll shape. Using a sharp knife or bench scraper, slice the roll, lengthwise, down the middle to expose layers of filling. Pinch together the twp halves at one end and carefully, keeping the exposed filling layer side on top twist together, overlapping into one long “tentacle” shape. Pop one end of the tentacle into the lined loaf pan and arrange the remainder of it, folding it back on itself, so that it fills the pan. It doesn’t have to be too neatly done as this adds to the overall look of the baked babka
  11. Cover with oiled clingwrap, set aside and repeat with the second batch of dough to fill the second loaf tin. Cover as the first and set both aside to proof for a further 45 mins
  12. Near the end of the proofing time, preheat your oven to 350 degrees F
  13. Once proofed after 45 mins, remove the cling wrap and bake in the middle shelf of your oven for 25mins. After 25mins rotate the tins front to back and bake for an additional 25mins or until the middle of the babka loaves have an internal temperature of 185 degrees F. (If you notice the top of your loaves becoming excessively brown you can tent them with some aluminium foil)
  14. Once your loaves are fully baked, remove from the oven and straight away brush with the cooled simple syrup. Continue until you have used up all the syrup on the loaves. Allow the loaves to cool in their tins before removing
  15. The baked babka loaves are best eaten within a couple of days. They can be stored for 2 days in an airtight container. They also freeze really well. Tightly wrap in baking parchment, then cling wrap and finally aluminium foil. To defrost, remove from freezer and allow to come to room temperature for slicing and serving

8b0b83f1-988d-40fe-98b8-be9223598507

Pear & Almond Skillet Cake

img_8208

Almonds are a favorite of mine, no matter what the form. Whether it’s the sweet grainy Niederegger of Lubeck; soft indulgent amaretti of Italy or the crisp, salt sprinkled Grecian bar treats- I’m in. I get they can be divisive. Not everyone can take to the vaguely chemical woodiness of the nuts but whatever the form I remain a fan.

The lure of the almond nut has been such throughout time that people have even braved the  high levels of  hydrocyanic acid (HCN) of the wild, bitter almond to partake of it. Eating 50, or less, of the wild nut could potentially kill an adult with cyanide poisoning. Yet such was the allure of the nut that there are recipes from as far back as the 4th century as to how to neutralize the nutty nastiness within. St. Basil’s Hexaemeron, a Christian text from around the fourth century, contains the following guidance:

“Pierce an almond tree in the trunk near its roots, stick a fat plug of pine into its center and its almond seeds will undergo a remarkable change.”

It would seem that the introduction of a foreign botanical sample triggers a metabolic reaction which neutralizes the trees natural HCN production. I can’t testify to the effectiveness of this trick so in the words of all good PBS science programs- please don’t try this at home. But fear not folks,  thanks to a genetic mutation thousands of years ago, modern domesticated sweet almonds are delicious and safe to eat. Unless consumed in massive quantities wherein constipation; Vitamin E overdose and weight gain (to name a few) might result. Everything in moderation as they say! Enough serious talk- you came here to bake (or accidentally got redirected here whilst researching Michael Keaton’s back catalogue).

In my view almonds and pears are one of those quintessentially ideal pairings for baking with. Maybe it’s because they both conjure up images of lush, bacchanal orchard woodlands in my head? Or maybe it’s some other more exacting culinary scientific reasoning unbeknownst to me. As it is, this time of year with bumper pear crops just begs for some autumnal-tinged goods to be baked in the kitchen. I love this recipe as it’s very  much a no-fuss, rustic as you come affair. Cooking it in a skillet means no tin, springform or otherwise, to faff around with and presentation is as easy as pie (or should that be “cake” here? If you’re serving it warm why not go the whole way and slide a dollop of ice cream next to it on the plate? I can whole-heartedly recommend a French vanilla morphing into ribbons of silky, creaminess aside the fragrant cake.

I will hold my hands up and admit this – I also use the simple icing sugar dusting to hide the lack of my Instagram worthy pear pinwheel finish to the top of the cake. Of all the times I’ve made this cake I’ve only maneged the fluke of getting the pears to bake atop the surface twice. More often than not the pears sink that little bit and the batter rises that little bit so the pear slices get engulfed in the finish cake with morsels subtly peaking out here and there. Not that this is a bad thing I suppose? It could be argued that this adds an extra layer of interest with unexpected bites of fruitness throughout the cake. My point is don’t beat yourself up too much about not having the “pear wheel” on top or how it looks- this will taste seriously good anyway!

Ingredients

  • 1 cup and 2 Tbspns (separated) salted butter, softened
  • 1 1/2 cups fine sugar
  • 3 large eggs
  • 1 cup ground almonds
  • 1 cup AP flour
  • 1/4 tspn kosher salt
  • 1 Tbspn ground ginger
  • 1/3 cup milk
  • 1/2 teaspoon vanilla extract
  • 1/2 teaspoon almond extract
  • 2 medium Bosc pears, cored and sliced into 8 vertically
  • Icing sugar, to dust

bc40b2ec-f5bb-4808-86ba-b3573818a3d3

Method

  1. Preheat oven to 350°F, and place a 10″ cast iron skillet in to heat through
  2. In the bowl of a stand mixer fitted with the paddle attachment, beat butter and sugar at medium speed until pale and fluffy, I usually do it for 6- 8 minutes, stopping to scrape sides of bowl halfway through
  3. Add eggs, one at a time, beating well after each addition
  4. In a small separate bowl, whisk together ground almonds, flour, salt and ground ginger. Gradually add flour mixture to butter mixture in thirds, alternately with milk, beginning and ending with flour mixture, beating just until combined after each addition
  5. Beat in both the extracts until combined. Set mixture aside for now
  6. Carefully remove the hot skillet from oven and melt the 2 Tbspns butter on it, swirling to coat the bottom and sides
  7. Spoon batter into the heated, greased skillet and lightly spread to an even layer.
  8. Arrange pear slices in a pinwheel fashion over the top of the batter
  9. Bake until a wooden pick inserted in center comes out clean, 40 to 45 minutes.
  10. Remove and let the pan cool in pan for 10 minutes. Dust with icing sugar, and serve warm
  11. The finished cake can be sliced and stored in an airtight container for up to 3 days

1cdc2851-b059-4937-8c0c-beafdc4f0e18

Toffee Apple Oat Cookies

28f2d31c-c648-4e78-8ba7-5da4c8d4e2ec

Toffee apples are a signature childhood treat. Whether they conjure memories of sparkling carnivals and fairgrounds, or bring back memories of briny seaside meanderings the gloriously sticky treat is always sure to bring a smile to faces young and old.

When I was growing up Toffee Apples were synonymous with day trips to the beach. I much preferred them to ice cream cones, which I thought were far too over rated and messy, not to mention deceivingly bland! My inclination was much more for the glossy crimson globule on a stick. I say crimson as that’s the kind I grew up with. These weren’t coated in a sweet layer of tawny caramel. The toffee apples of my childhood were instead dipped in a rouge sugar syrup at hard-crack stage which set to a glossy, glass-like layer ready to shattered under eager bites and reveal the juicy tart fruit beneath. You’ll have to forgive me for indulging verbosely here. Family jaunts to the seaside were few and far between and lingering triggers for them are particularly powerful. Needless to say it was a constant question to my younger self, ” This red stuff isn’t like any toffee I know so why are they called Toffee Apples?”. Such were the juvenile mysteries that plagued me.

Over time I learned that the red hard-crack layer was easier to make and maintain on site (and let’s face it probably cheaper too!) I learned that the gleaming red orbs of my youth were in fact correctly named, “Candy Apples” and Toffee Apples as should have a layer a sticky sweet toffee, in the more familiar shade of brown, as their dressing. But who was I to argue with a childhood full of sweet cochineal-fueled indulgence!

You can rest easy though. This recipe contains neither glassy red shards nor ruby bug extracts. You’ll of course know by now I have a weakness for oat cookies. And if they happen to be oat cookies that have been pimped up with a lil’ something then all the better. These are my homage to the classic Toffee Apple in all it’s beige, sticky goodness- albeit without the frustratingly wobbly perching on a ice-pop stick! As a combination themselves, outside of nostalgia, caramel and apple worked exceptionally well with oats, in my view. There’s something about the mellow combination of toffee and oats that instantly induces shoulder-slumping comfort & coziness. Chuck in some bites of apple and you introduce enough tart interest to compliment to earthiness of the other two. I’ll leave the beverage of choice to you – coffee, tea or dunking in to cold glass of milk. All are ideal and highly suggested.

Ingredients

  • 1 cup (2 sticks) salted butter, softened
  • 1 cup light brown sugar, packed
  • 1/2 cup granulated sugar
  • 1 1/2 cups All Purpose flour
  • 1 teaspoon ground cinnamon
  • 1 teaspoon apple pie spice
  • 1 teaspoon baking soda
  • 1 teaspoon salt
  • 2 large eggs
  • 1 tablespoon fancy molasses
  • 1/4 cup maple syrup
  • 1 teaspoon vanilla extract
  • 2 cups whole rolled oats
  • 1 cup quick oats
  • 1/2 cup toffee pieces
  • 1 cup dried apple pieces, (or dried slices chopped)

Method

  1. Whisk the flour, cinnamon, apple pie spice, baking soda, and salt together in a medium bowl. Set aside until needed
  2. In the bowl of a stand mixer, fitted with a paddle attachment, beat the butter and sugars on medium-high speed until blended, about 5 minute, then increase to high speed and whip for another 5-6 mins
  3. In a jug combine the eggs, molasses, maple syrup, vanilla and whisk to combine.  Add to the butter mixture and beat for 3 minutes until combined. Scrape down the sides and beat again as needed to combine
  4. Add the dry ingredient mixture to the wet ingredients (I usually do it in 1/4 cup increments) and mix on low until combined. Remove the bowl from the mixer and fold in the oats until well coating
  5. Next add in the toffee pieces and apple pieces. Mix well until fully combined. The final dough will be thick and sticky.
  6. Cover and chill the dough for at least 45 minutes in the refrigerator
  7. Preheat oven to 350°F (177°C). Line baking sheets with parchment paper or silicone baking mats
  8. Use a medium cookie scoop (about 2 tablespoon size) to scoop the cookie dough on to the prepared baking sheets, placing 2 inches apart 9 (I usually fit 12 per sheet). Bake for 17 minutes or until the edges are golden brown. The centres will look soft.
  9. Remove from the oven and allow cookies to cool on the baking sheet for 5 minutes before transferring to a wire rack to cool completely
  10. Cookies can be kept at room temperature in a sealed container for up to 1 week

img_7846