Cranberry, Pear & Dark Chocolate Hot Cross Buns

IMG_3404

Okay- I’ll come clean. I don’t actually like hot cross buns. Well- hot cross buns in the “traditional” sense. Dried fruits of sultanas, currants and raisins do absolutely nothing for me and hot cross buns I place firmly in the same category as Christmas Cake. I’ll accept them to be civil, I’ll bake them to experiment and I’ll eat them under duress. So it only seems fitting that this Easter season I come up with something  a lot more palatable, even to the those of us prone to outbursts of “inyaphobia” (yes, it’s a thing I jest you not…Google it).

I can’t quite put a finger on where my malaise with dried fruit comes from. It probably has its roots, like all else culinary for me, in my childhood and my mother’s kitchen. Each festive season, whether it be Easter, Christmas or Halloween was heralded with a routine palette of sensory ticks…the flat clanging of baking trays on kitchen surfaces, the heady scent of dried fruit steeping in brandy, cold tea or whatever liquid was to hand, and the frequent blistering blasts of heat from oven. It’s the smell of the dried fruit steeping that sticks with me, permeating memory as much as clothing. Like anything in life familiarity breeds contempt, and boy did my mother like a fruit cake!

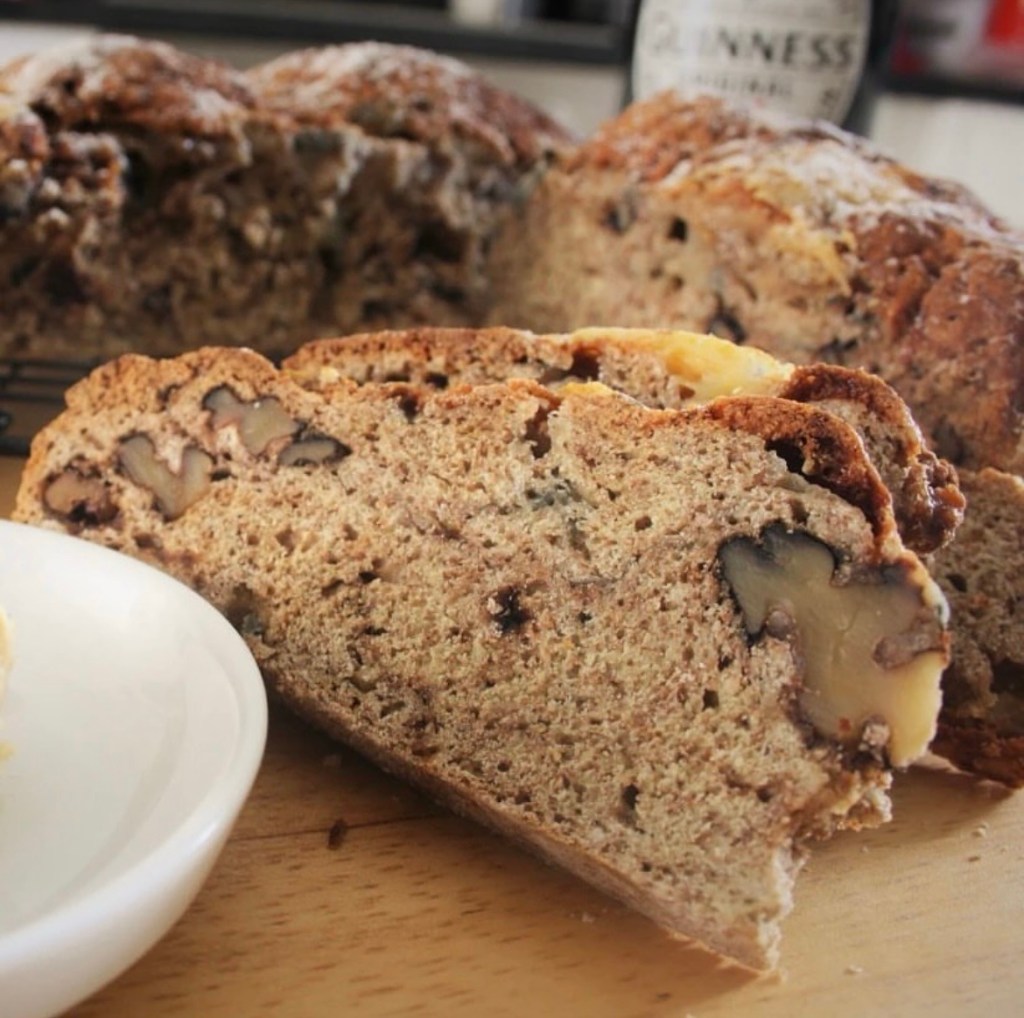
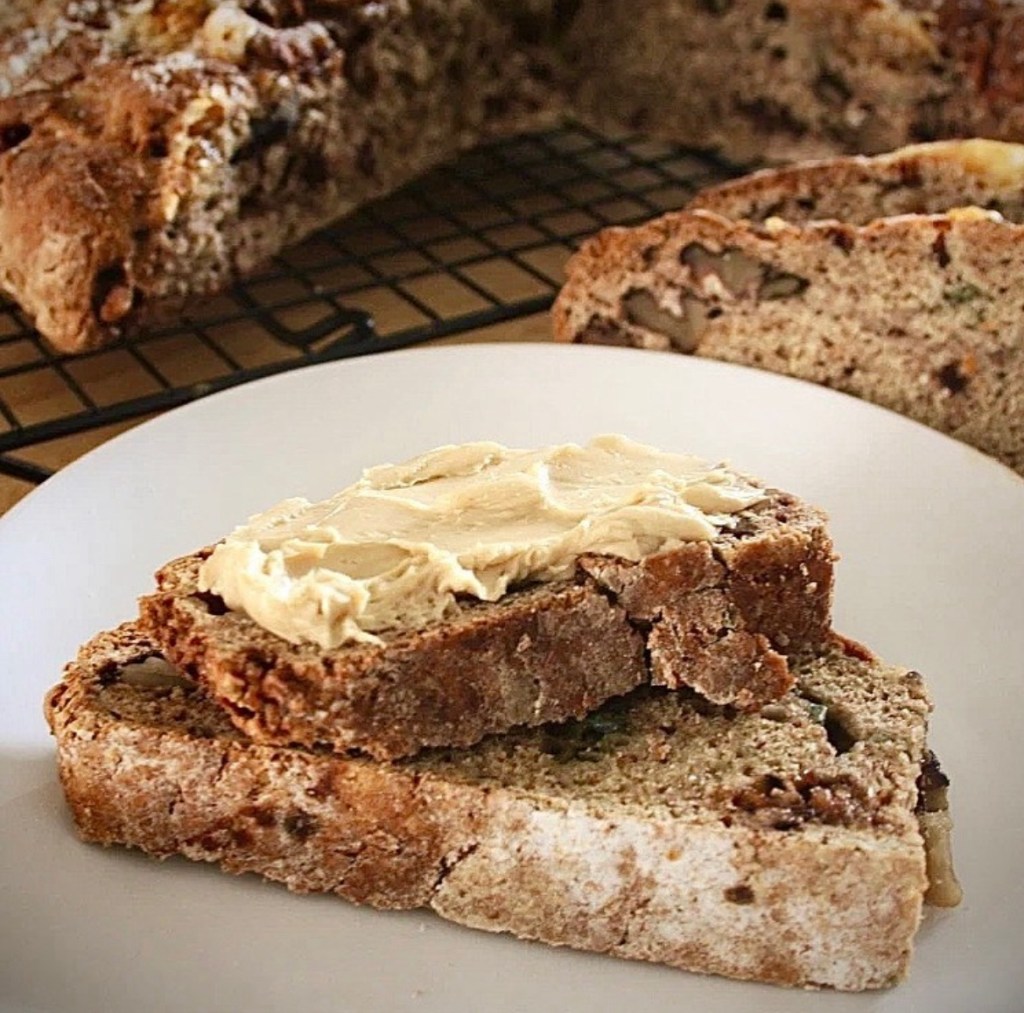
Hence my deviation from hot cross buns with their traditional sultana/mixed peel combination. Instead I give you an almost “regal” combination of cranberries and pear (yes, I’m aware they’re dried too but far more tolerable in my view) laced with dark chocolate chunks. Chocolate makes everything better. Except fish- that’s just wrong! So best you stick to making these hot cross buns instead.

*This recipe has been revised in April 2020 to include measurements/ quantities and ingredient names as suitable for Canada and the US. Throughout the recipe I still refer to the ingredients as they were originally drafted.

IMG_3420

Ingredients
500g/ 4 cups All Purpose/ Plain flour
85g/ 1/3 cup (caster) sugar
2 teaspoons mixed spice powder (if you don’t have this you can use pumpkin spice mix)
2 teaspoons ground cinnamon
¼ teaspoon nutmeg
10g/2 teaspoons Kosher salt
14g/ 2 1/4 teaspoons fast-action dried yeast
1 tablespoon vanilla extract
40g/ 2 tablespoons butter
300ml/ 1 1/4 cups whole fat milk
1 egg, beaten
65g/ 1/3 cup dried cranberries, soaked in

2 tablespoons orange juice
65g/ 1/3 cup dried pear, chopped into small pieces
65g/ 40z dark chocolate/ semi-sweet chocolate, chopped in small/ medium chunks

Cross marking
50g/ 1/2 cup All Purpose/ Plain flour
80ml/ 1/3 cup cold water

Glaze
2 tbspn golden syrup/ light corn syrup

Method

  1. Line a baking sheet/ tray with baking parchment and set aside for later
  2. Combine the flour, sugar, spices, salt and yeast into a large bowl. Make sure the salt and yeast are on opposite sides of the bowl
  3. In a pan combine the milk, vanilla extract and butter. Heat over a medium/low heat until the butter has melted. Allow the mixture to cool until tepid
  4. Add 1/3 the tepid milk mixture to the dry ingredients, along with the beaten egg. and use your hands to bring the mixture together. Add in the second 1/3 of the milk mixture and continue forming a dough, taking any stray flour from the sides of the bowl
  5. Finally, slowly add the remaining milk until you form a soft pliable dough. Take note here as you may not need all of the milk
  6. Tip the dough out on to a lightly oiled work surface. Knead by hand for about 7-8 minutes. After this time add the fruit and chocolate chunks into the dough and continue to lightly knead for 3-4 minutes until you have a smooth, elastic dough and the fruit & chocolate has been incorporated (*If you are using a stand mixer please see the note below)
  7. Lightly oil a bowl and place the dough in it, covering with oiled cling film and leave to rest in a warm place until doubled in size (apx 1 hour)
  8. Tip the dough on to a lightly oiled surface and divide into 12 balls. (I usually do this by rolling it into a thick sausage shape, apx 40cms long. Divide into 2, then divide each half into 6 equal pieces and roll them into balls)
  9. Place the balls on the tray, placing them fairly close together and flattening them slightly
  10. Cover the baking tray with oiled cling film and leave for an hour until the balls have doubled in size
  11. Preheat the oven to 350F/170C degrees
  12. For the cross marking, combine the flour and water in a bowl. Mix together to make a paste and spoon into an icing bag
  13. When the buns have risen remove the tray from the bag, snip the end of the piping bag (making a hole about 3mm) and pipe a cross on each bun. Bake for 15-20 minutes until pale golden-brown, turning the baking trays round halfway through

*If you are using a stand mixer for the dough, attach the dough hook and follow steps as follows

  • Combine the flour, sugar, spices, salt and yeast into a large bowl. Make sure the salt and yeast are on opposite sides of the mixer bowl
  • Follow Steps 4 & 5 above to combine the liquid
  • Continue to knead in the mixer for 5 minutes
  • After 5 minutes remove the dough from the mixer, add  the dried fruit & chocolate chunks and continue to lightly knead until you have a smooth, elastic dough and the fruit & chocolate has been incorporated (apx 3-4 minutes)
  • Proceed to Step 7 above and follow remainder of method as above

To finish

  1. Warm the golden syrup in a pan and while the buns are still warm, brush the buns with a little syrup to glaze. Return to the wire rack and allow to cool.
  2. Serve with fresh butter. They can be lightly warmed in an oven for tasty seasonal breakfast treat. Enjoy!

IMG_3422


#Recipe Caramelised Walnut & Blue Cheese Soda bread

Screenshot

Soda bread was one of the first things I remember watching my mother make/bake in the kitchen. From my seat on the kitchen drainer I would watch how she’d mix and shape the dough into the thick, dense cakes and I’d hanker for a warm slice, the melted butter dripping down my greedy knuckles. Beats crumpets any day! With the minimum of ingredients it was her “go to” recipe when cupboards were getting bare- maximum flavour from minimum input. So often  was it made in my childhood house that there was no need for her to weigh or measure quantities. It was an instinctual process, hands tracing what seemed like arcane patterns and motions, guided by numerous loaves that came before.

The lack of yeast in the mix makes it a particularly quick and easy loaf to knock together. No kneading is required and the mixing is minimal (to avoid an overly heavy dough). So it really is just a case of mix, shape and bake.

Whilst I have kept to the basic recipe as taught to me (flour, bread soda (bicarbonate of soda), buttermilk and salt, I have as usual added my Mr. Mom’s twist. The additional of the caramelised walnuts and blue cheese add wonderful pockets of sweetness and Unmami to the earthy wholemeal dough. I serve mine here with Guinness infused butter to make it just that little bit more indulgent for a St. Patrick’s Day treat.

Lá fhéile Pádraig sona dhaoibhe!

Ingredients

Caramelised walnuts

100g walnut halves
55g caster sugar
15g unsalted butter

Soda bread

450g wholemeal flour
175g plain flour
2 teaspoons bicarbonate of soda
1 teaspoons salt
475ml buttermilk (450ml  milk with 1 tablespoon lemon juice stirred in)
100 g Cashel Blue cheese, plus extra for topping
Caramelised walnuts (see above)

Guinness Butter

1 quantity of homemade butter (See the recipe here)

150ml Guinness Stout (not draught)

4 teaspoons Irish heather honey (If you can’t find this, ordinary honey will be fine)

Pinch of salt

Method

Caramelised walnuts

  • Set aside a non-stick baking tray. If you don’t have non-stick variety to hand, just line a standard tray with baking parchment.
  • Combine all the ingredients in a pan over a medium heat.
  • Stir to combine and to stop the mixture from catching.
  • Continue until the butter and sugar have melted. At this point you need to stir continuously until the syrup turns a deep shade of amber.
  • Immediately remove from the heat and tip the mixture onto the (lined) baking sheet. Using two forks separate the nuts individually so that they don’t clump together.
  • Allow the nuts to cool on the baking tray before use. (As a side note these make wonderfully tasty drinks snacks as they are like this. I often make a double batch!)

To make the soda bread

  • Preheat your oven to 180C/gas mark 4.
  • In a large bowl combine the dry ingredients (including the candied walnuts and cheese) and mix well.
  • Make a well in the center, and add in roughly 1/3 of the milk. Mix lightly.
  • Add in the second 1/3 of the milk and again mix until just combined.
  • Add in the final amount of milk and mix until a dough is formed and there is no dry flour remaining in the bowl.
  • Tip the dough out onto a lightly floured surface and lightly knead.
  • Form into a round about 1 1/2 inch thick transfer to your baking sheet.
  • Stud the top of the loaf with a few chunks of blue cheese (to taste) and dust with flour. Score the top of the loaf in half with a floured, sharp knife. Turn the loaf 90 degrees and score again so that you have a cross shape dividing the top of the loaf into quarters, then prick each of the four quarters**
  • Bake the loaf in your preheated oven for about 45mins. Test by tapping the bottom of the loaf- it should sound hallow. (If the top of the loaf starts to brown too quickly, loosely drap some foil over it). Once baked remove from the oven, transfer to a wire rack and allow to cool.
  • Serve with Guinness Butter (see recipe below) or for a traditional Irish after-school treat slathered in butter and jam!

To make the Guinness Butter

  • Heat the Guinness in a pan over a high heat and reduce down to 1/3 volume. You should have a denser syrup. Remove from heat and allow to cool fully.
  • Place the butter in a bowl of stand mixer, add in the cooled Guinness syrup, honey and salt.
  • Beat on medium until combined then increase the speed to high and “whip” for about 5-7 minutes until all the ingredients are fully combined and mixture is fluffy in texture.
  • Remove the butter from the mixing bowl, transfer to a dish and serve alongside the prepared soda bread.

**Although these two actions have a practical use in the making of this bread, the traditional meaning lends a much more romantic slant to them as only the Irish can. Cutting the loaf into quarters is said to be “Blessing the bread” so that it the house making it may never run out of it. Pricking each of the quarters is “to let the Sidhe (fairies) escape” in order to avoid any havoc they make reek if kept trapped in the bread. Quite how they got in there in the first place is beyond me by who am I to argue with centuries of tradition!

Wired for Sound! #recipe #brownies

So this morning saw me chatting to the imitable food presence that is William Sitwell on his “Biting Talk” show on Soho Radio. Some of you may recognise him from such things as the Mastechef food critics table, or from Waitrose Kitchen magazine. By the by, conversation ranged from cupcakes (of course!) to beards (well why not) to cartoon franchising (you’ll just have to listen for that one!) If you missed out here’s the link below for you aural delectation…

As only expected for #thebeardedbaker I brought along some baked goods for sampling. Yes, I know it was only 9am in the morning but (a bit like gin!) it’s always cake o’clock somehwere in there world. So the team at Soho Radio had the pleasure (I hope!) of trying out two new recipes for brownies and cupcakes-

cupcakes

My “Hot n Smoky” caramel cupcakes of caramel sponge filled with a smoked caramel centre, topped with caramel buttercream frosting and sriracha cinder toffee shards.


Brownies

Chocolate  Cherry & Cheesecake Brownies- Chocolate, Cherry and double-chocolate brownies topped with White Chocolate & Pink Peppercorn Cheescake

In the event that these have piqued your intrest and tingled your tastebuds here’s the recipe for the Chocolate Cherry brownies. Do bear in mind that these are exceptionally rich- a chocolate motherload not for the faint-hearted! As such I recommend cutting them down into half the traditional brownie size.

Chocolate Cherry & Pink Peppercorn Cheesecake Brownies
Makes 18 (deep pan) or 40 (shallow pan)

Ingredients
185g unsalted butter 185g, cubed
185g 70% cocoa dark chocolate, broken into pieces
3 eggs
275g caster sugar
85g plain flour
50g cocoa powder
1 tbsp Espresso powder
50g 70% cocoa dark chocolate chunks
50g white chocolate chunks
100g glace cherries, halved
1 egg
280g cream cheese
60g caster sugar
3 tbsp pink peppercorns, lightly crushed
50g white chocolate chunks

Method

  • Set your oven to 180C/gas mark 4 and line a deep 12″x9″ baking tray with baking parchment. * See note for brownie numbers
  • Melt the butter and chocolate in a bowl over a saucepan of simmering water (or bain-marie), stirring occasionally. Once melted, remove from the heat and allow to cool.
  • Beat the eggs and sugar until the mixture is thickened and fluffy.
  • In a separate bowl, combine the flour, cocoa powder, and espresso powder.
  • Fold the cooled chocolate mixture into the egg mixture.
  • Sieve in the dry ingredients, and fold together.
  • Fold in the chocolate chunks and cherries until well combined.
  • Pour your mixture into the lined tray and gently spread to level the surface.
  • For the cheesecake, beat the cream cheese, caster sugar, and egg in a separate bowl until smooth.
  • Melt the white chocolate (either over hot water or in a microwave in short bursts).
  • Add the pink peppercorns and melted chocolate into the cheesecake mixture and mix well.
  • Pour/ place blobs of the cheesecake mixture on top of the chocolate brownie mixture.
  • Swirl with a knife or a skewer to create a marbled effect throughout the batter
  • Place in the oven for 35-40 minutes, then leave to cool completely in the tin before removing from the tin or cutting into squares.
  • Leave to cool, then serve.

*If you use a 12” x 9” tin you will get 20 brownies (cutting 4 x 5) and then divide further down in half to give you 40 brownie “bars”. If you use a 9” x 9” silicone brownie pan (available from Lakleand) you’ll get 9 deeper brownies which you can cut down in half to give you 18 brownie “bars”.


#Recipe: Alternative #BonfireNight Toffee Apples

As a child I loved Toffee Apples. That sweet, sticky “crack” sound giving way to the tart crispness of a ripe apple. They were alway saved as a treat on a seaside trip. As such it’s one of my most vivid memories of childhood- the tickle of juice running down my chin as seawater wafted on the air, and overhead gulls wheeled and cried. Upon moving here to the UK I became aware that toffee apples were a treat for an altogether different occasion. They were a long-standing part and parcel of November 5th’s Guy Fawkes Bonfire celebrations along with parkin; treacle toffee and sparklers.

Never being one to settle for the “norm” I decided to do a twist on the familiar idea of the  “Toffee Apple”. It also provided me with a rather nice opportunity to try out some of Joe & Seph’s rather wonderful new caramel sauces. And so I present my take on bonfire toffee apples.

2015-11-05 18.03.46

Alternative Toffee Apples

Makes 6

Ingredients

6 Granny Smiths apples, cored

50g jumbo oats

25g chopped dates

25g dried pear, chopped

20g ground almonds

20g hazelnuts, toasted and chopped

3 heaped tablespoons Joe & Seph’s Salted Caramel sauce

To finish

Joe & Seph’s Salted Caramel sauce

2015-11-05 18.04.43

Method

  • Preheat your oven to 180 degrees.
  • Score the apples with a knife halfway up and fully around. Be carefull not to slice them the full way through.
  • In a bowl mix the remaining ingredients until fully combined.
  • Stuff the apple cavities with the oat mixture until full. You can use a spoon but the easiest way I’ve found is just using (clean) hands. Messiest…but easiest.
  • Place the stuffed apples into an oven proof dish and place in your preheated oven, on a rack in the middle.
  • Bake for 35-40 mins depending on your apple texture preference. I prefer mine to be just the “soft-side of solid” (if that makes any sens?) so I bake for 35 mins. If you prefer them softer bake for a little longer. Be careful however as you don’t really want them to be “mushy”.
  • Once baked, remove from oven and place individually on serving plates, and pour over some more Joe & Seph’s Salted Caramel sauce. Again the amount depends on taste. You may like a little- I prefer a LOT!
  • Serve the covered “toffee apples” with vanilla ice cream or I also like to have a dollop of Greek yogurt to the side.

Enjoy!

If you’re looking for another alternative Bonfire Night treat then why not try my take on treacle toffee – Fennel Seed & Black Garlic Toffee?

Recipe- Italian Stromboli

So this week on The Great British Bake Off it was ‘Bread’ week (step forward Mr. Paul Hollywood looking rather smug). The bakers were challenged to a quick bread (typically soda bread); make some baguettes- this ended up with me screaming repeatedly at the TV and finally a 3-d bread sculpture. Yup- bread. Now while I didn’t attempt any of these in the vein of Bake Off fever, I did make something to keep up the theme itself.

I’m not sure why but over the past couple of weeks I’ve had stromboli on the brain. Please don’t be alarmed it isn’t a medical condition. Strombloi is in fact a stuffed loaf of Italian origin. Or as some people like to call it ‘Pizza Roll Bread’. Now for me that name just doesn’t do it justice. I much prefer it’s ‘Stromboli’ title (go ahead call me bourgeoise!). And so stromboli would be my #TheGreatBeardedBakeOff recipe for this week’s theme. Yes I know it’s not one of the challenges but I like to think outside the box; left of the middle etc etc – ’cause I’m crazy like that!

2015-08-19 13.47.40-1

Italian Strombloi

500g strong white bread flour

7g fast yeast

10g fine sea salt

40ml extra virgin olive oil

350ml warm water

1 tablespoon dried oregano

4 tablespoons finely grated parmesan cheese, plus extra for topping

125g buffalo mozzarella cheese, torn into pieces

75g sun-dried tomatoes, patted fry of any oil, roughly chopped

12g fresh basil leaves

80g prosciutto ham

Method

– In the bowl of a stand mixer place the flour; salt (to one side); yeast (to the opposite side; oregano and 1 tablespoon of parmesan cheese.

– Add the olive oil and 300ml of water.

– Using the dough hook attachment, mix the ingredients for 2-3 mins until fully combined. Add the remaining water in 2-3 pours until it’s all incorporated. Increase the speed in accordance to your machines instructions and continue to knead for 8 minutes. By the end of the kneading time the dough should be smooth and elastic.

– Once the dough has risen, tip it out onto a lightly oiled work-surface and knock the dough back until all the air has been removed. Flatten in to a rectangular shape, roughly 40cm x30cm, with the long edge facing you. It doesn’t need to be perfect.

– Over the surface of the dough scatter the remaining 3 tablespoons of parmesan cheese. Then scatter the mozzarella pieces; the sun-dried tomatoes and the basil leaves. Lay the slices of prosciutto at intervals over the dough surface to finish filling it.

– Working on the long edge, roll up the dough in to a sausage shape, trapping the filling inside. Normally with stromboli it s left as a long loaf  but I prefer to roll itself into a spiral shape and tuck the end underneath. This is entirely up to you.

– Place the rolled up dough onto a baking sheet line with baking parchment. Leave to prove in a warm room until roughly doubled in size.

– Preheat you oven to 220 degrees C.

– When proved, lightly spray the surface of the dough with water, and sprinkle with semolina and some finely grated parmesan.

– Place a baking tray filled with water into the bottom fo the oven, and place the baking tray with the dough on the middle shelf. Bake the dough for 20 mins, after which reduce the oven temperature to 190 degrees C and bake for another 10 mins or until it golden and sounds hollow when tapped underneath.

– Once the loaf is baked remove from the oven place on a wire rack to cool. This tastes great as a picnic loaf or served with some fresh salad as a delicious alternative to pizza!

– Enjoy!