Meyer Lemon Bars

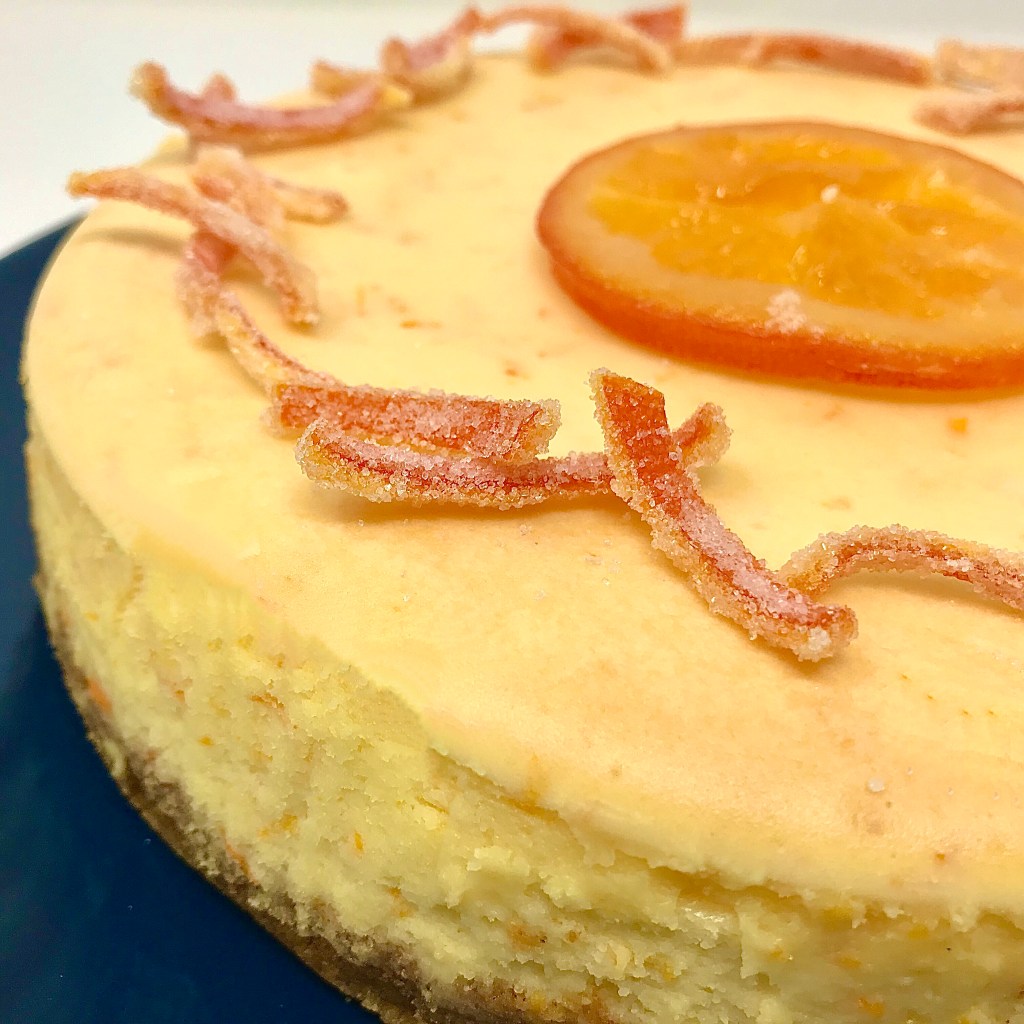
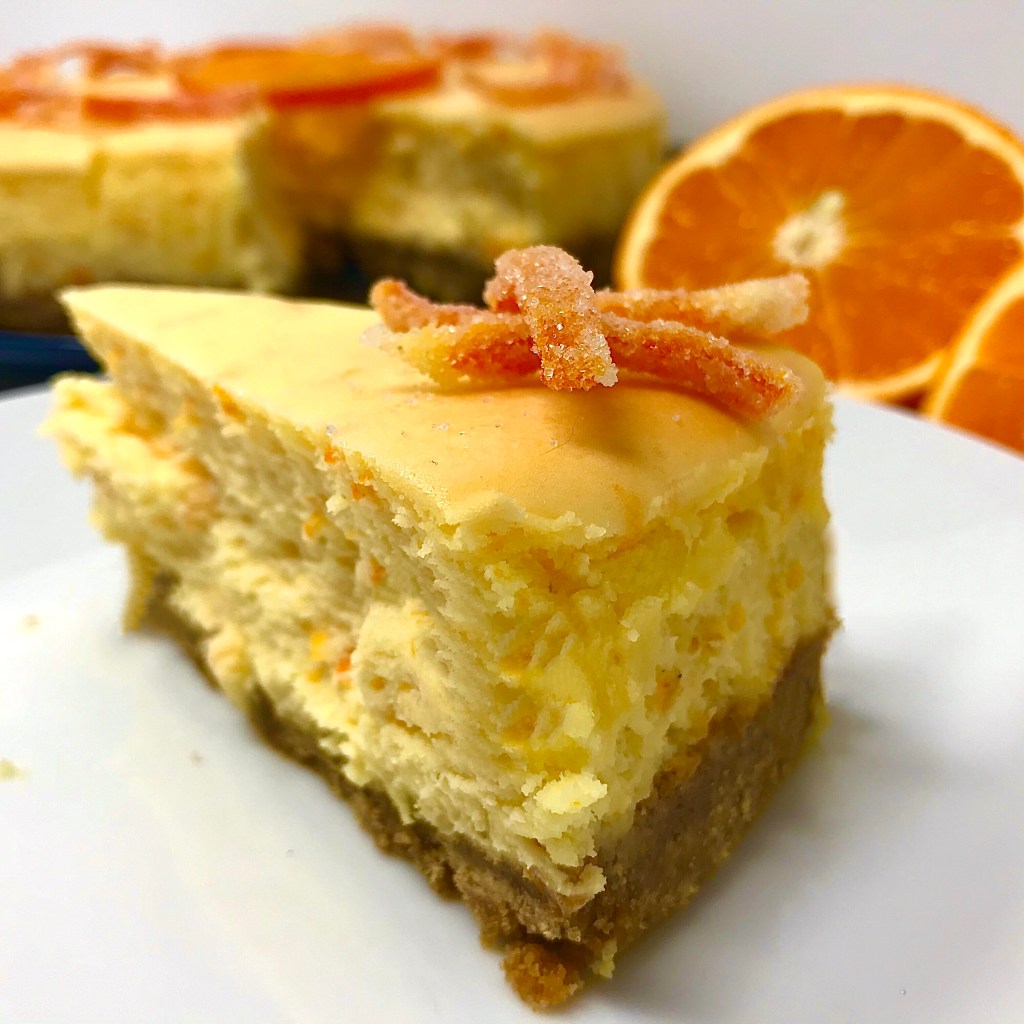
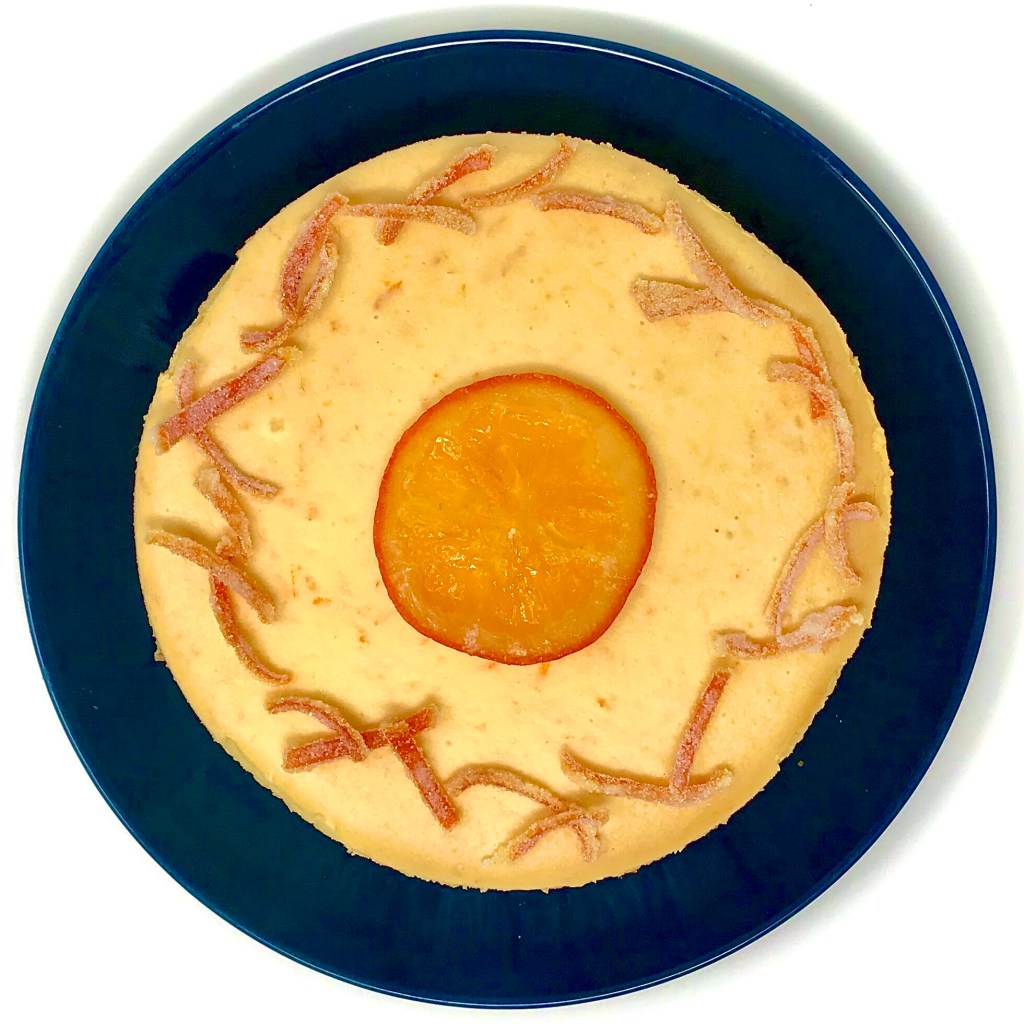
So these were part of the “Citrus Binge” I went on recently (see my other post on Minneolas Tangelo & Cardamom Cheesecake). Meyer Lemons have an almost mystical place in my  mind. Living in the UK they were harder to get hold of than here in Canada, AND when they were available they certainly didn’t last long! Needless to say when I saw them whilst shopping of course I was itching to make something from them!

I was pleasantly surprised when I got my hands on them. Scent-wise yes they evoked sun-kissed, floral dense getaway images but there was also a heady herbaceousness to their smell. It instantly brought to mind citrus-scented herbs like lemon verbena and lemon thyme- bright, sunny grass-like. Taste-wise it’s easy to see why Meyer lemons capture the imagination and have such acclaim. Think of the best homemade lemonade- just the right side of tart with enough refreshing astringency to keep you coming back for more. Yup, I was hooked.

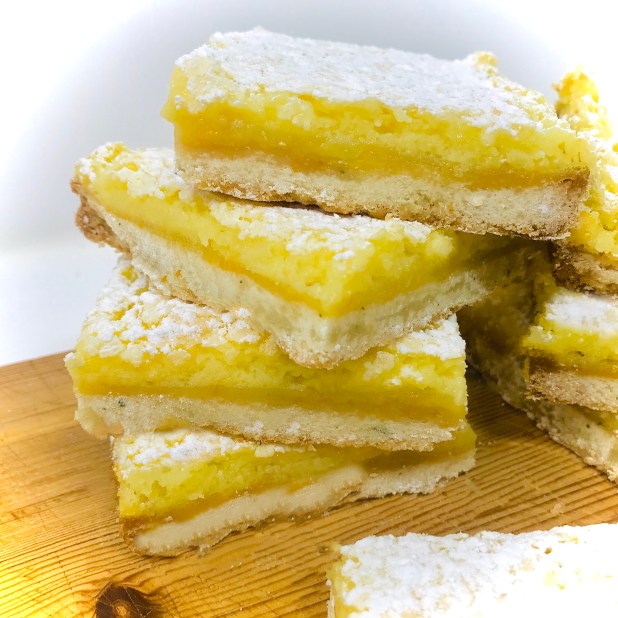
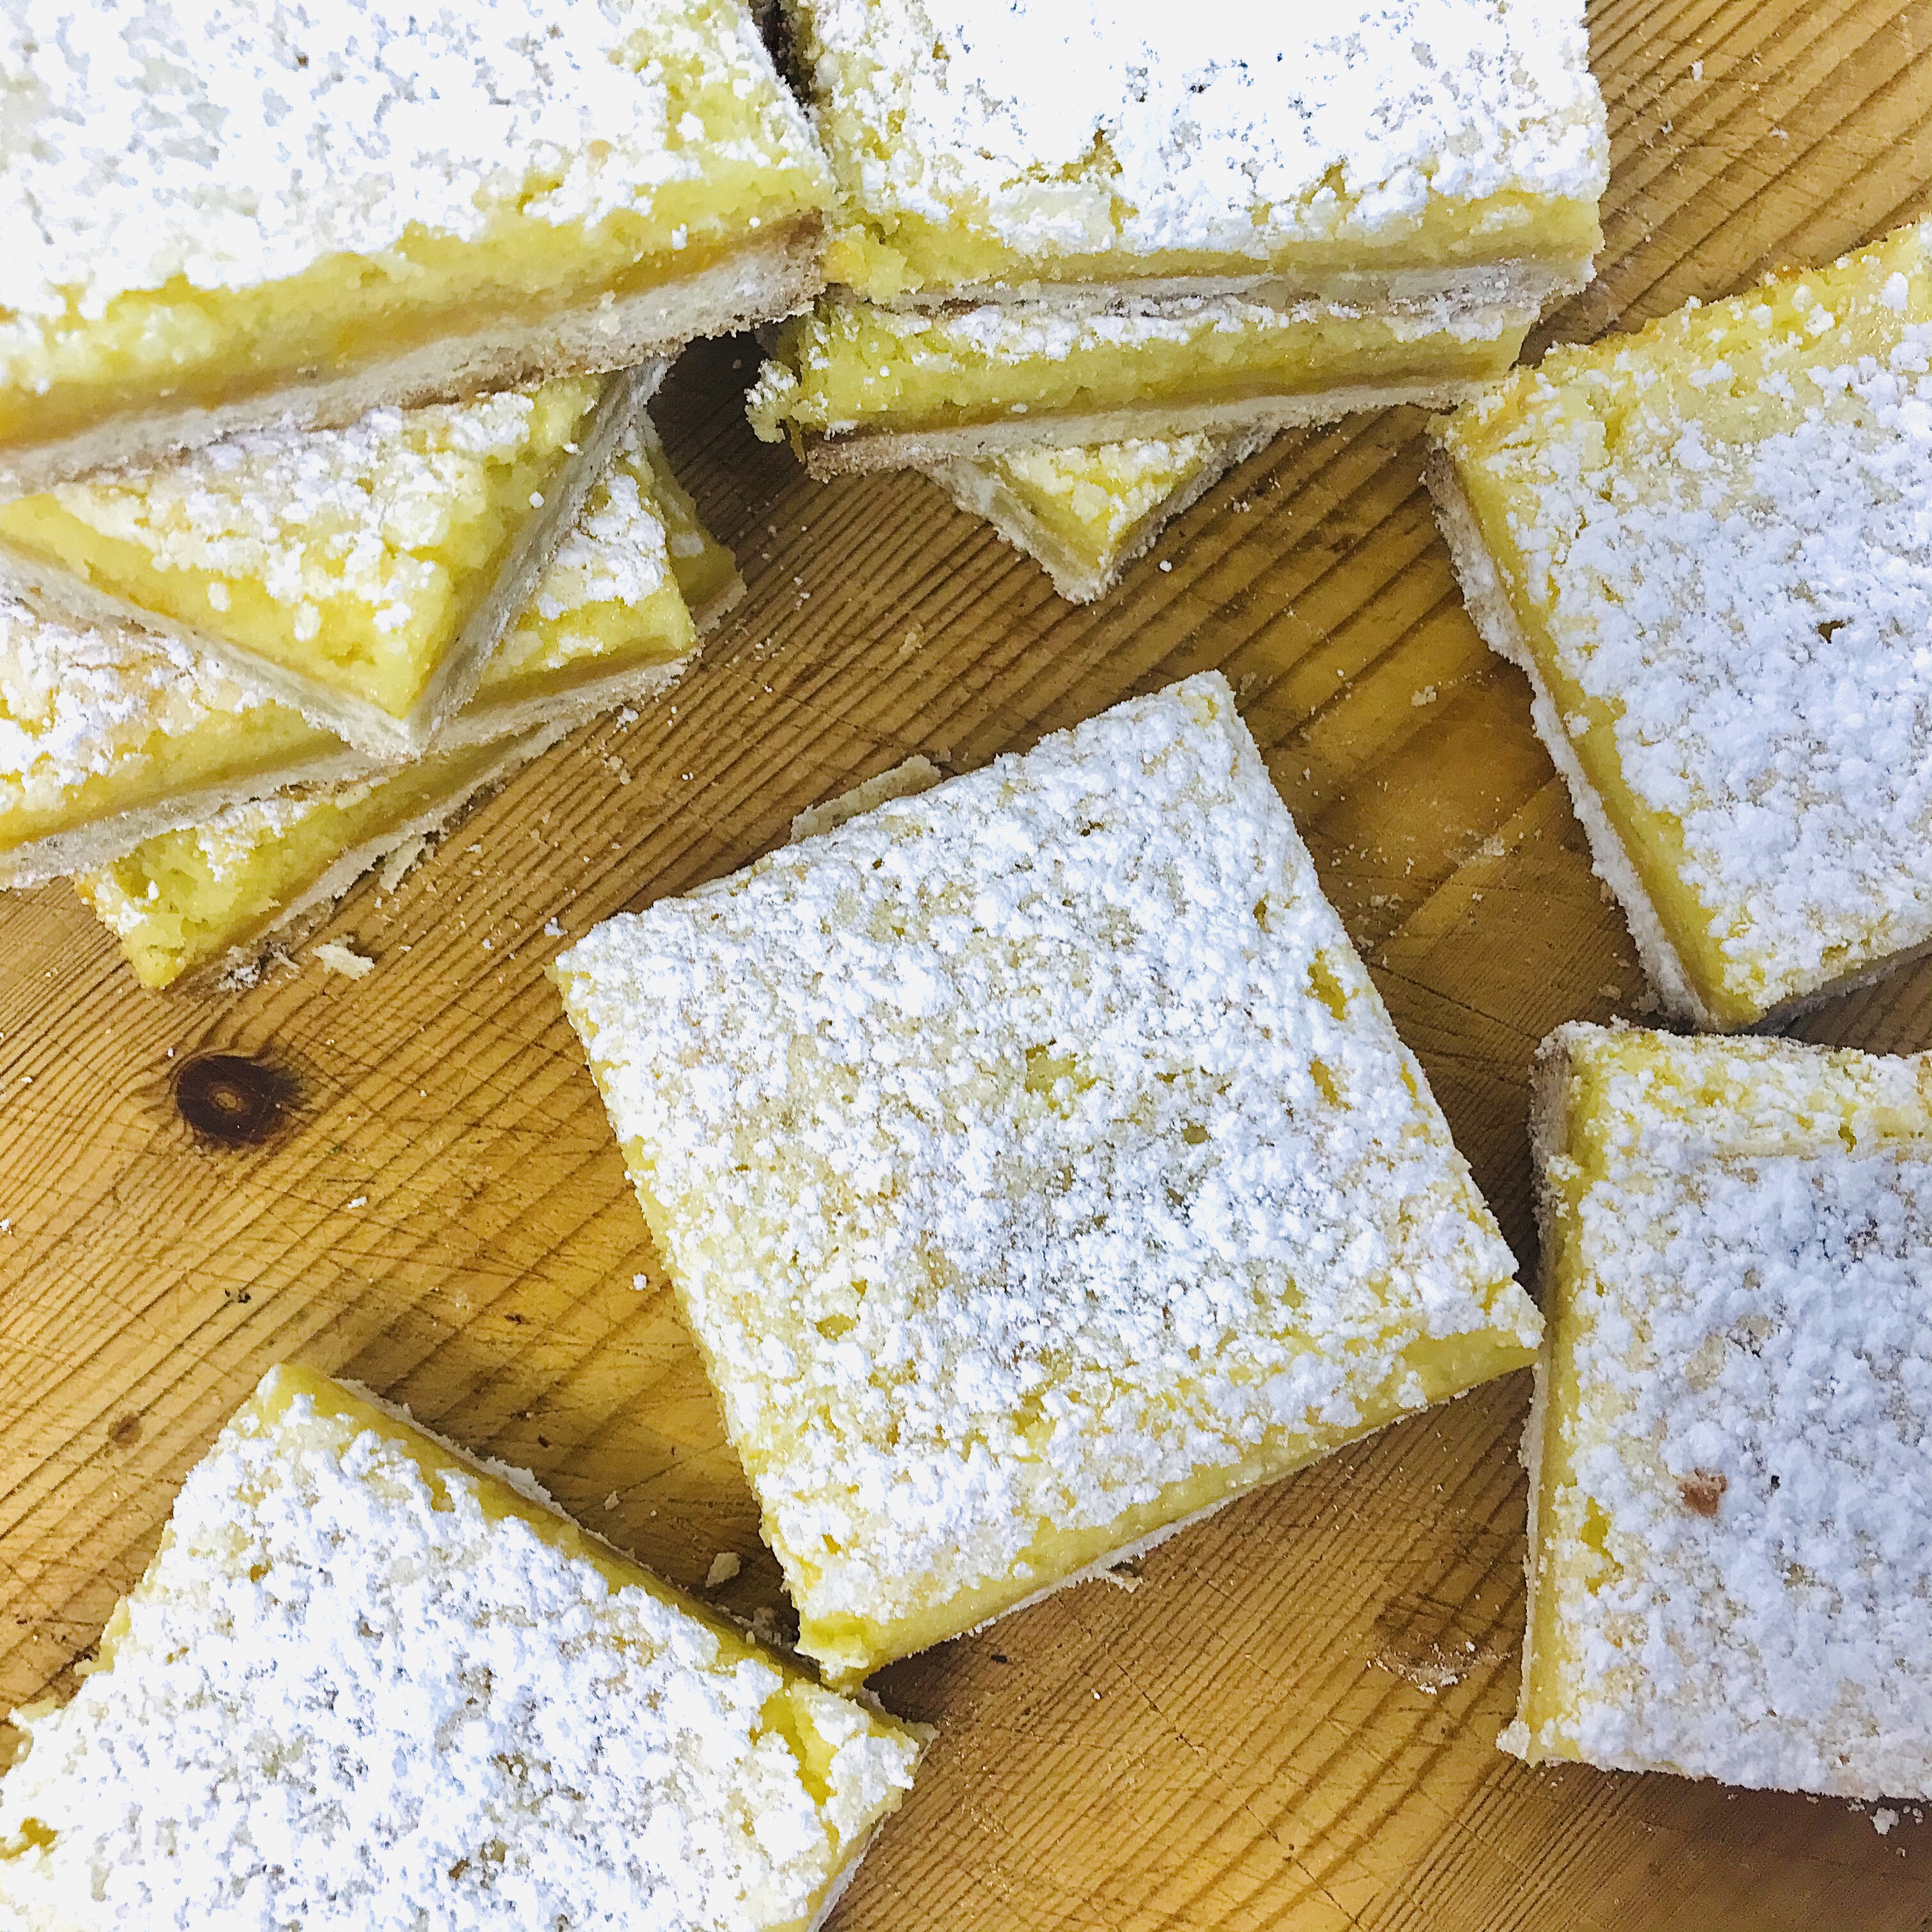
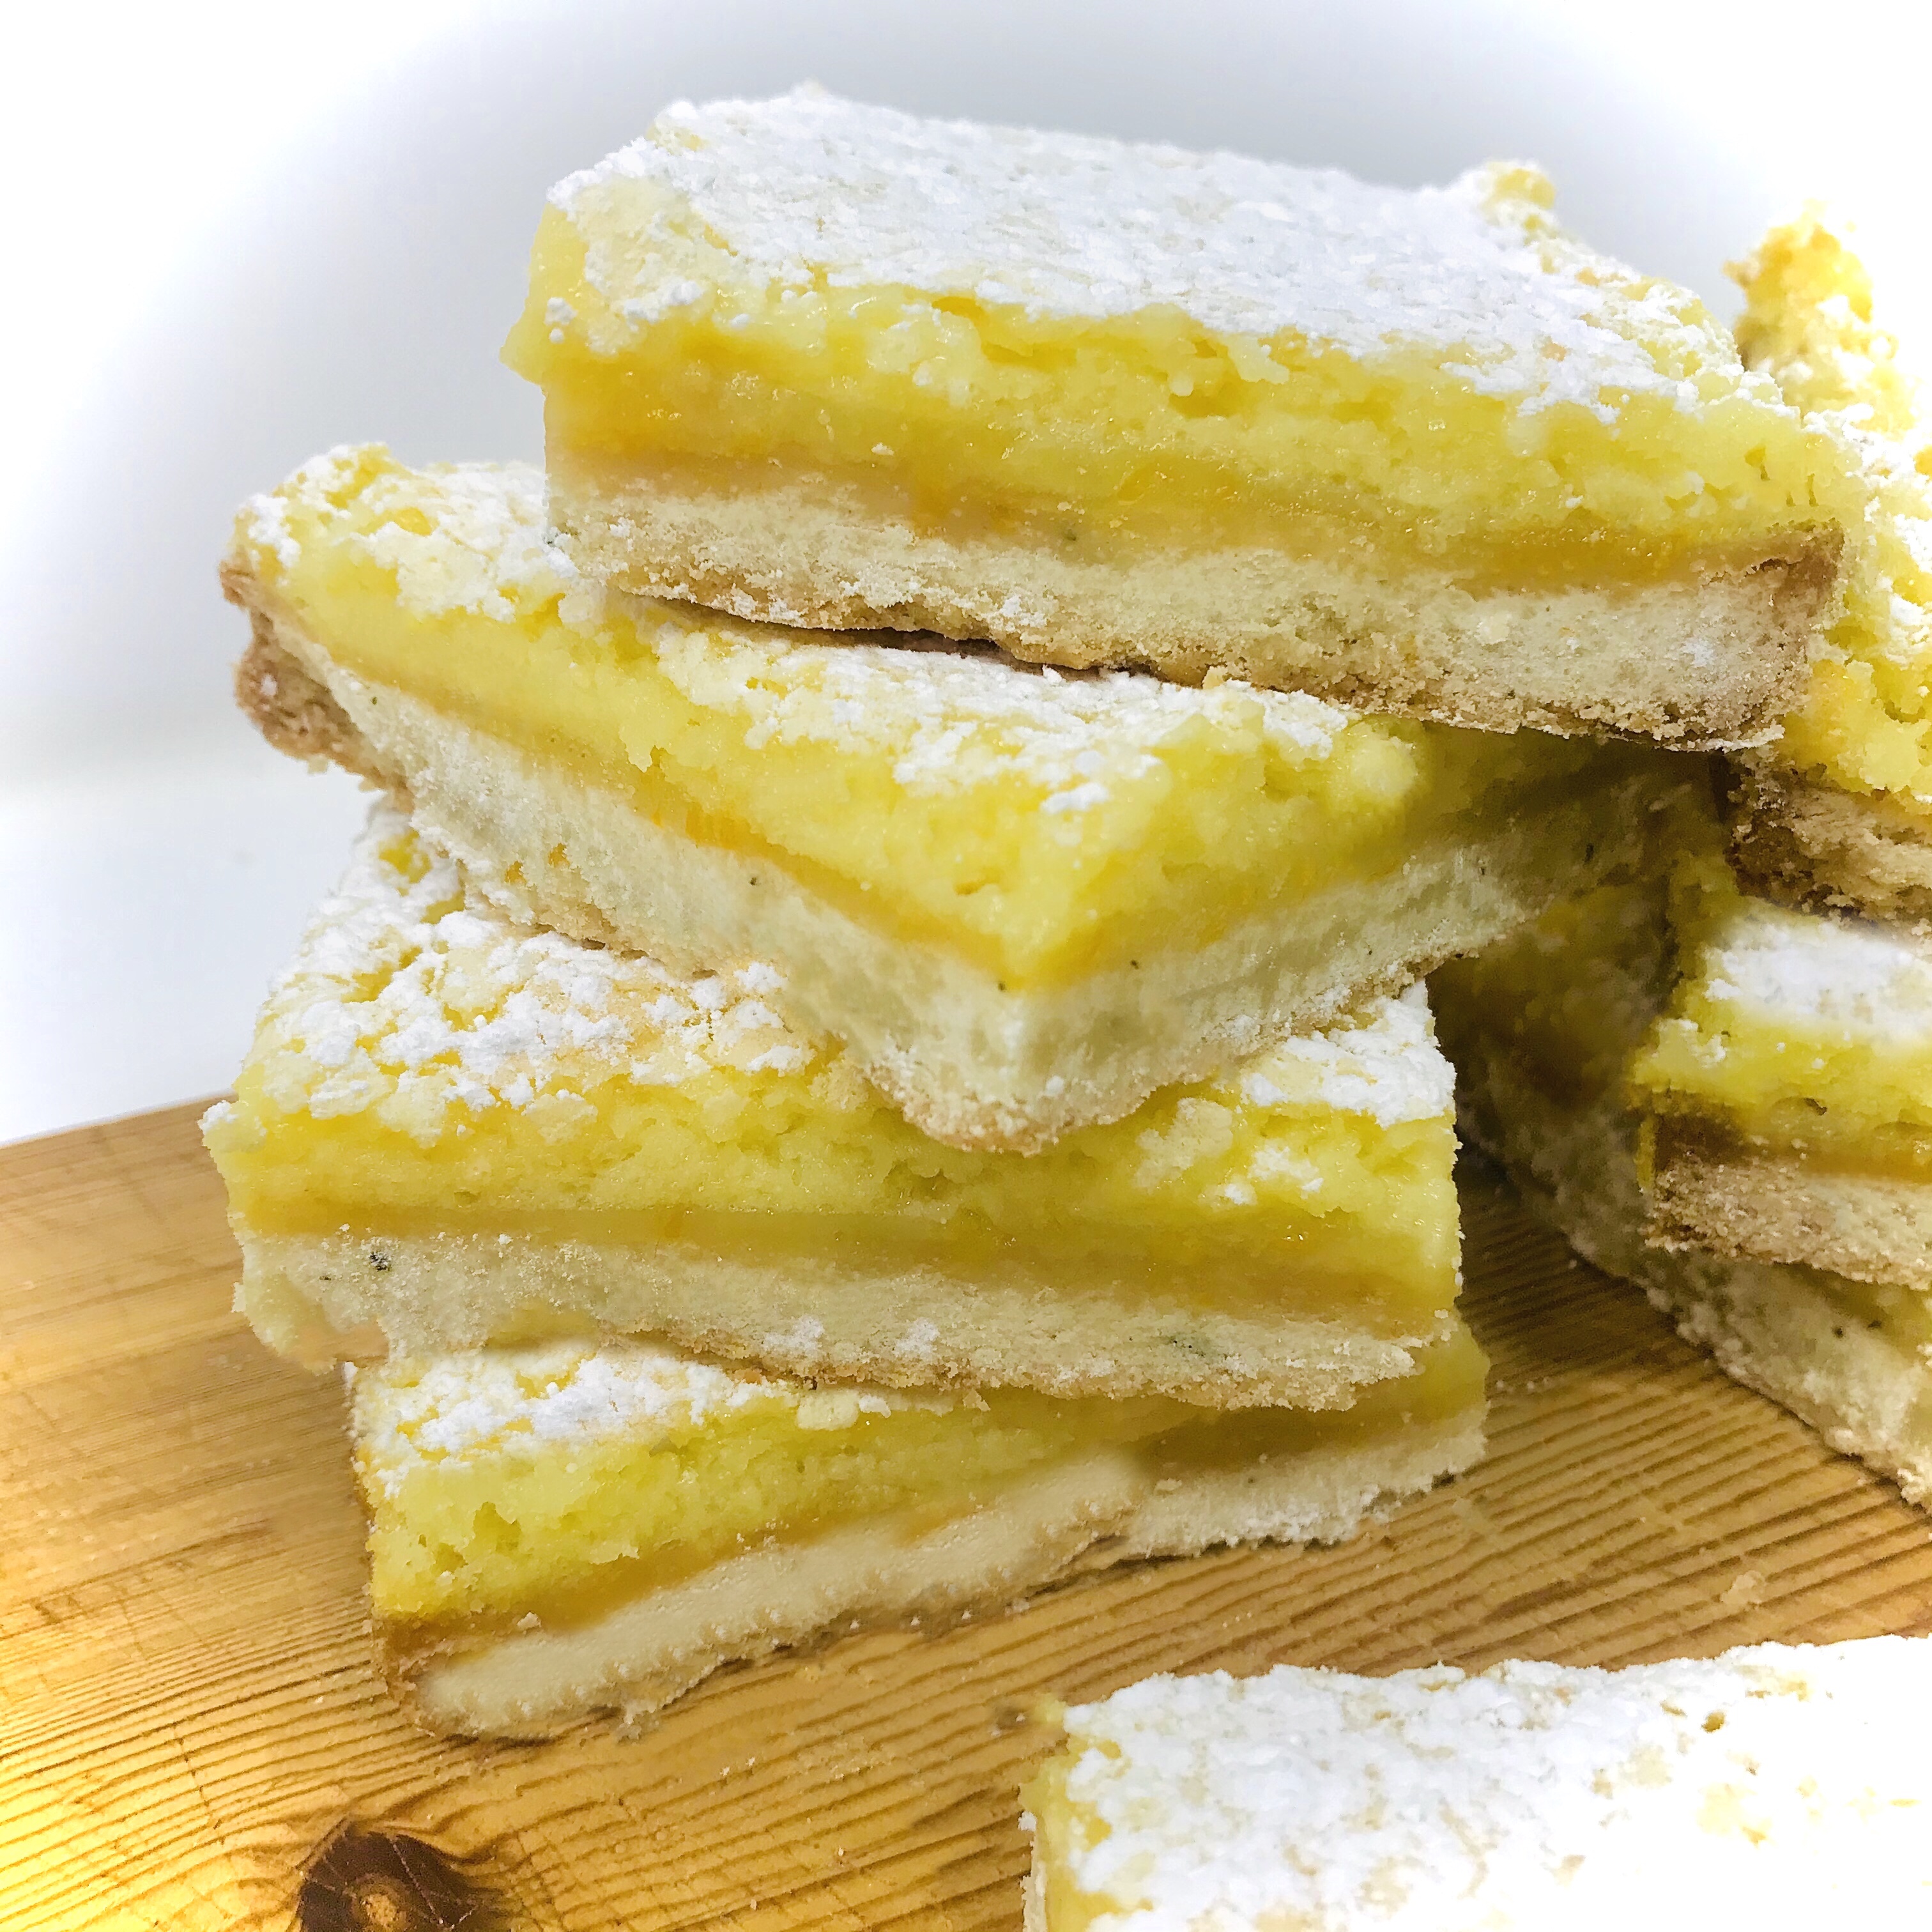
Bars/tray-bakes have never been top of my list for “GO TO” eats. Aside from two I always pass on them- the wonderful Canuck treat that is the nanaimo bar (of which I have a few posts on this site – check them out in “Categories”) and the quintessential classic that is the Lemon Bar. The contrast between the buttery, crumbly shortbread layer and the refreshingly pucker-inducing citrus custard thickness evokes images of languid, sun-drenched picnics for me. I don’t know about you but given that I’m writing this on Day 27 of self-isolation in the Time of Covid I could definitely do with images of unbridled expanse and carefree torpor. The confinement will pass in time I know but I’m of the opinion that no matter how frivolous or trivial a distraction if it helps with our current state of sanctioned ennui then all the better.

And so here we are…


Ingredients

  • 2 1/4 cups unbleached all-purpose flour
  • 3/4 cup icing sugar
  • 1 1/2 teaspoon kosher salt 
  • 1 cup (2 sticks) very cold unsalted butter, cut into small pieces
  • 1 to 2 teaspoons ice water
  • 5 large eggs, at room temperature
  • 1 1/2 cups granulated sugar
  • 1 tablespoon Meyer lemon zest
  • 3/4 cup fresh Meyer lemon juice

Method

  1. Preheat oven to 350°. Grease a 9″ x 13″ baking pan and line it with parchment paper, leaving 1″ of overhang on the two long sides.
  2. In a food processor, pulse 2 cups flour, 3/4 cup powdered sugar, and salt. Add butter and pulse until mixture resembles a coarse meal. Add ice water 1 tsp at a time if mixture is too dry. Press dough into bottom of prepared pan, pressing snugly against the inside edges.
  3. Bake crust for 20-25 minutes, or until golden. Set pan on a wire rack to cool slightly. Reduce oven temperature to 300°.
  4. Whisk together eggs and granulated sugar until well combined and pale in color. Stir in lemon zest, lemon juice, remaining 1/4 cup flour, and a pinch of salt. Pour topping over warm crust. Bake for 15-20 minutes, or until set.
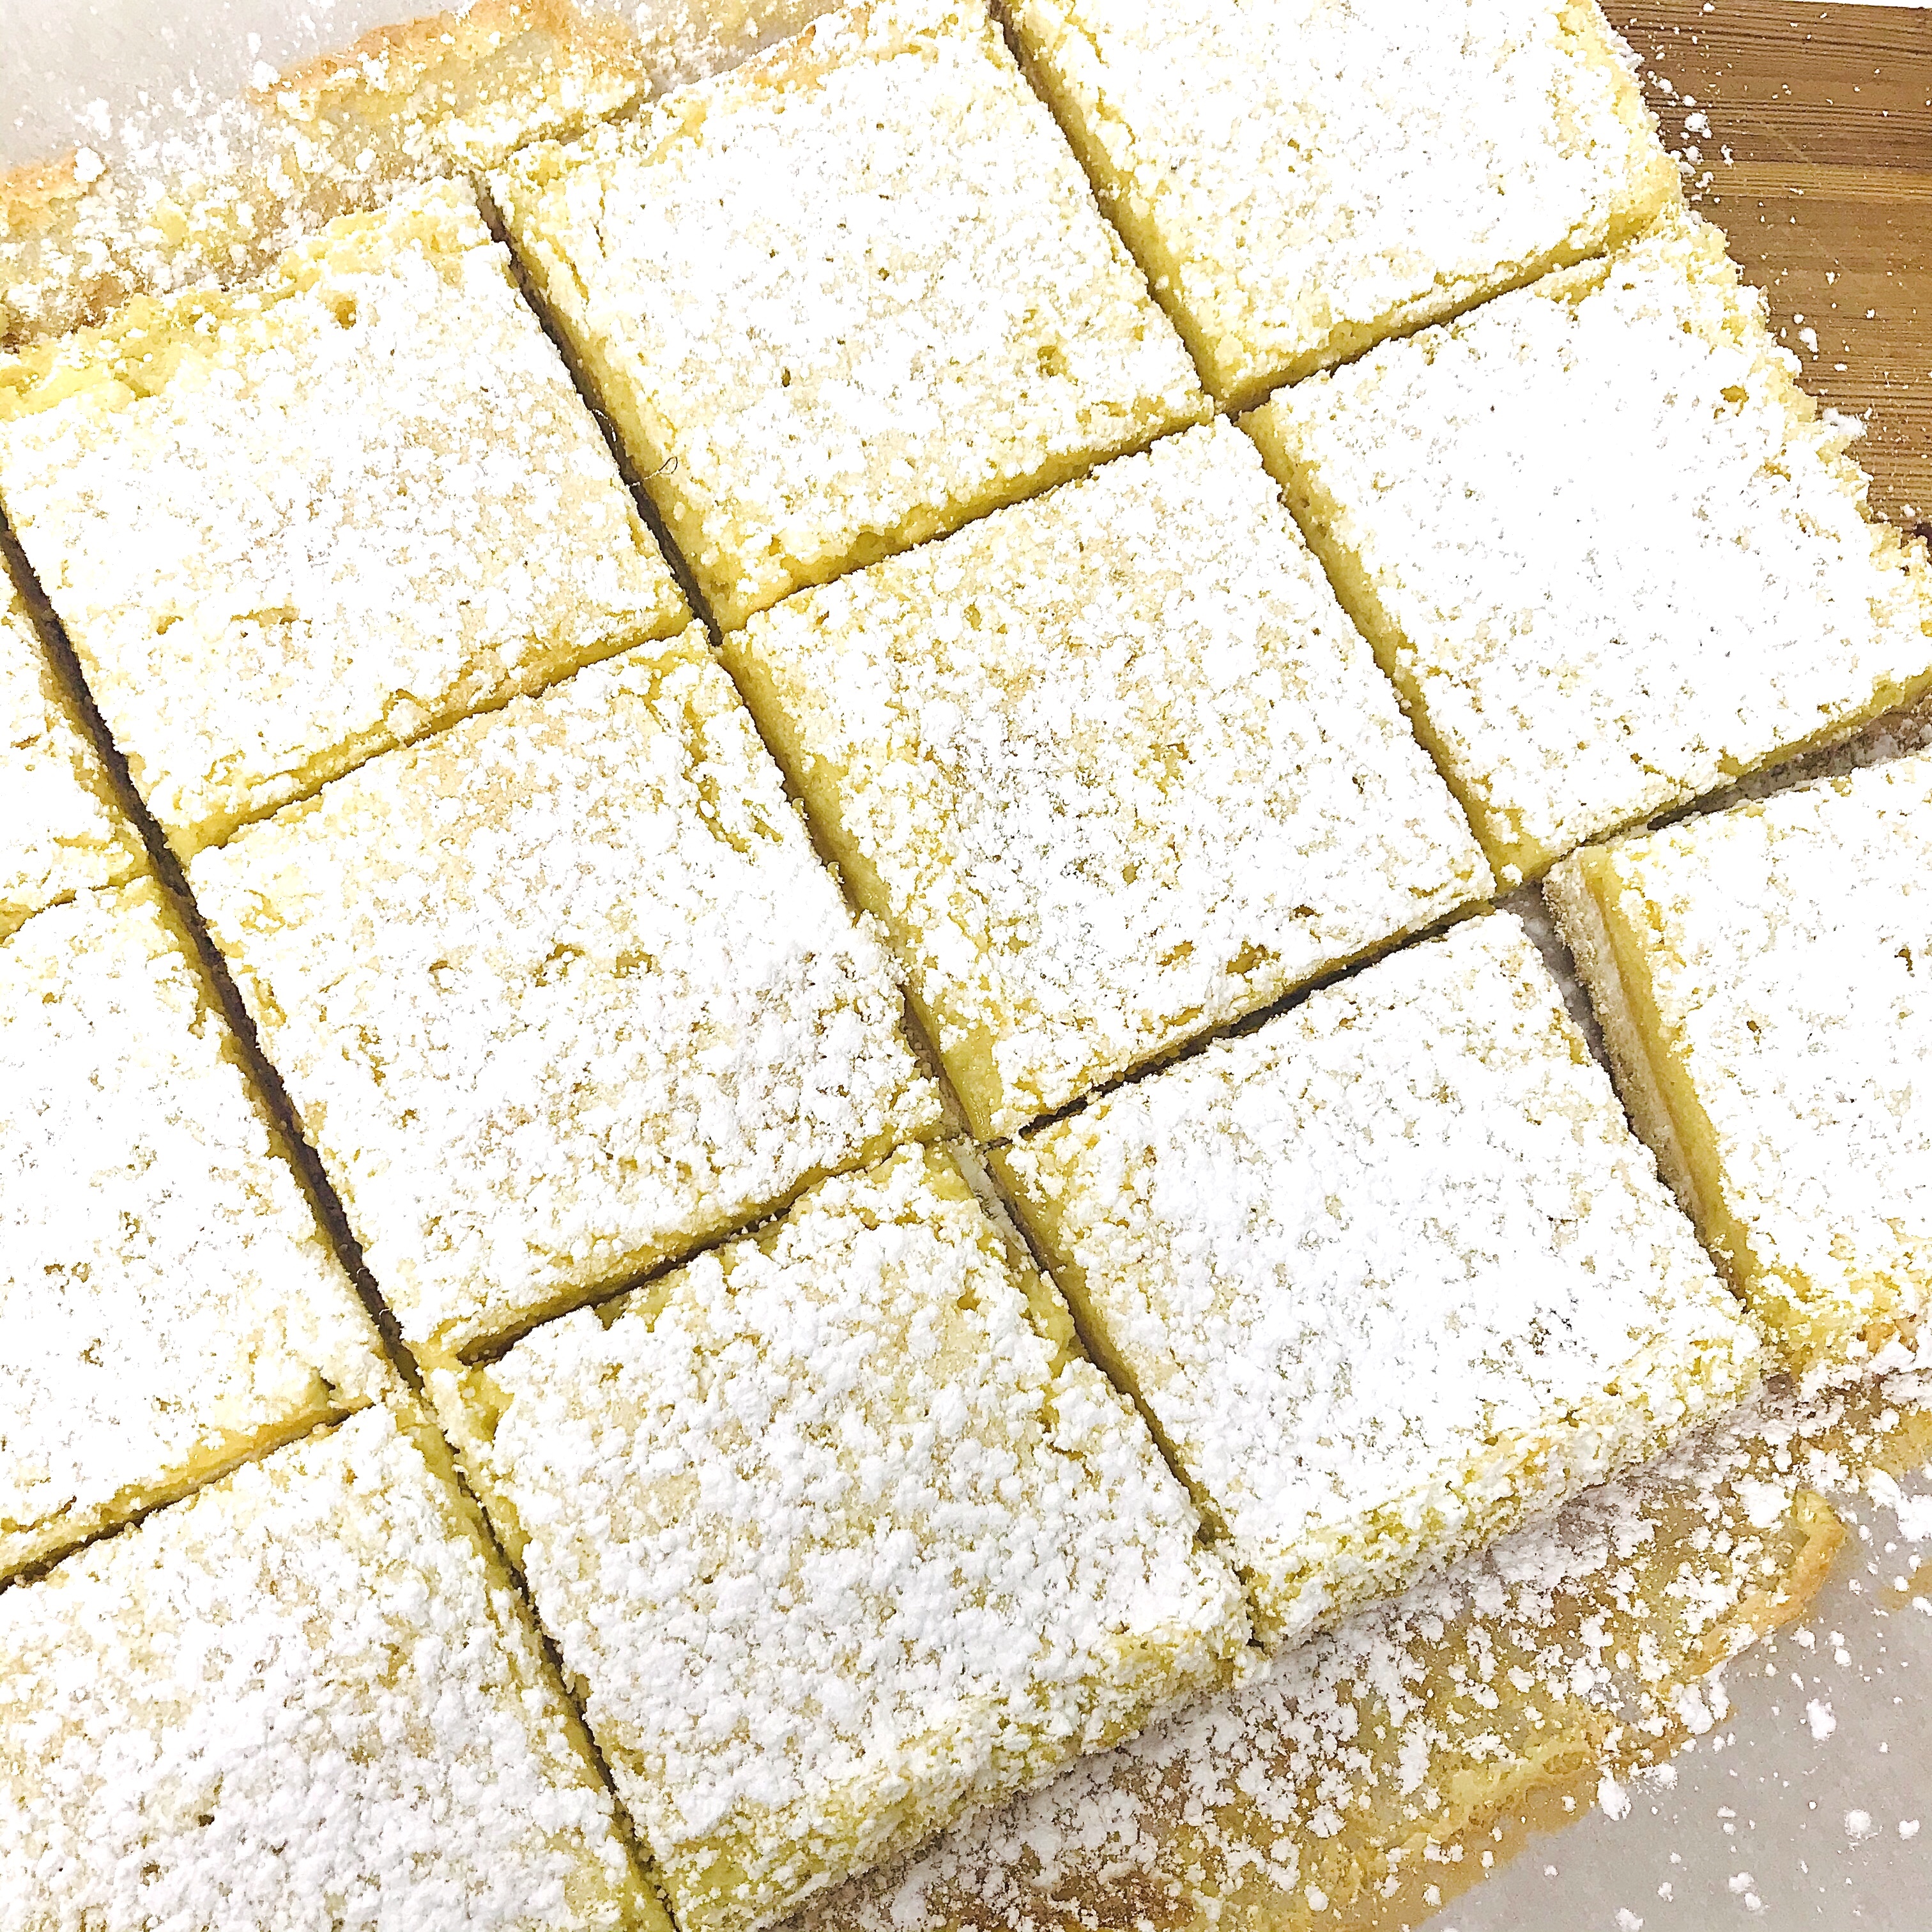
  5. Set pan on a rack to cool. Remove squares by lifting parchment. Cut into bars. Dust liberally with icing sugar
  6. Bars are kept refrigerated and eaten within 24 hours

*If Meyer lemons are available this recipe works just as well with standard lemons. But admittedly Meyer lemons DO elevate them.

Minneolas Tangelo & Cardamom Cheesecake

Okay I’m not gonna lie about this recipe- it came about completely by accident. Whilst looking for other ingredients for another recipe I stumbled up Minneolas Tangelos. Color me intrigued! These rather cute little citrus fruits are a hybrid between the grapefruit and the tangerine. The resulting fruit combines the sweetness of the mandarin with the tart flavors of the grapefruit, and has a wonderful juiciness, combination of sweet/sour flavors and is exceptionally easy-to-peel. The pear-shape of the fruit is also were it gets it’s other moniker from “Honeybell”.

I was hankering after a baked cheesecake and coming across them seemed too coincidental to ignore. Plus it was an ideal excuse to try something new and adventurous in the kitchen. The resulting flavour of the fruit is light and summery without having an overwhelming tartness. Adding cardamom to the base gives some complimentary citrus notes to the tangelo filling while at the same time cutting through the rich, creamy texture.

*In this recipe I use the terms Minneolas Tangelo, Tangelo and Honeybell interchangeably.

Ingredients

Base

  • 1 1/2cups graham cracker crumbs
  • 5 tablespoons salted butter, melted
  • 1/4 cup packed brown sugar
  • 1 teaspoon ground cardamom

Filling

  • Three 8 oz packs cream cheese, at room temperature
  • 1 1/3 cups sugar, divided 
  • 3 tablespoons cornstarch
  • 2 large eggs
  • Juice of 1 Minneolas tangelo (Honeybell)
  • Zest of 2  Minneolas tangelos (Honeybell)
  • 2/3 cup heavy whipping cream

Method

This cheesecake is best made the day before you plan to eat it. The extra time in the refrigerator will help firm it up and the flavours to intensify.

To make the crust/ base

  1. Preheat the oven to 350°F
  2. In a  bowl combine all the base ingredients and stir to ensure they’re well and evenly mixed
  3. Press the graham cracker crumbs into the bottom of an 8″ springform pan. Gently press down on the crumbs using a small (1/4) measuring cup, or your fingers, until the crumbs are an even layer at the bottom of the pan
  4. Bake the crust, on the bottom 1/3 shelf, for 10 mins. After baking remove and set aside to cool until needed later
  5. Keep the oven on at the current temperature. Move on the prepare the filling

To make the filling

  1. Wrap the cooled tin with a triple layer of aluminium foil. Do this gently so as to ensure you don’t damage the baked crust. Once you have triple-wrapped the tin, set aside and prepare the filling
  2. In a large bowl of a stand mixer, fitted with the paddle attachment, beat 1 package of the cream cheese, 1/3 cup of the sugar, and the cornstarch together on low until creamy, about 3 minutes, scraping down the bowl several times. Blend in the remaining cream cheese, one package at a time, beating well and scraping down the bowl after each. Here I find that beat for 3 minutes after each package on medium speed proves effective
  3. Beat in the remaining sugar, then the vanilla. Blend in the eggs, one at a time, beating well after each to make sure they’re incorporated
  4. Add in the tangelo zest, juice, and mix to incorporate. Beat in the cream until just completely blended. The filling will look light, airy, and smoot. Be careful not to overmix! Check the paddle attachment as sometimes the zest can stick and gather here. If it does simply scrap off into the mixture and fold in using a spoon or spatula
  5. Gently pour the batter over the cooled crust
  6. Place the cake pan in a large shallow pan containing hot water that comes halfway (about 1 inch) up the side of the springform. Bake until the edge is light golden brown, the top is light gold, and the center barely jiggles, about 1 1/4 hours. If the cake still feels soft around the edge, let it bake for 10 minutes more
  7. When the baking time is up, turn off the heat but leave the cheesecake in the oven with the oven door open a crack (you can use a wooden spoon to help here) for the next 2 hours. After this take the cheesecake out of the oven and remove it from the water bath, transfering to a wire rack, and let cool for another 2 hours minimum.  After this, leaving the cake in the pan, cover loosely with plastic wrap, and refrigerate until completely cold before serving, preferably overnight or for at least 6 hours

To serve

  • Release and remove the side of the springform, leaving the cake on the bottom of the pan. Refrigerate until ready to serve. Slice with a sharp straight-edge knife, not a serrated one, rinsing the knife with warm water between slices.

Refrigerate any leftover cake, tightly covered, and enjoy within 2 days, or wrap and freeze for up to 1 month.

Here I finished mine with a slice of candied Honeybell and some candied Honeybell peel. My advice would be to skip trying to candy the slices of fruit. Part of the attraction of the Honeybell is that it is quite easy to pull away from its rind and de-segment. This however has the downside that when you trying to flip the slices in sugar syrup they easily break  up. In fact the one centre slice that you see above was the sole survivor of 5 slices that I initially wanted to have candied. A much easier and straightforward garnish is to candy some sliced peel pieces (as I have on the perimeter of the finished cheesecake above).

These steps are entirely optional. You can finish the cheesecake whatever way you wish to your personal taste

  • Remove the rind from a Honeybell, trying to keep it as intact as possible. Using a teaspoon scrap away the bitter inner white rind. Slice the remaining outer orange rind into strips just less than 1/4″ thick
  • In a pan I combined 1 cup water with 1 cup of fine granulated sugar, bring to a boil and then reduce to a summer
  • Add in the Honeybell peel strips and stir to coat. Leave in the simmering liquid for 30 mins appx until the strips are translucent
  • While the strips are cooking line a baking sheet with baking parchment
  • After 30 mins carefully remove the strips from the sugar syrup with tongs and toss in some fine granulated fine sugar. When coated set on the baking parchment and leave overnight to dry out. Use as desired