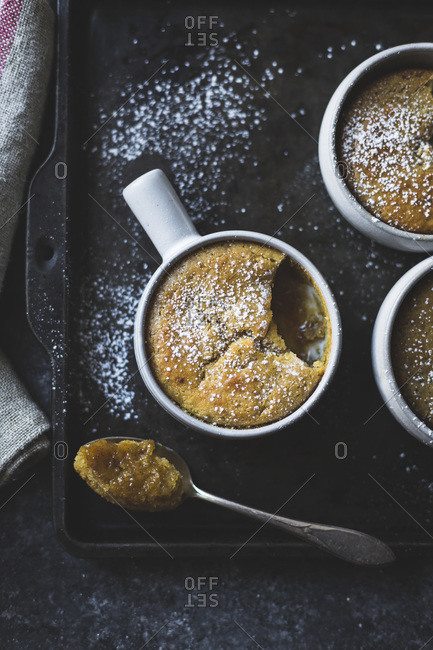
Makes 4 individual portions, or one 8″ x 8″ large portion
Ingredients
Cake
- 1 ½ cups all-purpose flour
- ½ cup granulated sugar
- 1 ½ tsp baking powder
- 1 pinch salt
- ½ cup cold unsalted butter, cut into pieces
- ½ cup milk
Sauce
- 1 cup maple syrup
- 1 cup packed light brown sugar
- ½ cup water
- ¼ cup unsalted butter
- 1 tsp vanilla extract
Method
Cake
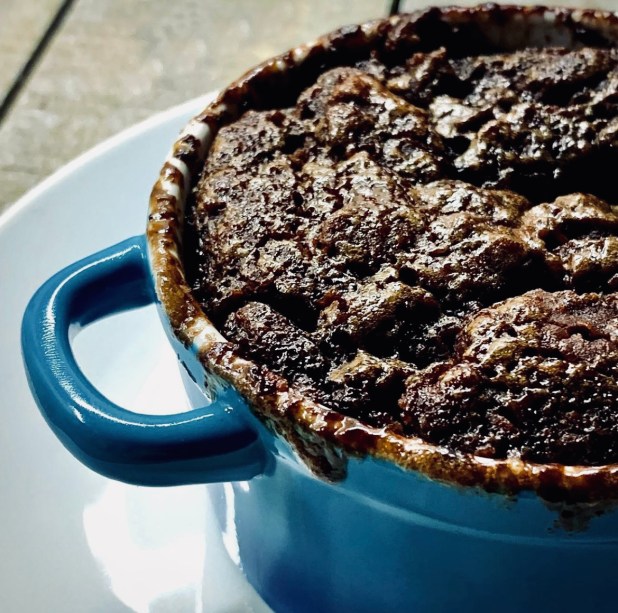
- Preheat the oven to 350º. Lightly grease 4 individual (0.25L) mini-cocottes, ramekins or other ovenproof dishes and place them onto a baking tray
- Sift the flour, sugar, baking powder and salt into a large mixing bowl. Add the butter and use a pastry cutter or your fingertips to work the butter into the flour until a rough, crumbly mixture – similar to thick breadcrumbs, or damp sand, is achieved
- Add the milk, and stir just until the mixture comes together
- Spoon this into the prepared smaller baking dishes. Set aside while you prepare the sauce
Sauce
- Combine the maple syrup, brown sugar, water, butter, and vanilla in a pan and bring to a boil over high heat, stirring occasionally
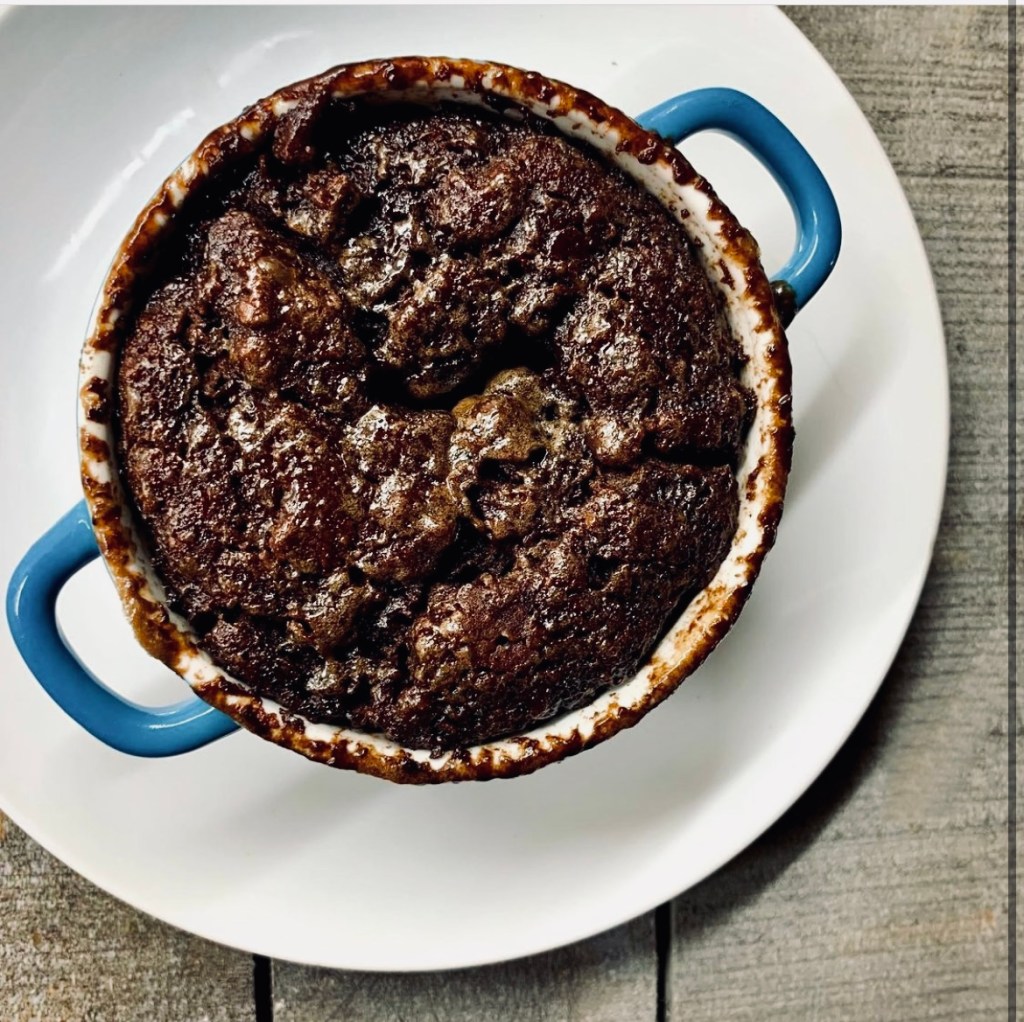
- Once it reaches a rolling boil, remove it from the heat and ladle this over the cake in the ramekins
- Bake the puddings for about 30 minutes, until a tester inserted into the centre of a pudding comes out almost clean
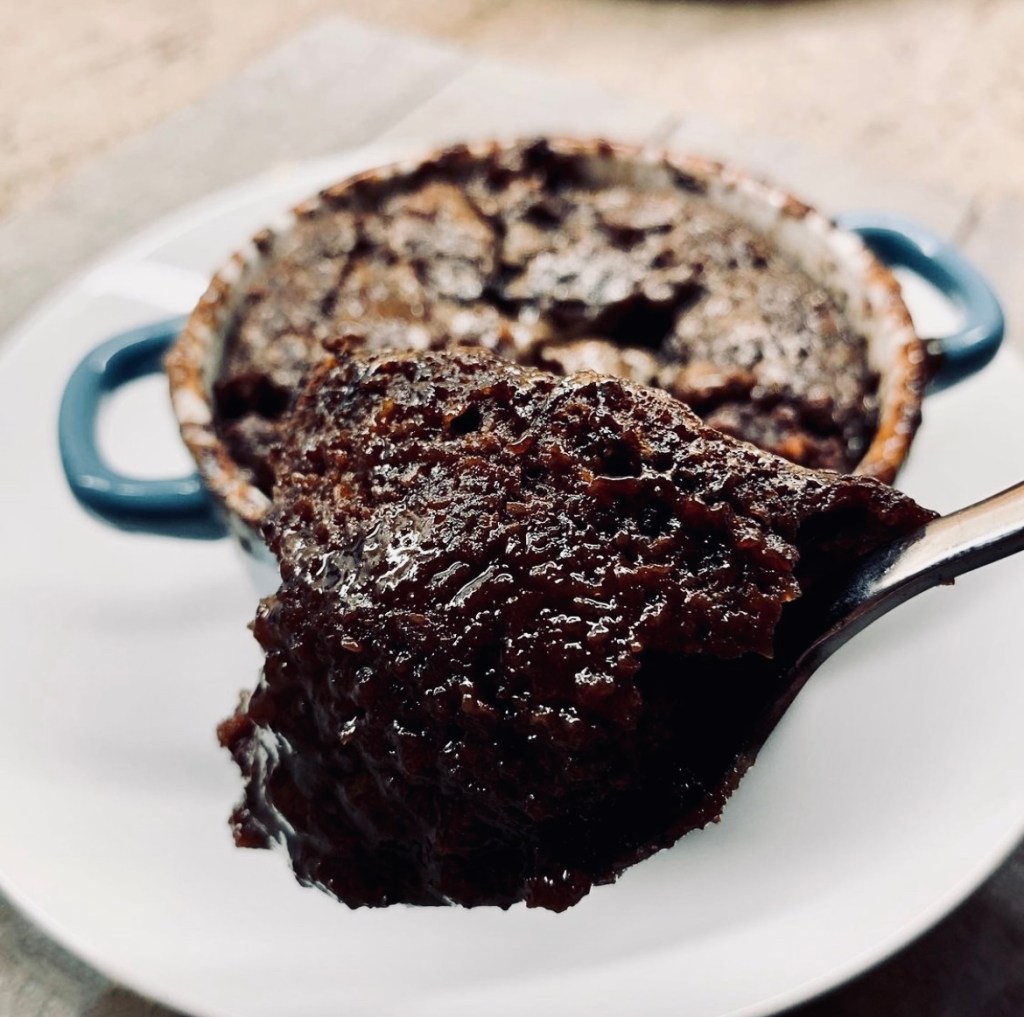
- Remove from the oven and let the puddings cool for about 15 minutes before serving (be careful syrup is hot!)
- Serve and enjoy