Fruit Flapjacks

First of all let’s clear up the looming misunderstanding. In this recipe my use of the term “Flapjack” is as used in the UK and Ireland, as opposed to it’s North American connotation.

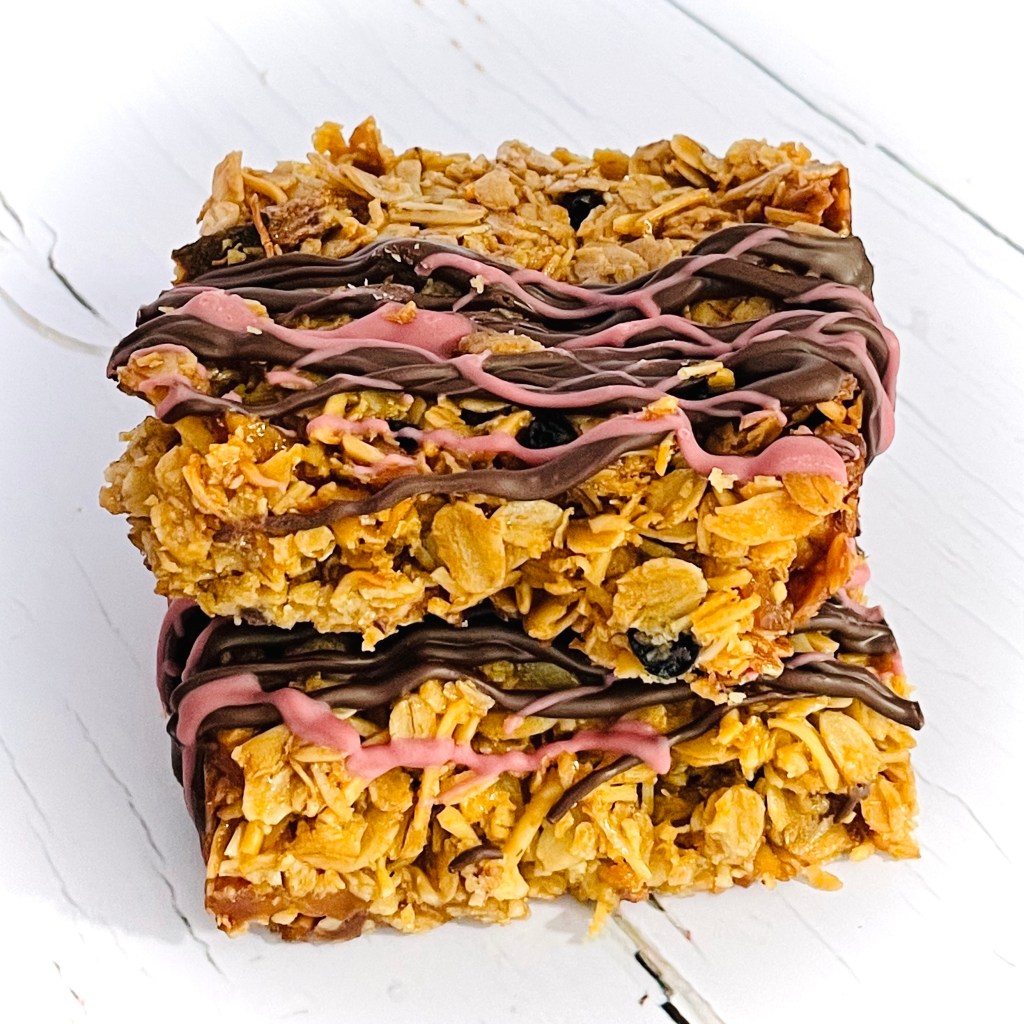
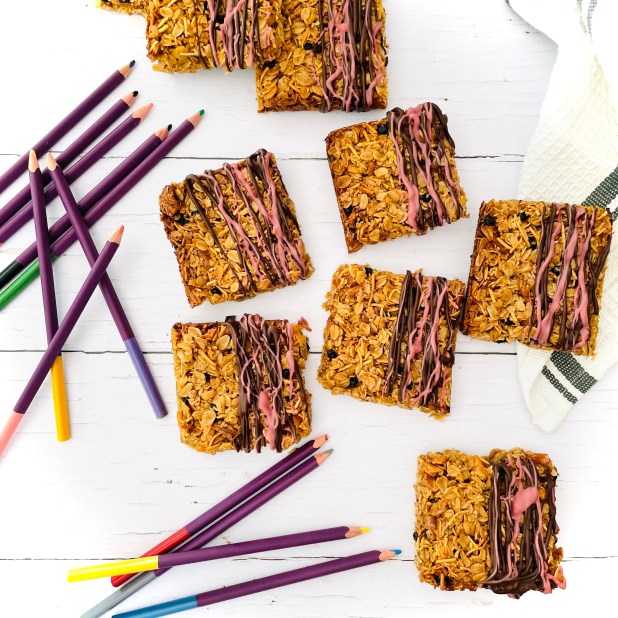
If you find yourself unfamiliar with Flapjacks as they appear here well then you’re in for a treat. Defined as “a sweet, tray-baked oat bar, most commonly made from rolled oats, butter, brown sugar and golden syrup“- growing up they were the stuff of school-time treats. Like so many other bakes with a traditional heritage, a love of these oatty morsels falls into two distinct camps- soft & chewy or crunchy & crumbly. Both however offer comforting butteriness and sweetness with each rustic bite. At the end of the day it’s all a matter of time and taste.

The easiest way to describe a flapjack is to think of it as a granola bar. Like it’s pseudo-healthy breakfast cousin it’s basis is in the “slick ‘ em and stick ’em” method of ingredients. Here it’s the butter providing the “slick ’em” element with the “stick ’em” being provided by the amalgamation of sugar, corn & maple syrups, and molasses. The aforementioned ingredients and oats are the basic building blocks, carrying any number of preferred add-ins. Dried fruit, chocolate chips, caramel are all fair game here.

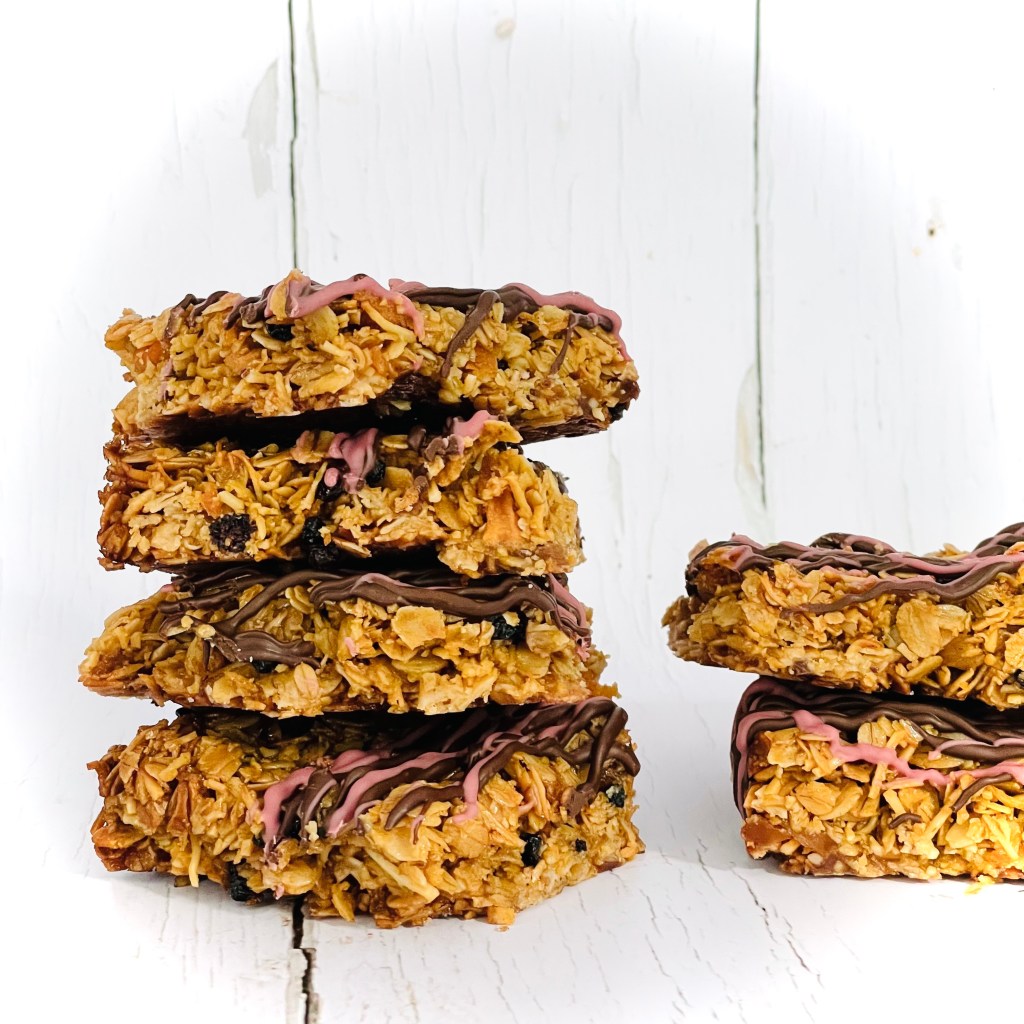
Having mentioned the flapjacks featured ingredient, the humble rolled oat, I feel it fair to offer a sliver of insight here. Flapjacks can be made using just the one type of oats- Rolled Oats (sometimes known as Jumbo Oats). I have found, however, that by using a mix of rolled oats and quick oats a sturdier, less crumbly flapjack is the end result, the latter oats providing a finer grain to act as an infill to the voids between the larger oat flakes.

Above all the flapjack is a bake that is easily tweaked to personal preference for taste and texture proving a lasting favorite that has stood the test of time. Once you have the essential slick ’em, stick ’em and oats in place the Flapjack World is your oyster!

Makes 12

Ingredients

  • 2 2/3 sticks salted butter
  • 1/2 cup brown sugar, packed
  • 2 tablespoon golden corn syrup
  • 2 tablespoons fancy molasses
  • 2 tablespoons maple syrup
  • 1/2 teaspoon kosher salt
  • 2 cups jumbo rolled oats
  • 2 cups quick oats
  • 1 cup shredded coconut
  • 1 teaspoon vanilla essence
  • 1 1/4 cup dried fruit slices, chopped (I’ve used a mix of apple, pear, apricot and mango)

Method

  1. Preheat your oven to 325 degrees F (350 degrees F for a crunchier flapjack). Line and grease a 9′ x 12′ baking tin with baking parchment
  2. In a large bowl combine the oats, coconut and dried fruit. Stir well to mix and break up any fruit clumps. Set aside for now
  3. In a medium pan melt the butter with the sugar, syrup, molasses vanilla extract and salt. Stir well to combine until sugar has dissolved.
  4. Pour the butter mixture over the oat mixture and stir well to ensure all the dry ingredients are coated
  5. Tip the flapjack mixture into your prepared tin and press evenly for a flat surface
  6. Bake in your preheated oven, middle shelf,  for 25 minutes for chewy, 30 minutes for crunchy, until set and golden
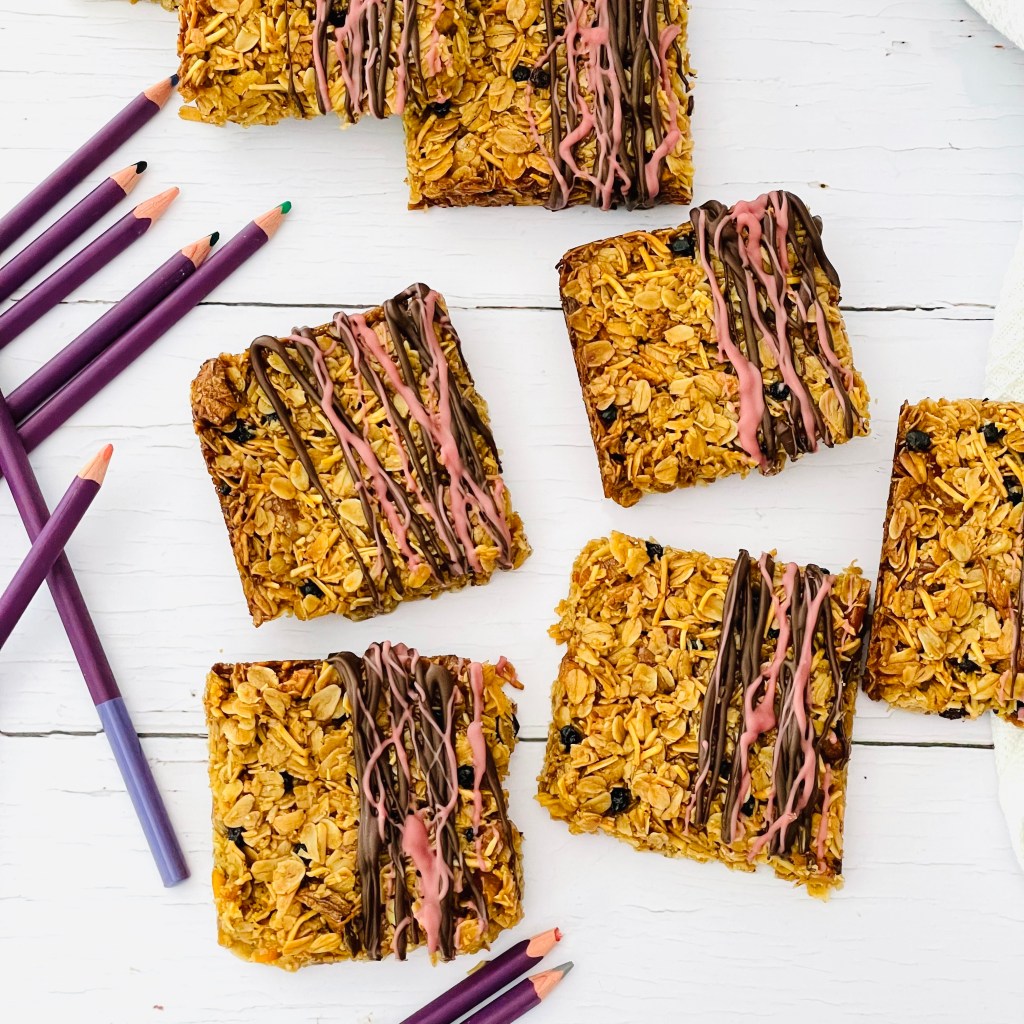
  7. Remove from the oven, wait for 5 minutes, then gently score the flapjacks, not going the full way through. For the size of tin I use here, I cut so I have 3 by 4 “square” pieces (2 cuts x 3)
  8. Allow to cool completely in the tin. When fully cooled re-score where you’ve previously cut this time going the full way through
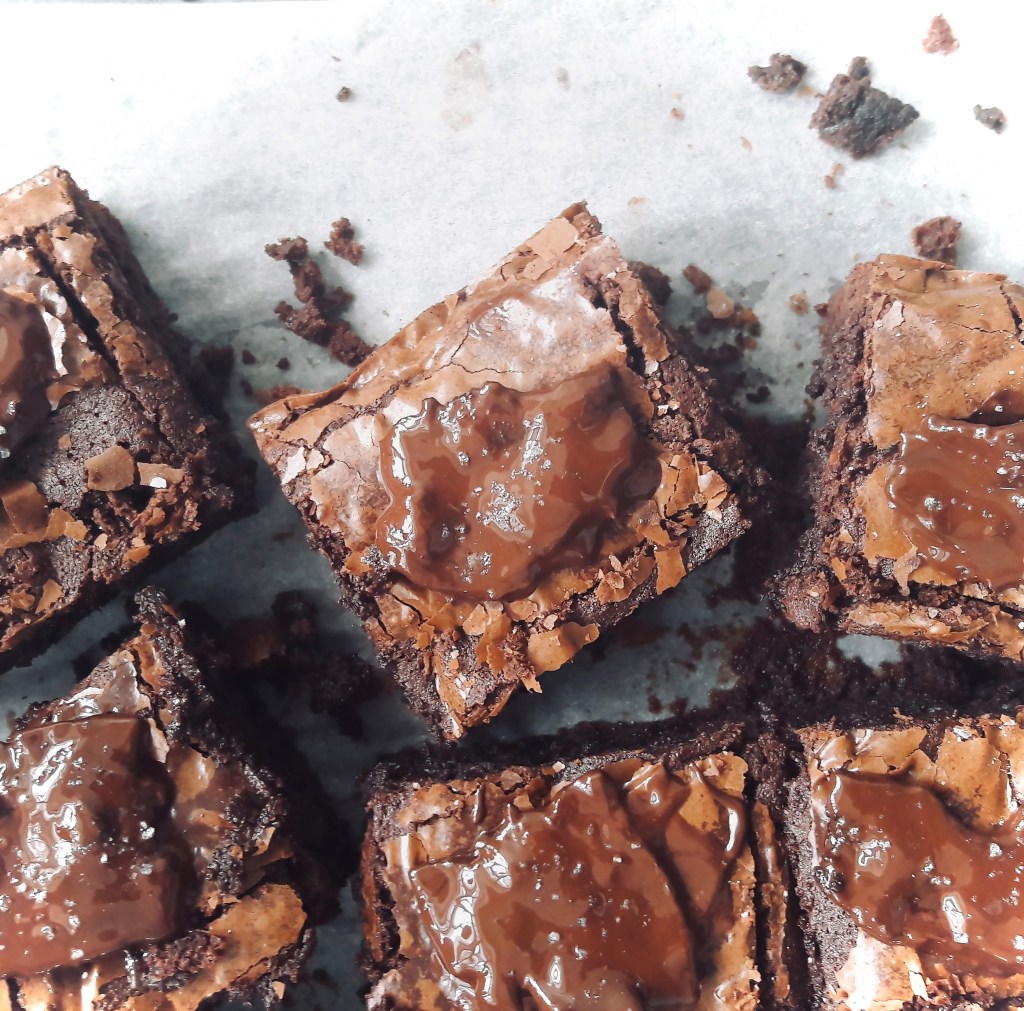
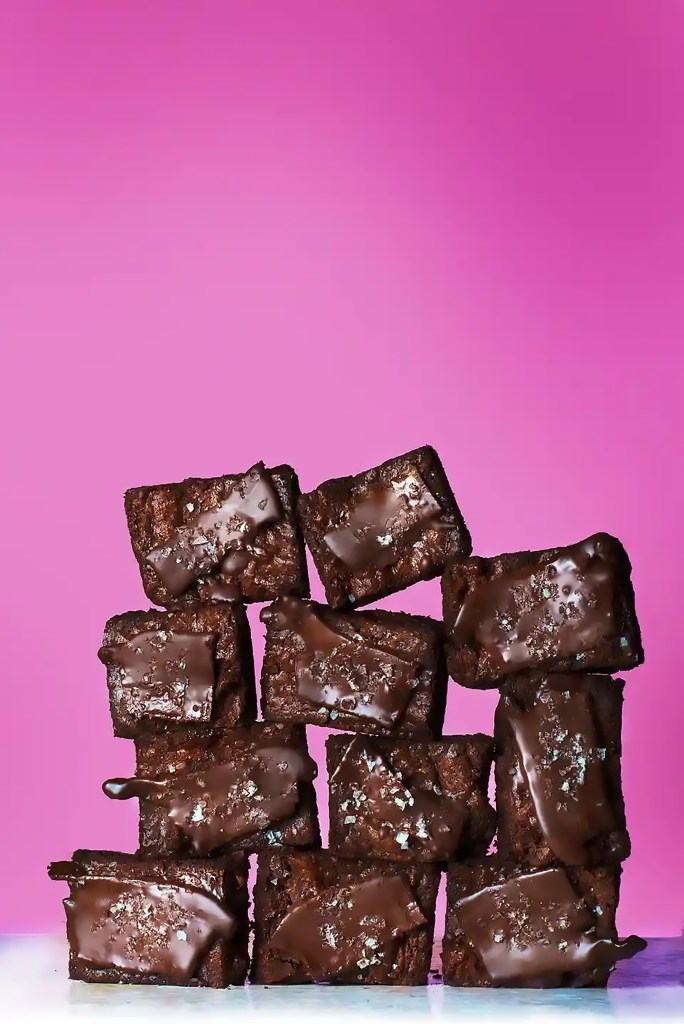
  9. If you want to lend an extra decadent touch, drizzle over some melted chocolate

Fluffiest Pizza Rolls

Who doesn’t love pizza? Yes- that age old question. From my experience a pretty good fan base is kids. I know my two are 100% on board with this, and with these rolls even more so. I think part of the enjoyment for them is knowing that they’ll get to sample the fruits of their labor at the end. Over the years I’ve learned that letting kids take ownership of tasks (no matter how small) can yield bountiful positive results and enjoyment all round. But…I’m here to talk pizza (rolls)!

These pizza rolls are perfect on so many fronts – pizza is popular; you can rope the kids in to helping; guests can eat as much as they like; they’re easily transportable outdoor eating in the summer weather. Like I said- the perfect tear and share popular summer bite. For a snack or appetizer I use one, for a main I use two paired with a leafy, summer salad. Let’s not forget it customizable too. If pepperoni isn’t your thing, swap it in for chicken, or ham.

You’ll notice a couple of things with this recipe. The dough can appear wetter than usual when fully mixed, This is what makes the end baked roll so fluffy. It really is a case of “wetter is better”. You also see that I mention cornmeal in the recipe. Whilst this isn’t an ingredient in the rolls as such, dipping their bases in it and baking them results in a wonderfully toasted, crispy bottom with a delightful crunch.

One last piece of advice before I go. These pizza rolls are at their best fresh out of the oven however if there are any left they can be wrapped, stored in the fridge and reheated for enjoying later.

Makes 12

Ingredients

Pizza Sauce

  • 6oz can tomato puree
  • 1 can (15oz) tomato sauce
  • 1 Tablespoon dried oregano
  • 1 Tablespoon dried thyme
  • 2 Tablespoons Italian seasoning
  • 1 teaspoon garlic powder
  • 1/2 teaspoon garlic salt
  • 1/2 teaspoon onion powder
  • 1/2 teaspoon fresh ground black pepper
  • 1 teaspoon sugar

Pizza Rolls

  • 4 cups bread flour
  • 2 1/4 teaspoons quick yeast
  • 1 Tablespoon Kosher salt
  • 1 Tablespoon sugar
  • 1 Tablespoon Italian seasoning
  • 1 egg
  • 1 1/2 cups warm water
  • 1/4 cup oil

Filling/ Topping

  • 2 cups pizza sauce, recipe above
  • 1 cup shredded mozzarella
  • 1 cup shredded sharp cheddar
  • 1 Tablespoon Italian seasoning
  • 1 cup shredded parmesan
  • 1 cup pepperoni, diced/ shredded
  • 1/2 cup cornmeal
  • Olive oil

Method

Pizza Sauce

  1. Combine all the sauce ingredients in a bowl, stir well, cover and set aside on the counter until needed

Pizza Rolls

  1. In the bowl of a stand mixer, with dough hook attachment, combine the flour, yeast, salt, sugar, and Italian seasoning
  2. Add the egg and combine on low speed
  3. Add in 3/4 of the liquid and mix on speed 2 to to combine. The dough should come together and start “cleaning the sides of the bowl”. If you dough is still “shaggy” gradually add in some of the remaining liquid until it comes together
  4. Knead on this speed for 7 minutes, until it is uniform and spring to the touch. It will be a bit sticky!
  5. Transfer to an oiled bowl, cover and leave in a warm place to rise until doubled in size (mine usually takes between 50mins to 1 hour)
  6. Line a 9″ x 12″ baking tray with baking parchment, leaving about a 2″ overhang all the way around. This will help fish the baked pizza rolls out of the tin
  7. In medium bowl, combine the mozzarella, cheddar, parmesan and Italian seasoning. Set aside
  8. Spread the cornmeal onto a plate and set aside
  9. Once doubled in size, tip out onto a well-floured counter and knock back the air from the risen dough
  10. Form into a rough rectangular shape 20″ x 12″ with long edge facing you
  11. Spread the surface of the dough with 2 cups of the pizza sauce. Next sprinkle over 2/3 of the cheese mixture, followed by 1/2 of the pepperoni
  12. Taking the long edge, roll the dressed dough up into a long log shape. It’ll get messy- there’s no getting away from it but doing it slow and easy helps keep most of the filling inside
  13. Cut the rolled up log into 12 pieces* and dip the bottom of each piece into the cornmeal. Place the rolls into the prepared baking tray, cornmeal side down in 3 x 4 formation allowing a small gap between each
  14. Preheat your oven to 350F
  15. Cover with some oiled cling wrap and set aside to rise for approximately 35 to 40 minutes. By the end of this time you’ll notice they will have risen again and be quite snug in the baking tray
  16. Brush with some olive oil and bake in your preheated oven for 15 minutes, at which point remove from the oven, sprinkle over the remaining cheese mixture, followed by the remaining pepperoni, return to the oven and continue baking for a further 15 to 20 minutes until the crust is golden, the cheese has melted and the pepperoni is nicely crisped up
  17. Remove from the oven and leave in the pan for 5 minutes. After this time remove from the pan using the baking parchment overhang, serve and enjoy with the remaining pizza sauce for dipping

*A handy trick for cutting your individual rolls is to use some dental floss (unflavored and clean) or some fishing line (again clean!). Cut a length, wrap it it around the long dough log at where you want to cut and pull together. Slices will be clean and you don’t run the risk of squashing them. Repeat to cut more.

Sweet Biscuits w/ Vanilla Cream & Maple Macerated Pineberries

Makes 12 Biscuits

Ingredients

Biscuits

  • 3 cups flour
  • 1 cup sugar
  • 4 teaspoon baking powder
  • ½ teaspoon salt
  • ¾ cup butter
  • 2 Tablespoon lemon juice
  • 1 teaspoon vanilla extract
  • 3/4 cup milk
  • 1 large egg
  • egg wash (1 egg + 2 Tablespoon water, whisked together)
  • Turbinado sugar

Vanilla Cream

  • ½ cup whipping cream
  • 1 tablespoon granulated sugar
  • 1 ½ teaspoon pure vanilla extract

Maple Macerated Pineberries

  • 2 ½ cups fresh pineberries, topped and quartered
  • 1 Tablespoon Maple Sugar

Method

Maple Macerated Pineberries

  1. In a bowl combine the pineberries and maple sugar, mixing well. Set aside to macerate on the countertop for at least 30 minutes before serving

Vanilla Cream

  1. Using a handheld mixer or stand mixer with the whisk attachment, beat the cream, sugar and vanilla extract on medium-high until stiff peaks, about 3-4 minutes.
  2. Chill in the refrigerator until needed

Biscuits

  1. Preheat your oven to 375 degrees F
  2.  In a large bowl whisk together the flour, sugar, baking powder and salt, mixing well
  3. Using a large hole cheese grater, grate in the butter, then cut using a pastry cutter, or knife, until mixture resembles a coarse meal. You will still be able to see the butter in pieces pea-size or slightly smaller
  4. Make a well in the centre of the dry mix
  5. Mix together the lemon juice, vanilla, milk and the egg
  6. Pour into the well and mix until just combined to a dough ball
  7. Lightly flour a countertop, transfer the dough from the bowl and roll (using a floured rolling pin) to 1 inch thickness
  8.  Cut out biscuits with 3inch biscuit cutter and place on parchment lined baking sheet
  9. Lightly brush the tops of the biscuits with the egg wash
  10. Sprinkle turbinado sugar on top of the biscuits
  11. Bake at 375 degrees F for 20 minutes or until golden brown. Remove from the oven and leave to cool on a rack before serving

To Serve

  1. Slice each biscuit crossways in half
  2. Spoon some of the vanilla cream on the bottom half
  3. Top with a generous amount of the maple macerated pineberries
  4. Top with the other half of the biscuit
  5. Repeat with additional dollops of vanilla cream and macerated pineberries
  6. Serve and enjoy!

Smokin’ Pig Licker Brownies

Happy World Chocolate Day! Yes the food calendar which so often celebrates obscure treats and foods has of course a day designated to everyone’s favorite sweet treat. In whatever form- be it dark, milk, white, ruby or golden, nearly everyone I know has a soft spot for the timeless treat that is chocolate. In fact so much so in my case I ended up competing on a reality baking show about it. But I won’t bore you with those details.

It only seemed fitting given the day that it is that I highlight one of the keystones of my baking journey thus far- my Smokin’ Pig Licker Brownies. Bear with me and see past the name- by know you know I do like to create a talking point! Originally conceived from an idea combining two stalwart (yet polar opposite) favorites in the food world – chocolate (sweet) and bacon (savory) I will forever be indebted to these tasty morsels for earning me the “award winning” in my press kit bio title.

Wanting to pair chocolate and bacon led me to research whether this combination was a historic one, steeped in the recipes of olde, or a more recent affair. It proved to be a little of both. I mean think of the “mole sauces” of Mexican cuisine- pairing sweet and savory was indeed nothing new. But how about actual bacon? It was through this that I stumbled upon “Pig Lickers” and what they involved. A treat hailing from Southern US state fairs, Pig Lickers as such are “treats made by coating cooked bacon in chocolate, and then garnishing with chunks of sea salt”. Are we feeling it yet? The name alone had me hooked let alone that fact that it combined my two holy grail ingredients.

But I wanted to push it a little further. State fairs to me always bring that cliched image of candy floss, hot dogs, and chilli dogs. Wait! Chilli dogs?…chilli? Chilli and chocolate! There you have it! My end result- these brownies would be a classic combination of chilli and chocolate, with a thumbing of the culinary nose addition of bacon- in not one but two forms! The smoky, heat of the decadent brownies would be studded with crispy, sweet bacon pieces and then topped off with the aforementioned Pig Licker- a sliver of crispy bacon enrobed in chocolate, sprinkled with shards of sea-salt. Bet you’re on board NOW?

Before I depart to smother my bacon (!) a couple of words of advice. Don’t be tempted to use thick cut, or peameal, bacon here. The fat-to-meat ration is off and doesn’t work. Instead of crispy morsels of Umami goodness playing with luxurious chocolate, you get chunks of meat which just doesn’t sit right- taste or texture wise. Also don’t stress about tempering the chocolate. I mean you can if you want to go for the whole professional “snap” (*triggered*) finish if that’s your jam but at the end of the day these are rustic, wholesome, come-as-you are treats. Which I hope you enjoy!

Makes 12

Ingredients

  • 1 cup bacon, finely chopped
  • 2 teaspoons maple syrup
  • ¾ cup unsalted butter, cubed
  • 6oz semi-sweet chocolate, broken into pieces
  • 3 eggs
  • 1 cup sugar
  • ¾ cup plain flour
  • ½ cup cocoa powder
  • 1 teaspoon smoked paprika
  • ½ teaspoon mild chilli powder
  • 2oz dark chocolate chunks

To decorate

  • 3 full pieces of bacon 3 rashers, each cut into 4
  • 4oz semi-sweet chocolate, melted
  • Sea salt flakes

Method

  1. Set your oven to 350°F and line a deep 12″x9″ baking tray with baking parchment leaving an overhang each side
  2. Fry the bacon in a pan until just starting to crisp. Add the maple syrup and fry until a shade browner and crisper. Remove from the heat and leave to cool on a plate
  3. Melt the butter and chocolate in a bowl over a saucepan of simmering water (or bain-marie), stirring occasionally. Once melted, remove from the heat, and allow to cool
  4. In the bowl of a stand mixer, beat the eggs and sugar until the mixture is thickened and fluffy, then, in a separate bowl, combine the flour, cocoa powder, smoked paprika and chilli powder.
  5. Fold the cooled chocolate mixture into the egg mixture. Sieve in the dry ingredients, and fold together until uniform in color
  6. Fold in the chocolate chunks and bacon pieces. You may need to break up the bacon pieces as they may have stuck together while cooling
  7. Pour your mixture into the lined tray and gently spread to level the surface. Place in the oven for 20-25 minutes, then leave to cool completely in the tin before cutting into squares
  8. To decorate, place the larger bacon pieces in the frying pan and cook until crisp. Remove and leave to cool. Melt the remaining in a bowl over a saucepan of simmering water (or bain-marie), or in a microwave on short bursts, until fully melted
  9. Coat the bacon pieces one at a time in the melted chocolate. Place a bacon piece on top of each brownie and sprinkle with sea salt
  10. Leave to set, serve and enjoy!
Image credit Romas Foord

Chocolate Pouding Chomeur

Ingredients

Cake

  • 1 ½ cups all-purpose flour
  • 2 Tablespoons unsweetened cocoa powder
  • ½ cup granulated sugar
  • 1 ½ tsp baking powder
  • 1 pinch salt
  • ½ cup cold unsalted butter, cut into pieces
  • ½ cup chocolate milk
  • 2oz semi-sweet chocolate (I use bars with 1/4 oz square so I can put 2 in each dish)

Sauce

  • 1 cup maple syrup
  • 1 cup packed light brown sugar
  • ½ cup water
  • ¼ cup unsalted butter
  • 1 tsp vanilla extract

Method

Cake

  1. Preheat the oven to 350ºF (180ºC). Lightly grease 4 individual (0.25L) mini-cocottes, ramekins or other ovenproof dishes and place them onto a baking tray
  2. Sift the flour, cocoa powder, sugar, baking powder and salt into a large mixing bowl. Add the butter and use a pastry cutter or your fingertips to work the butter into the flour until a rough, crumbly mixture – similar to thick breadcrumbs or damp sand is achieved
  3. Add the milk, chocolate milk and stir just until the mixture comes together
  4. Spoon this into the prepared smaller baking dishes. Push 2 x 1/4 oz square of chocolate into the middle of each pudding. Set aside while you prepare the sauce

Sauce

  1. Combine the maple syrup, brown sugar, water, butter and vanilla in a pan and bring to a boil over high heat, stirring occasionally.
  2. Once it reaches a rolling boil, remove it from the heat and ladle this over the cake in the ramekins.
  3. Bake the puddings for about 30 minutes, until a tester inserted into the centre of a pudding comes out clean.
  4. Remove from the oven and let the puddings cool for about 15 minutes before serving (be careful syrup is hot!)