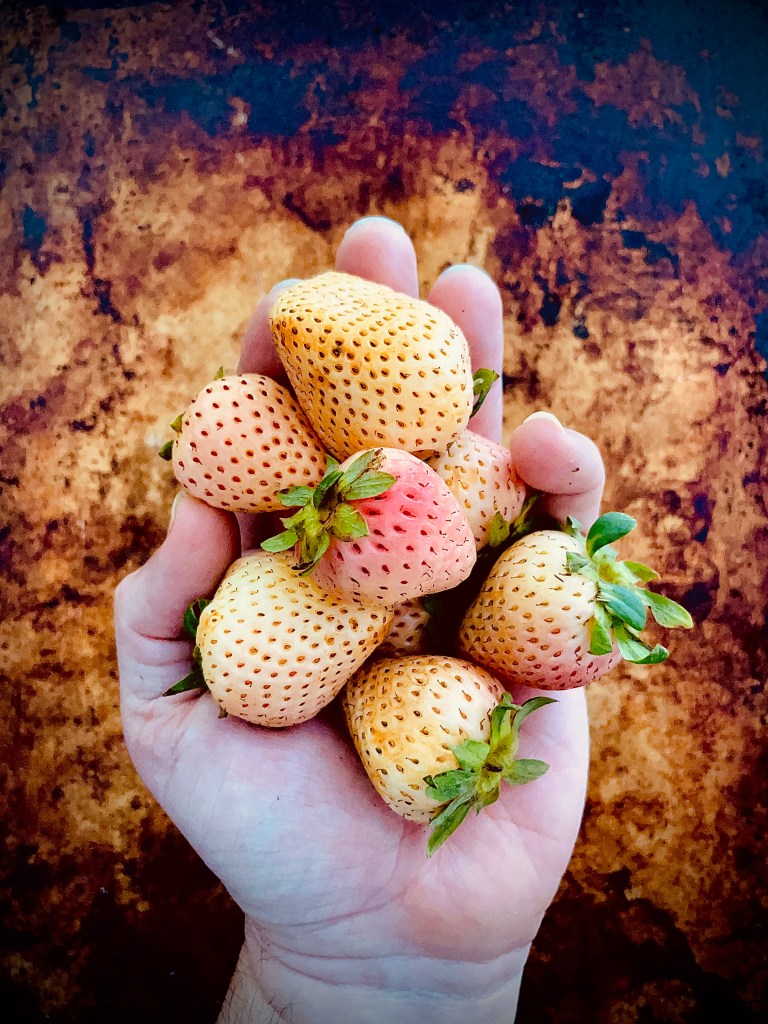
In a bowl combine the pineberries and maple sugar, mixing well. Set aside to macerate on the countertop for at least 30 minutes before serving
Vanilla Cream
Using a handheld mixer or stand mixer with the whisk attachment, beat the cream, sugar and vanilla extract on medium-high until stiff peaks, about 3-4 minutes.
Chill in the refrigerator until needed
Biscuits
Preheat your oven to 375 degrees F
In a large bowl whisk together the flour, sugar, baking powder and salt, mixing well
Using a large hole cheese grater, grate in the butter, then cut using a pastry cutter, or knife, until mixture resembles a coarse meal. You will still be able to see the butter in pieces pea-size or slightly smaller
Make a well in the centre of the dry mix
Mix together the lemon juice, vanilla, milk and the egg
Pour into the well and mix until just combined to a dough ball
Lightly flour a countertop, transfer the dough from the bowl and roll (using a floured rolling pin) to 1 inch thickness
Cut out biscuits with 3inch biscuit cutter and place on parchment lined baking sheet
Lightly brush the tops of the biscuits with the egg wash
Sprinkle turbinado sugar on top of the biscuits
Bake at 375 degrees F for 20 minutes or until golden brown. Remove from the oven and leave to cool on a rack before serving
To Serve
Slice each biscuit crossways in half
Spoon some of the vanilla cream on the bottom half
Top with a generous amount of the maple macerated pineberries
Top with the other half of the biscuit
Repeat with additional dollops of vanilla cream and macerated pineberries
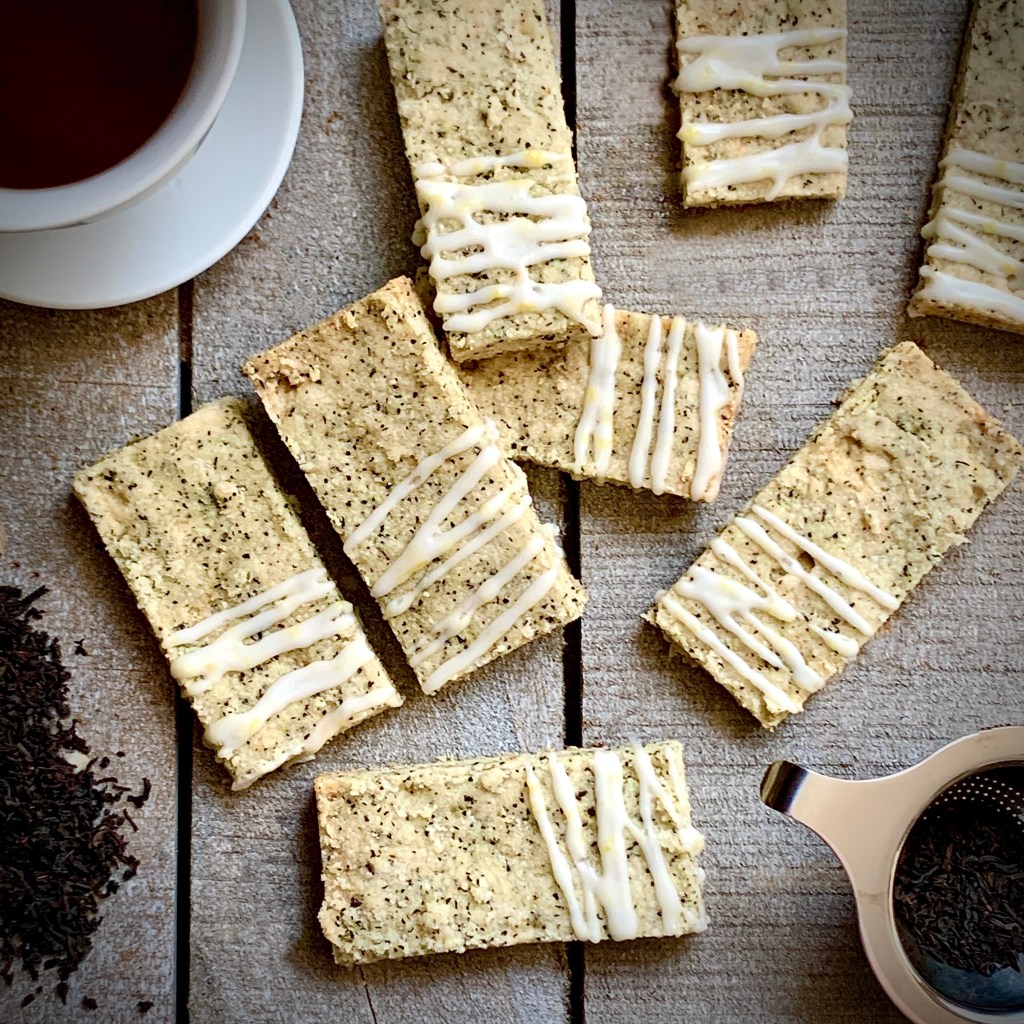
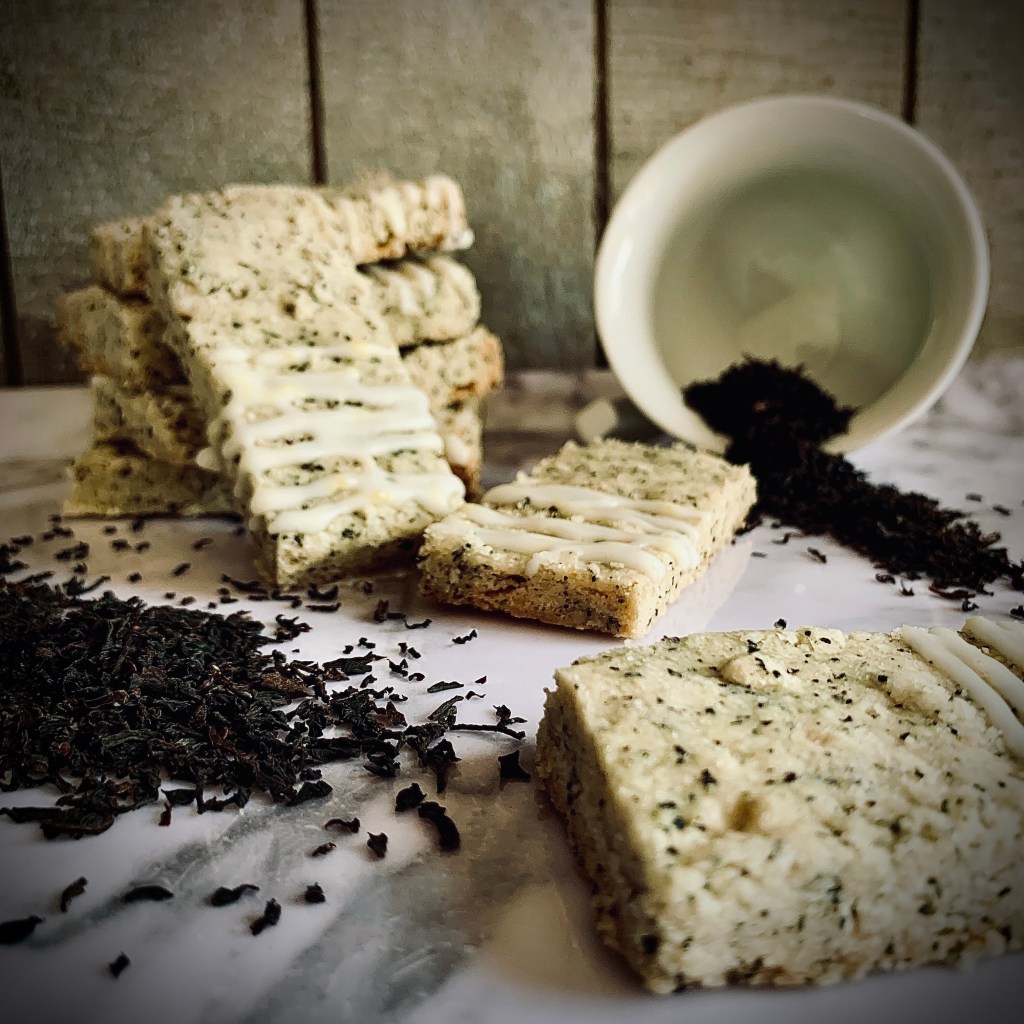
These are a perfect bite for afternoon tea. Buttery, deliciously crumbly shortbread laced with floral Earl Grey and spiked with the zesty burst of sunshine from a lemon glaze- they are practically perfect for an al fresco tea break in the sunshine.
This is my tried, tested recipe as approved by my Scottish husband! Whilst traditional shortbread is a straightforward (and tasty!) mix of three simple ingredients – butter; flour and sugar, here I’ve added ingredients that I’ve found amplify a shortbread’s more desirable properties. The combination of semolina, rice flour and cornstarch elevate it’s crumbly moreishness while at the same time preventing it from becoming a chalky, dry shard.
I usually cut mine into the no-fuss finger shapes – easy to handle whilst sipping, whilst maximizing the dough amount. Using a cookie cutter is possible but may result in some surplus offcuts. If you choose this route a handy hint is to stir the offcuts into ice-cream. Even more to enjoy!
Check out this #recipe for Earl Grey & Lemon Shortbread
In a food processor, combine the floor and the loose tea leaves. Pulse 4-5 times until leaves are mixed finer into the floor
In a large bowl combine the flour/ tea mixture, semolina, rice flour, cornstarch, sugar and salt. Whisk together to further combine
Add in the cubed butter and rub together with your fingertips until the mixture is just beginning to bind together. Every so often do a quarter turn of the bowl to make sure you’re using all the dry mixture. You’ll want a texture somewhere between breadcrumbs and damp sand before you stop. Be wary of overworking the butter into the mixture – you want to avoid a dough that feels slimy from the butter melting too much into the dry ingredients
Tip the crumb mixture into your prepared tin and press the dough so that it forms a solid layer. Level the surface with the back of a spoon or measuring cup, making sure the mixture is evenly spread and uniform. Prick all over with a fork
With a knife or pizza cutter score the shortbread into 24 rectangular pieces (2 cuts by 7 cuts) taking care not to cut the full way through the compressed crumb
Refrigerate for 30 mins minimum
Preheat your oven to 325°F
Remove the shortbread from the fridge and bake for about 35 minutes or until a very pale golden brown.
Remove from the oven and after 5 minutes rest in the tin, cut fully through the baked shortbread with a knife or pizza cutter at the score lines you previously made
Leave to cool in the tin for 15 minutes. Carefully lift the fingers out of the tin with a palette knife or the parchment paper overhang and finish cooling on a wire rack
While the shortbread cools, prepare the lemon glaze
To make the Lemon Glaze
In a bowl or jug combine the powdered sugar and lemon zest. Add the fresh lemon juice to your personal taste (2 -3 teaspoons)
Make sure the shortbread pieces are fully cooled before glazing. Dip or pipe the glaze onto the shortbread pieces to your personal preference. (I usually transfer mine to a piping bag and drizzle lightly over the shortbread)
Valentine’s Day. Love it or hate it, there’s no getting away from it- even here I’m afraid. BUT I am hoping to give you something a little bit different in the recipe department. Heart-shaped and pastel-pink hued? Yes. However that’s where the predictability ends- or at least I’m hoping you think so too.
These started inception as…well…I was hankering for something sweet in between grocery deliveries. I wish I could come up with a more romantic, Earth-shattering epiphany than that but alas, no. My recipe for shortbread has been tried, approved and is a breeze to rustle up in a hurry. The instantly seductive baking phrase comes to mind, ” Quick and with minimal ingredients“. So in an effort to kill two birds with one stone, I got to thinking of doing a Valentine’s Day recipe post on shortbread.
So how can I make it “Valentine-sy”? Heart-shaped chocolate chip cookies just didn’t cut it for me. and so the mental gears turned. I had recently stocked up the pantry of some baking ingredients. “Livin’ the lockdown” dream has me currently baking every couple days- can we say “Therapy Baking”? Anyway as part of a restock I had some crystalised (candied) ginger going spare. I have a love/ hate relationship with this ingredient. Whilst I absolutely LOVE it’s mellow, slow-burning, sweet heat (especially in combination with dark chocolate) and so that was at the front of my mind. Pink peppercorns was my initial selection for the next feature ingredient. My worry, however, was that it falls slightly into the territory of over-familiarity, bordering on a go-to spicy contributor to desserts. Sichuan peppercorns are ideal to fill this gap, lending their signature tongue-tingling sensation as an extra boon without the visual fanfare.
That, for me, was enough going on internally. I try to limit the flavors within a bake in order to stop them becoming a jumbled cacophony on the tongue. I was still thinking of how to finish the flavor experience that I had in mind. And of course- rose hits me! Now I don’t mean some random pensioner walking by whacks me with her Kate Spade tote- I mean Rose the flavor. Sure it can be a tricky ingredient to use but when handled properly it can really bring a decadent statement to a bake. And let’s face it (at the risk of being slightly predictable) what’s Valentine’s Day with roses in some form? I’ve combined it here with an understated addition of white chocolate to help compliment the heat from the spices baked into the shortbread, stopping it from sitting on your tongue too long and dominating your palette.
Finishing and decorating your baked shortbread cookie is entirely at your own discretion. Leave them plain and simple, or as I did add a few choice sprinkles and some edible glitter themed in the spirt of the amorous season. See? I can do pretty.
Whatever you choose to do, whether it’s make these and share them, or keep the all to yourself I hope you enjoy them.
Stay safe, and mask up.
*Updated to include Chocolate version as featured on Food Network Canada’s “Great Chocolate Showdown”.
Makes 16 heart cookies (I use a 2″ heart shape cutter), or 24 if cut into fingers
Ingredients
1 2/3 cups AP Flour
1/3 Semolina
2 Tablespoons Rice Flour (if you’re making a Chocolate shortbread version sub here with cocoa powder)
1 1/2 Tablespoons Cornstarch
1/2 cup and 2 tablespoons fine sugar, divided
1/2 tspn Kosher salt
1 cup/ 2 sticks salted butter, cold and cubed
1/2 cup crystalized (candied) ginger, chopped in to small pieces
2 tspn ground ginger
2 tspn Sichuan peppercorns, toasted and crushed/ ground
To decorate
3oz White chocolate, broken into pieces (use Dark chocolate for Chocolate shortbread version)
1 tspn coconut oil
1/2 tspn rosewater (omit for Chocolate shortbread version)
Candy sprinkles, dragees to suit
Method
Shortbread Cookies
Lightly grease and line a 9″ x 12″ traybake tin
In a large bowl combine the flour, semolina, rice flour, cornstarch, sugar, salt, round ginger and ground Sichuan peppercorns. Whisk together to further combine
Add in the cubed butter and rub together with your fingertips, or a pastry cutter, until the mixture is just beginning to bind together. Every so often do a quarter turn of the bowl to make sure you’re using all the dry mixture. You’ll want a texture somewhere between breadcrumbs and damp sand before you stop. Be wary of overworking the butter into the mixture – you want to avoid a dough that is feels slimey from the butter melting too much into the dry ingredients
Add in the chopped crystalized (candied) ginger and stir lightly to combine
Tip the crumb mixture into your prepared tin and press the dough so that it forms a solid layer. Level the surface with the back of a spoon or measuring cup, making sure the mixture is evenly spread and uniform.
Refrigerate for 30 mins minimum
Preheat your oven to 325°F
Remove the chilled dough from your fridge and using your cookie cutter mark 16 heart shapes by pushing the cutter roughly halfway into the dough. You don’t have to go the full way through to the bottom of the pan. If you’re not making heart-shaped cookies, you can use a knife or pizza cutter score the shortbread into 24 rectangular pieces (2 cuts by 7 cuts) taking care not to actually cut the full way through
Bake the dough for 30- 35 minutes or until a very pale golden brown, and deeper golden brown at the edges
Remove from the oven and using your heart-shaped cookie cutter, cut fully through the baked shortbread . The dough in the cutter should come away, giving you a heart-shaped cookie. On a wire cooling rack carefully push out the cookie. Repeat and leave to cool fully*
(If you’re not using a cookie cutter simply cut with a knife or pizza cutter at the score lines you previously made, cut the the bottom of the pan to complete the cut the full way through. Leave the full slab of shortbread to cool in the tin for 15 minutes. Carefully lift the fingers out of the tin with a palette knife or the parchment paper overhang and finish cooling on a wire rack)
To decorate
In a small bowl, set over a pan of simmering water, combine the white chocolate, coconut oil and rose water
Heat over a gentle simmer, stirring occasionally, until the chocolate is fully melted and all ingredients are combined
Turn off the heat and carefully remove the bowl
Dip the shortbread hearts or bars into the melted chocolate and set on a rack or tray lined with baking parchment or silpat mat. (If you find you’re chocolate is becoming stiff and hard to work with, place the bowl of chocolate back into the hot water pan and leave to re-melt to a more workable state
Whilst the chocolate is still setting finish decorating in your preferred way
Because of the oil in the chocolate, fully decorated cookies should be stored in an air-tight container in the fridge for up to a week. Separate layers of cookies using baking parchment. To serve remove the cookies about 15-20mind before serving – or just eat straight from the fridge!
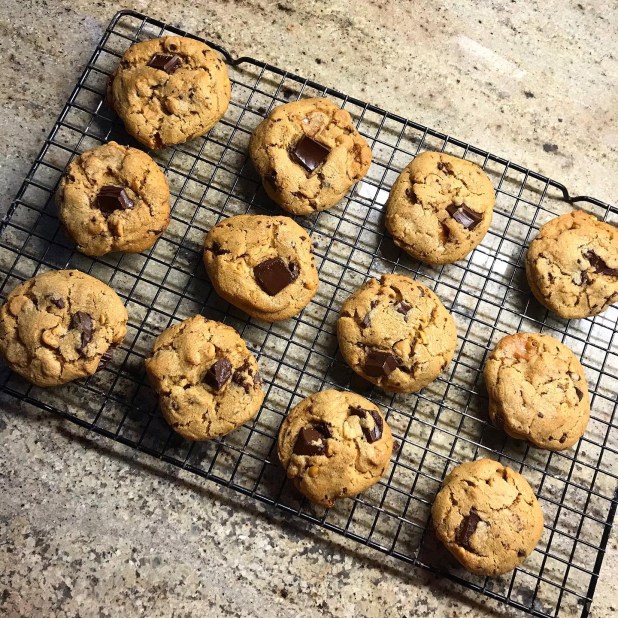
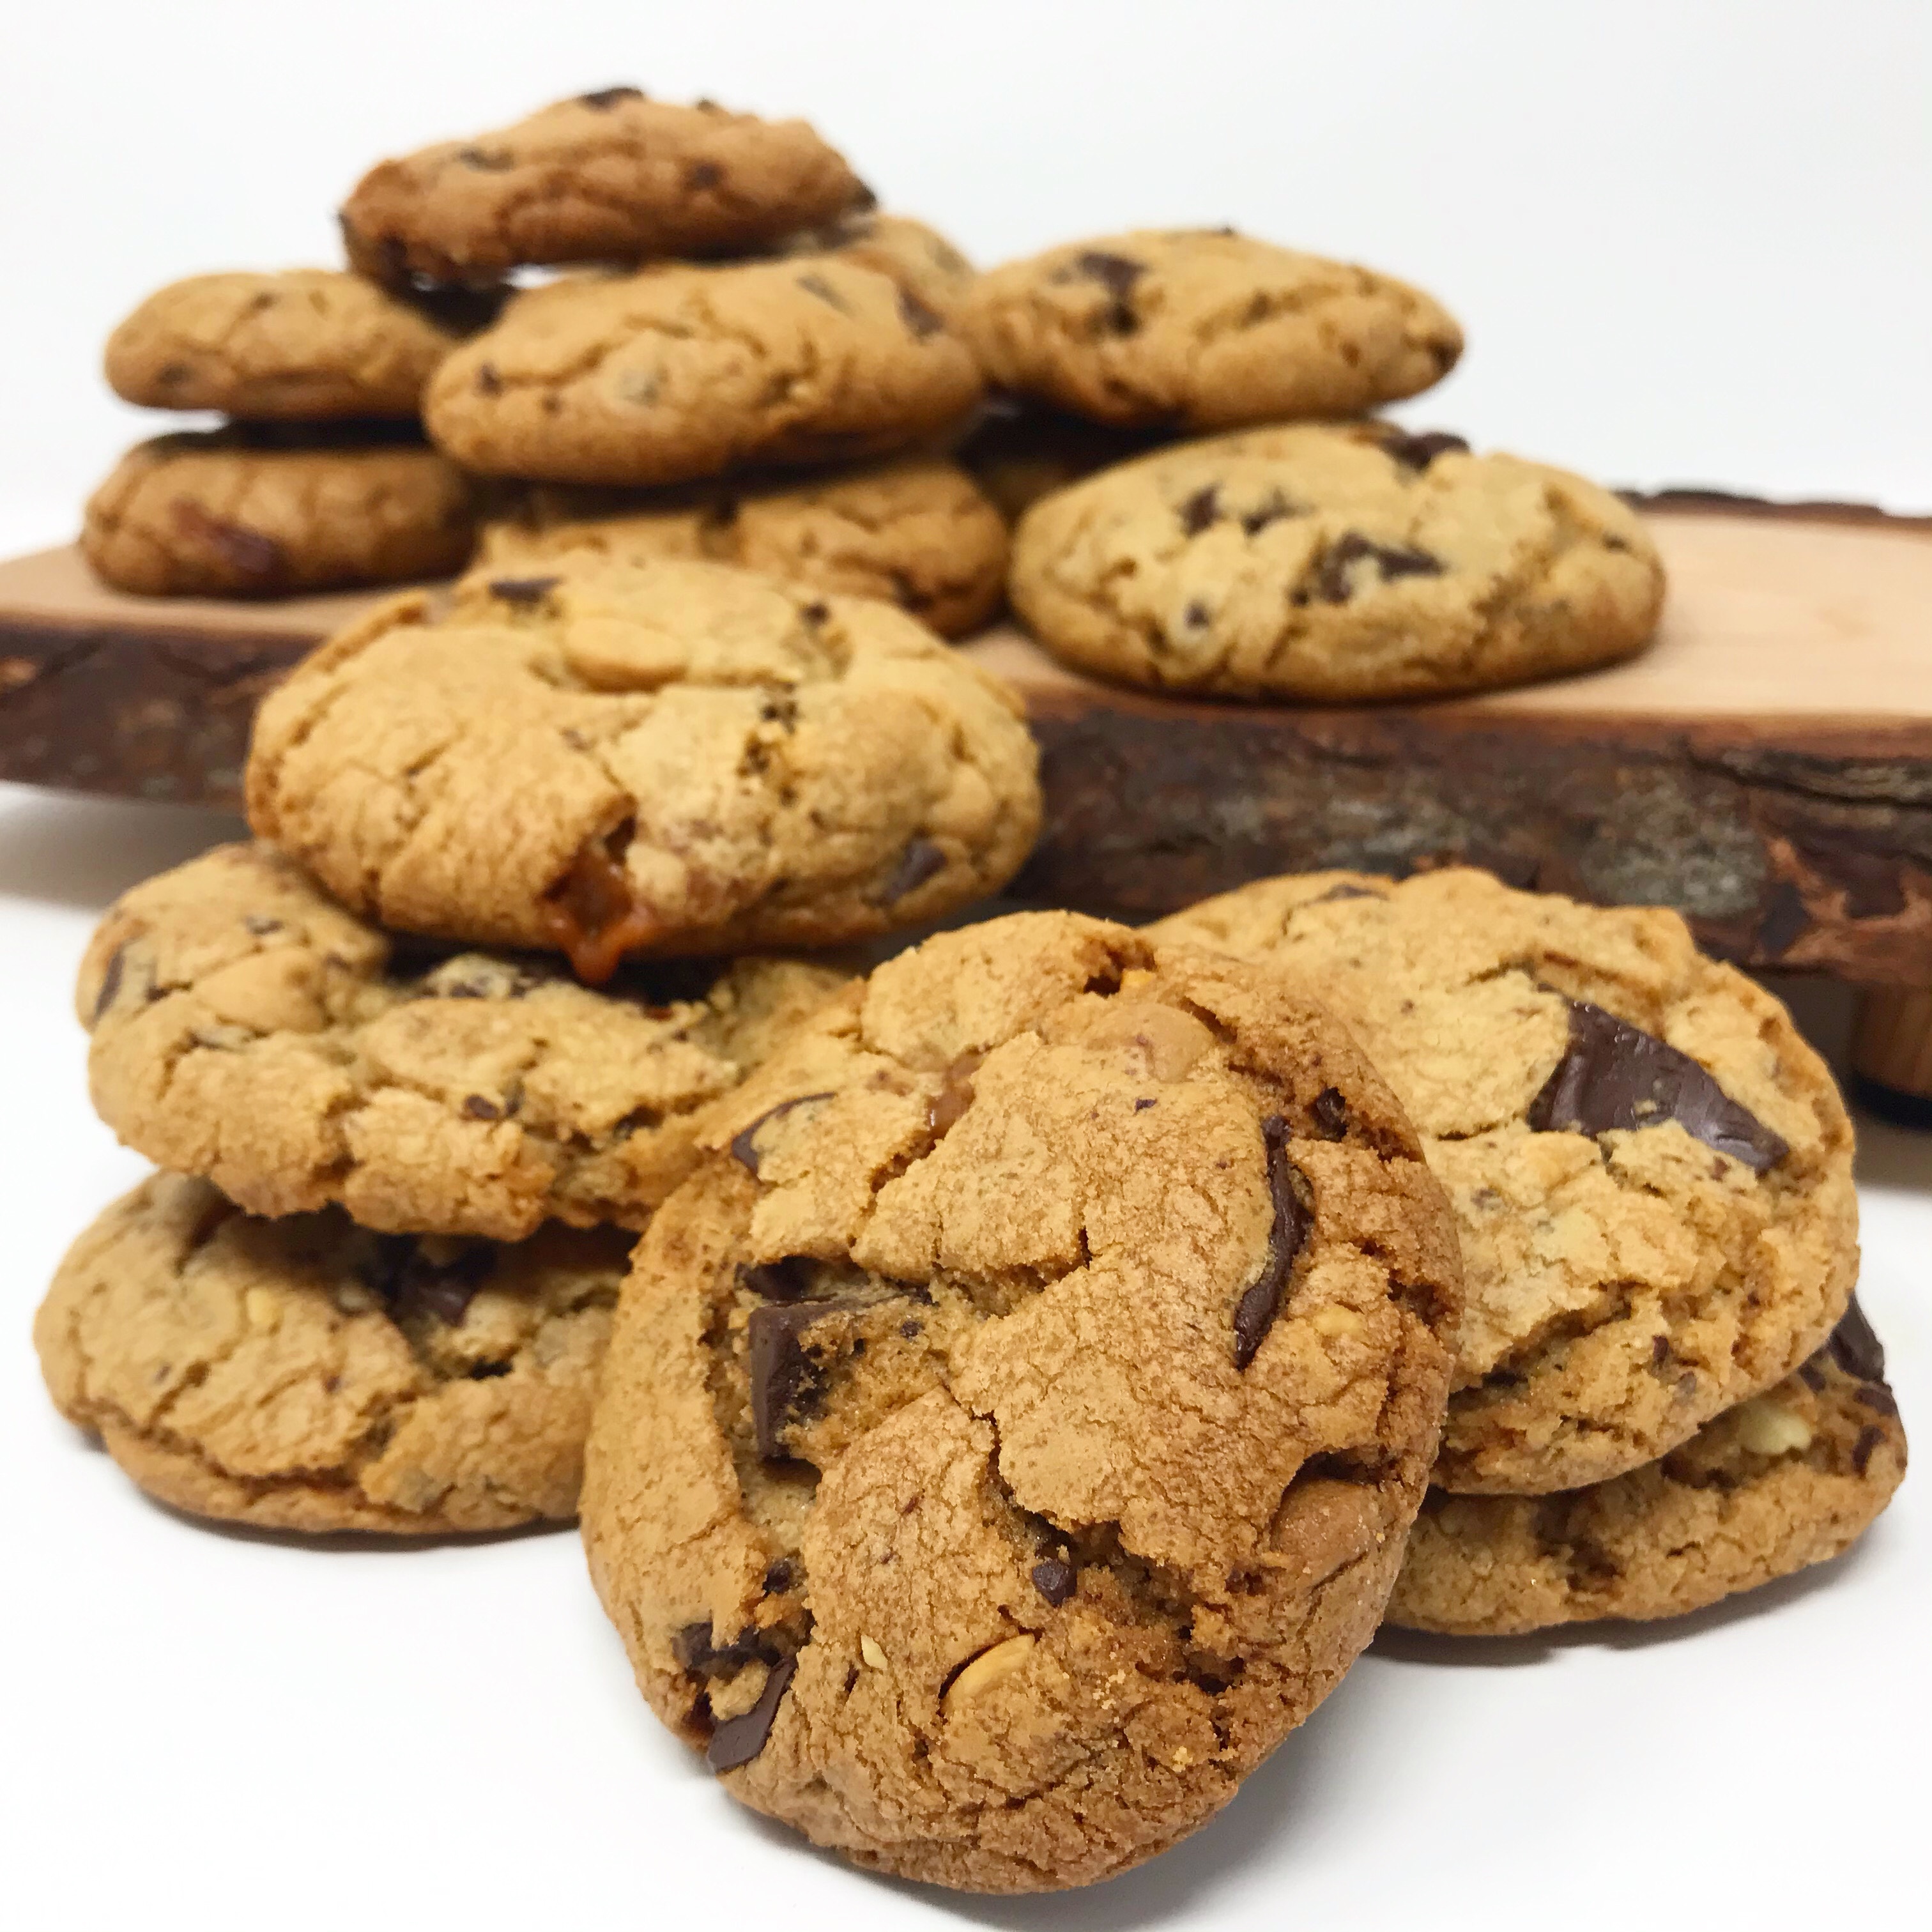
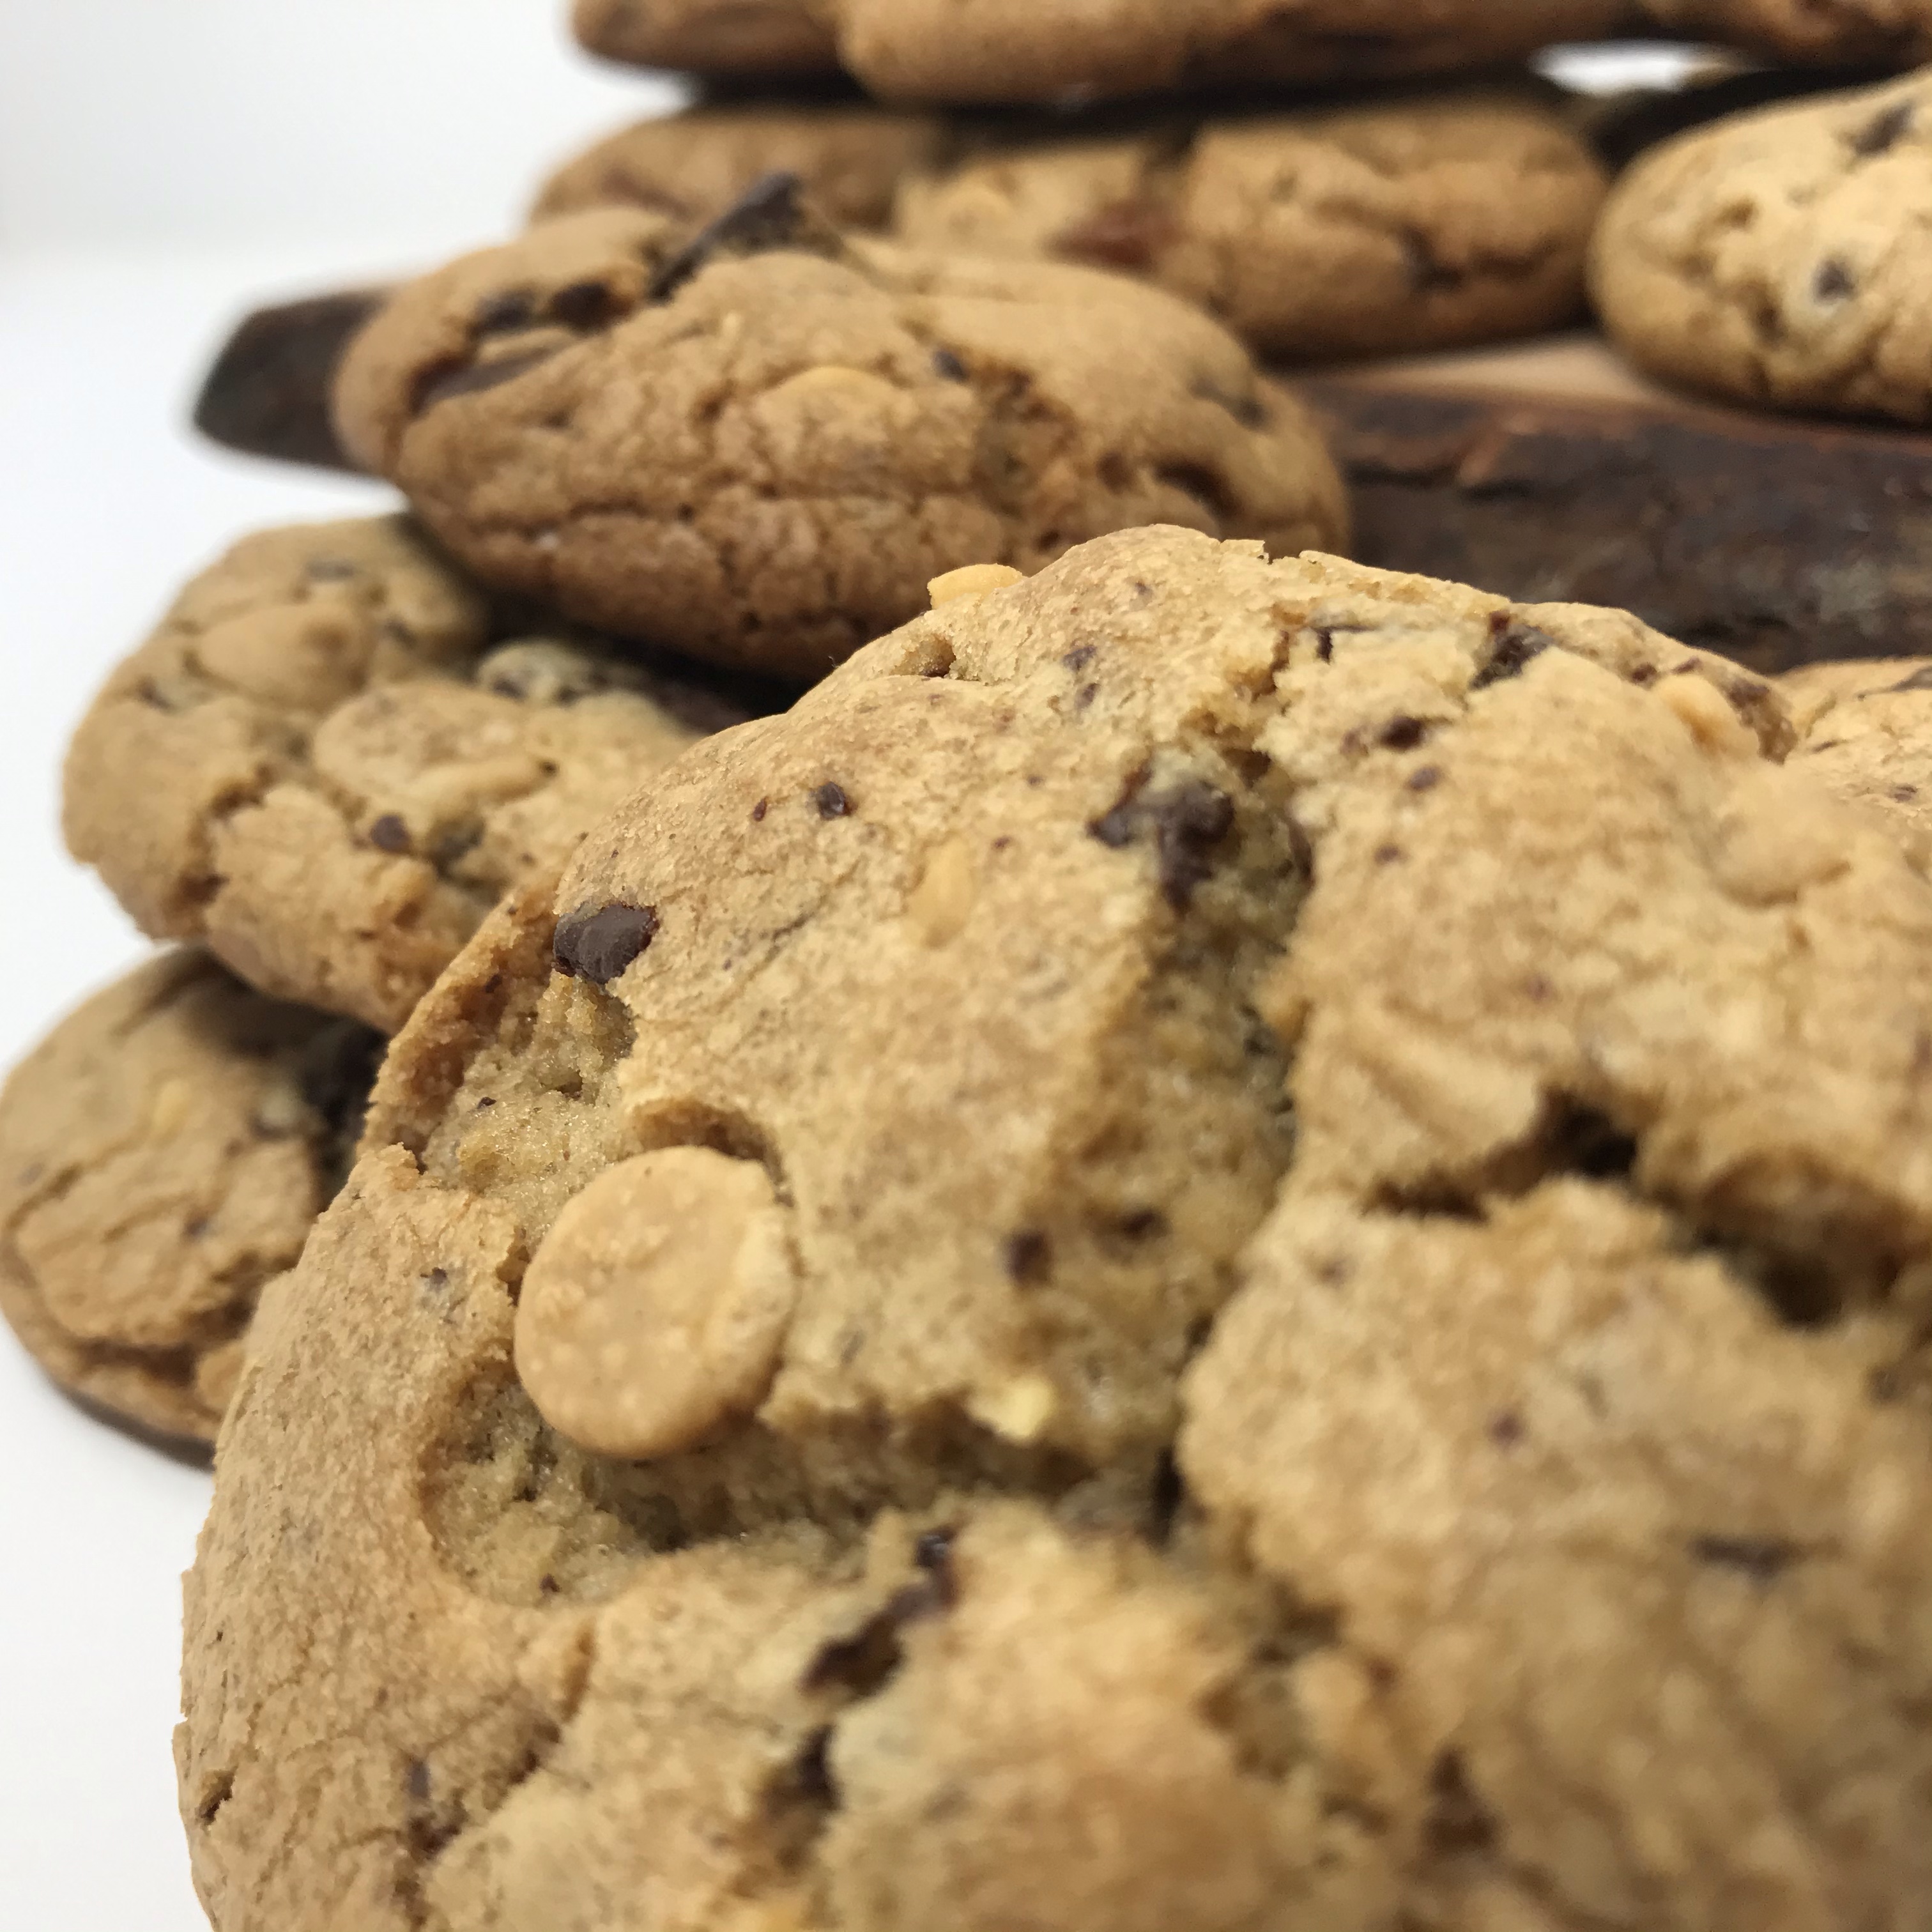
Well these seemed to go down pretty well when I posted about them on my social media feeds. For a while I’ve been trying out recipes looking for a good reliable peanut butter cookie, something classic and tasty that wasn’t too crispy. However- me being me I wanted to add layers of flavour. Before I knew it I had ended up with a cookie reminiscent of one of my favourite candy bars – Snickers.
A handy hint here is that dependant on the baking time a different texture of cookie will be achieved. Longer and lower for a chewier cookie. The time I give in the recipe below is for my personal preference, feel free to play around with it. If all else fails and the finished cookies are too crisp on their own you can always crumble and use as a tasty ice cream topping.
You can use either smooth or crunchy peanut butter based on your personal taste. As expected smooth peanut butter will yield a smoother cookie. I personally prefer to use the crunchy butter variety as it gives a rather nice smattering of nutty pieces through the finished cookie.
Makes 24
Ingredients
1/2 cup salted butter (1 stick), room temperature
1/2 cup white granulated sugar
1/2 cup packed brown sugar
1/2 cup peanut butter, smooth or crunchy to personal taste
1 large egg
1 1/4 cups all purpose flour
3/4 teaspoon baking soda
1/2 teaspoon baking powder
1/4 teaspoon salt
12 Caramel candies, cut into pieces
4oz semi sweet chocolate, cut into chunks
1/2 cup peanut butter chips
Method
Chop the chocolate in chunks. You don’t want too fine a piece- irregular and varied sizes look a lot better in the finished cookie. Set aside until needed
Using a scissors, carefully cut the candy pieces into 3 or 4 pieces each and set aside until needed as well
Line a cookie tray with baking parchment and set aside until neeeded
Beat the butter, brown sugar and white sugar until creamy (about 10 mins)
Mix in the peanut butter, followed by the egg until fully combined
In a separate bowl, whisk together the flour, baking soda, baking powder and salt. Gradually add the combined dry ingredients into the sugar/butter mixture. Mix until fully incorporated
Fold in the chocolate chunks, the caramel pieces and peanut butter chips. Mix until thoroughly mixed through the dough (I find here it easier to fold by hand rather than using a spatula or spoon. It just depends on what you’re comfortable with)
Cover the dough with cling wrap and refrigerate the dough for between 20- 30mins
Preheat your oven to 325°F
Using a medium cookie scoop (2 tbspn apx) shape the dough into 1 inch balls. Place the balls of dough about 2 inches apart on pre-lined cookie sheet
Bake at 325°F until light brown, about 15 to 17 minutes. Remove the cookies from the oven and let cool in their baking sheets for 5 minutes. After a minute, transfer the cookies to a rack to cool completely
*For chewier cookies, bake at 300°F for additional 5 to 10 minutes.
The baked cookies will keep for up to a week in an airtight container
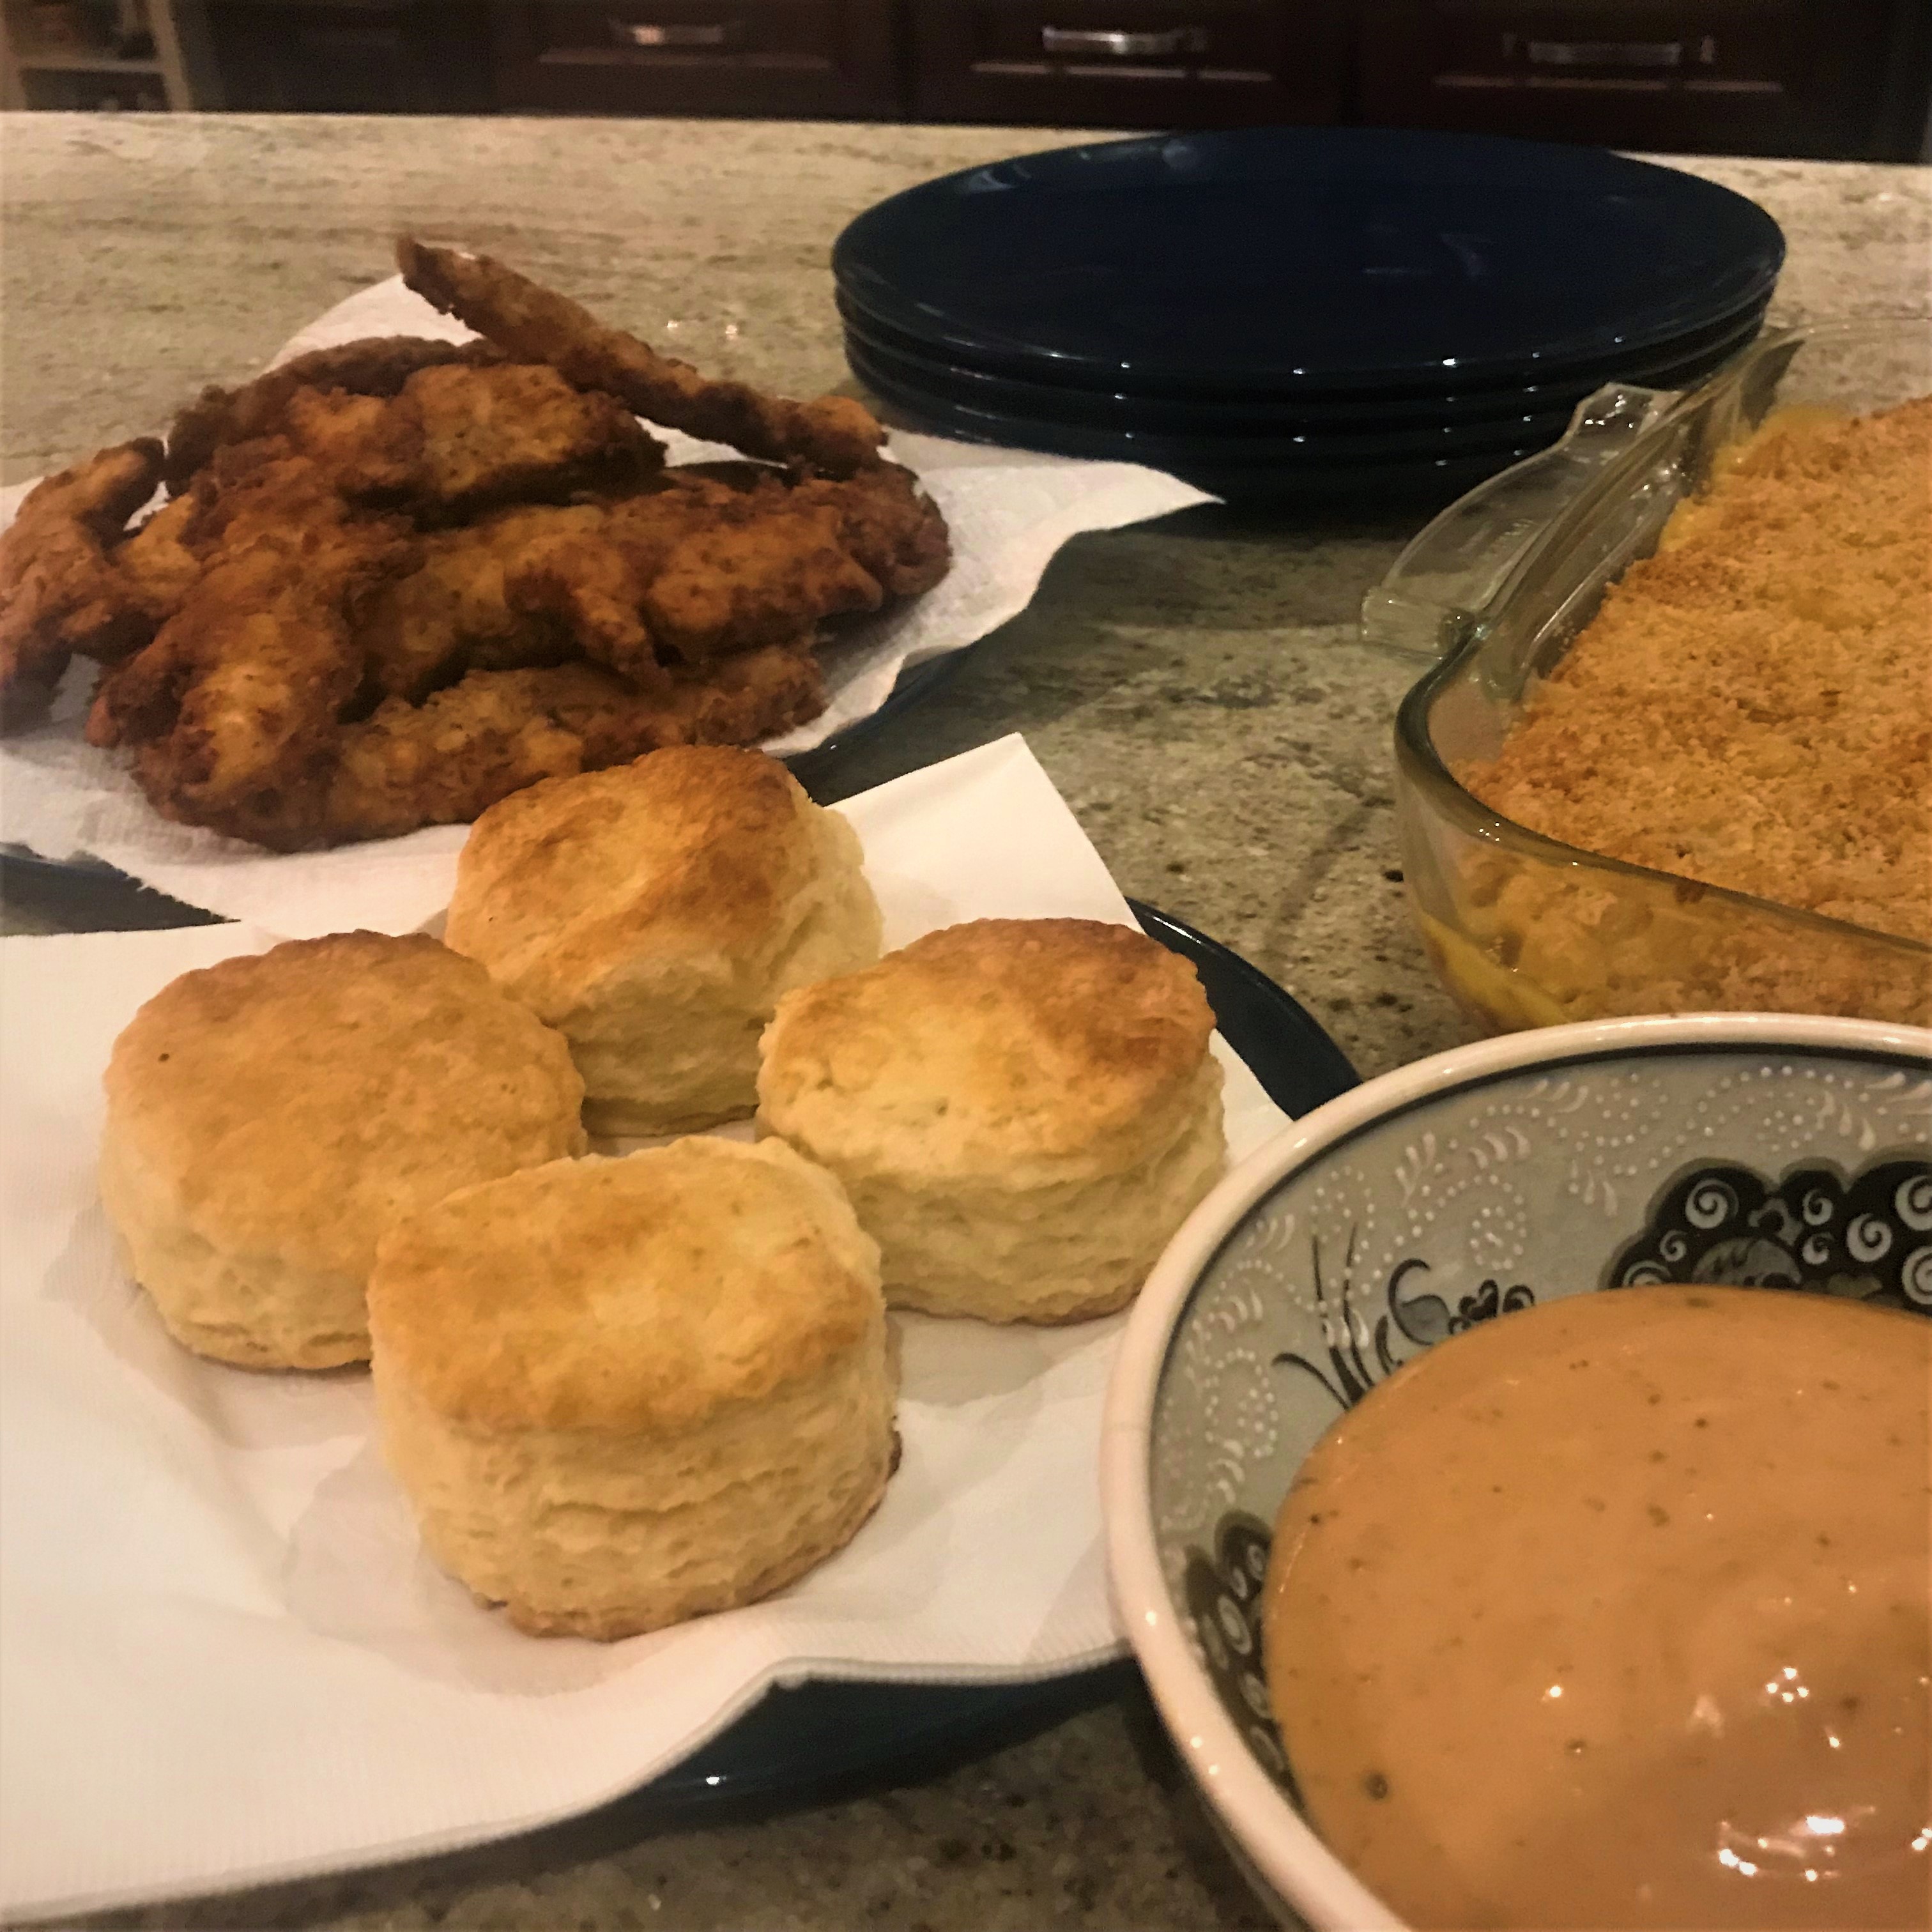
I’ll say it now- I’m not a big fan of cheese dishes. Now that’s out of the way I will admit to having cravings for them on occasion. Specifically one dish- Mac and Cheese. The stalwart comfort food that’s good enough to dissuade even a turophobe like me. One evening I took a fancy to make mac and cheese. Along with fried chicken. Along with Southern buttermilk biscuits! Pairing the cheesy pasta dish with fried chicken and how could I not be on board? Whilst doing my research on fried chicken I came across “Comeback Sauce”. Originating in Mississippi this dipping sauce is a spicy condiment guaranteed to have you licking your fingers and indeed “coming back” for more. When put together all of this dishes are for me the ultimate comfort food dinner and well worth the effort. After posting about it on my social media I was surprised by the interest in it and after much feedback from you- here it is! I hope you enjoy it as much as I did!
4
Cheese & Bacon Mac ‘n’ Cheese
Ingredients
2 cups diced bacon
1 1/2 tsp maple syrup
4 cups dried macaroni elbow pasta
3 tbsp butter
3 tbsp all purpose flour
1/2 tsp salt
1/2 ground white pepper
2 1/2 cups milk
1/2 cup Velveeta processed cheese product
2 cups freshly shredded Gouda (smoked can be used)
1 cup freshly shredded sharp red cheddar
1 cup fresh shredded Jarlesburg
1/2 cup grated Parmesean
1/2 cup panko breadcrumbs
1 Tbsp melted butter
Preheat your oven to 350F. Lightly grease/ butter a large casserole dish ( I used 11″x 11″x 2 1/2″)
In a frying pan or skillet fry the chopped bacon until lightly brown. Add the maple syrup and continue to fry until crispy. Remove from the heat, transfer to a plate and allow to cool. (When cool the bacon may stick together. Break up to smaller pieces if needed)
Cook the pasta according to package instructions, drain and return to pasta pot to keep warm. Lightly toss in olive oil to prevent clumping
Combine the shredded cheeses and set aside until needed
In a separate small bowl stir together the Parmesan cheese, panko breadcrumbs and melted butter. Set aside until needed
Prepare the cheese sauce base. In a large pot melt the butter. Add in the flour and stir to coat in butter. Cook over a medium heat until golden.
Gradually add in the milk, stirring constantly with a small whisk to prevent lumps
Once all the milk has been added cook the sauce over a medium heat until bubbling. Cook for 2 minutes, again stirring constantly, until thickened
Add in salt and pepper, and stir to mix
Reduce heat to low, add in the Velvetta and stir to melt
Once the Velveeta has melted, add in the shredded cheese mix in stages stirring between until each addition is melted. Once all the cheeses have been added continue to stir until smooth. Remove from the heat
Add the prepared macaroni pasta and crispy bacon pieces and stir well to combine ensuring all the pasta is covered in the cheese sauce. Transfer to your prepared casserole dish
Sprinkle the top of the pasta mix with the breadcrumb mix
Bake in the prepared oven for between 20-25mins or until the crumbs are golden.
Southern
Biscuits
Ingredients
2 1/2 cups all purpose flour
2 tablespoons baking powder
1/2 teaspoon salt
1/2 cup unsalted butter, very cold and cubed
1 cup cold buttermilk
Method
Preheat oven to 425°F (218°C). Place the flour, baking powder, and salt together in a large bowl and stir to well combined
Add the cubed butter and cut into the flour mixture using a pastry cutter until coarse crumbs form
Make a well in the centre of the mixture. Pour the buttermilk on top. Stir everything together until just about combined– don’t overwork the dough. The dough will look like very crumbly
Turn the dough out onto a lightly floured work surface and gently mould it into a rough looking rectangle using your hands. Next fold one side into the centre, then the other side. Turn the dough so it’s long horizontally. Gently flatten. Repeat the folding again. Turn the dough so it’s long horizontally once more. Gently flatten. Repeat the folding one more time
Gently roll the dough out with a rolling pin until it’s about 1/2 inch thick. Cut into 3-inch circles. Re-roll any scraps until you have 9-12 biscuits
Arrange close together on a parchment paper-lined baking sheet. Make sure they’re touching
Bake for 15 minutes or until biscuits are golden brown on top.
Remove from the oven and, if desired, brush with melted butter. Enjoy warm. When cool, cover tightly and store at room temperature or in the refrigerator for up to 5 days
Buttermilk
fried chicken
Ingredients
12-16 chicken breast fillets
Canola oil for frying
Marinade
4 cups Buttermilk
1 tablespoon smoked paprika
1/2 tablespoon dried oregano
1/2 tablespoon dried thyme
1/2 teaspoon salt
1/2 teaspoon black pepper
Flour seasoning
2 cups all purpose flour
1/2 salt
1/2 teaspoon smoked paprika
1/2 teaspoon cayenne pepper
1/2 teaspoon celery salt
1/2 teaspoon garlic powder
1/2 teaspoon onion salt
1/2 teaspoon white pepper
Method
Whisk together the buttermilk and dry ingredients and place in a shallow casserole dish
Place the chicken pieces into the marinade and gently stir to coat. The pieces should at least be semi-covered in the liquid
Cover and leave to marinate overnight in the fridge
In another shallow dish or plate mix together the seasoned flour ingredients
Remove the chicken pieces from the fridge, remove from buttermilk (do not remove any excess marinade) and dredge one at a time in the flour mixture. Press the mixture into the chicken whilst dredging. Again do not remove or shake off any excess. Leave the coated pieces to rest on a plate to one side whilst you heat your oil.
Pour canola oil into a large, heavy-bottomed pot or pan, so that oil only comes halfway up the pot. Heat oil over medium-high heat until it reaches 350 F (180 C). Add 4 pieces of chicken to the pot and reduce heat to medium-low. Fry chicken for 4 minutes per side, adjusting the heat so it hovers between 280 F (145 C) and 300 F (150 C)
Transfer chicken to a paper towel-lined baking sheet to drain (and check for doneness by opening chicken or using a probe thermometer to read 175 F). Cover with foil to keep warm and continue frying other chicken pieces *if oil temperature drops due to frying process, simple reheat to original temperature
Keep chicken pieces warm until ready to serve
Comeback
Sauce
Ingredients
2/3 Cup mayonnaise
2 tablespoons ketchup
2 tablespoons sweet chilli sauce
1 tablespoon hot sauce
1 1/2 teaspoons Worcestershire sauce
1/2 Garlic Powder
1/4 teaspoon black pepper
Method
Mix all ingredients together until smooth and well combined