Yields 10-12, depending on scoop size. This recipe has been made using 1/2 leftover 8inch pumpkin pie
Ingredients
- Leftover pumpkin pie (homemade or store-bought)
- 4oz milk chocolate chips*
- 4oz semi-sweet chocolate chips*
To finish
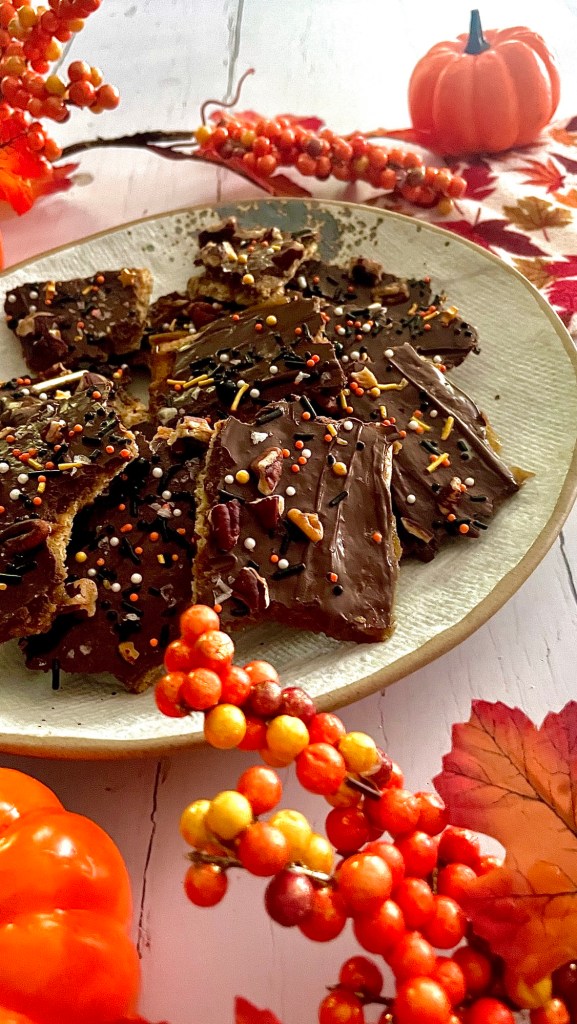
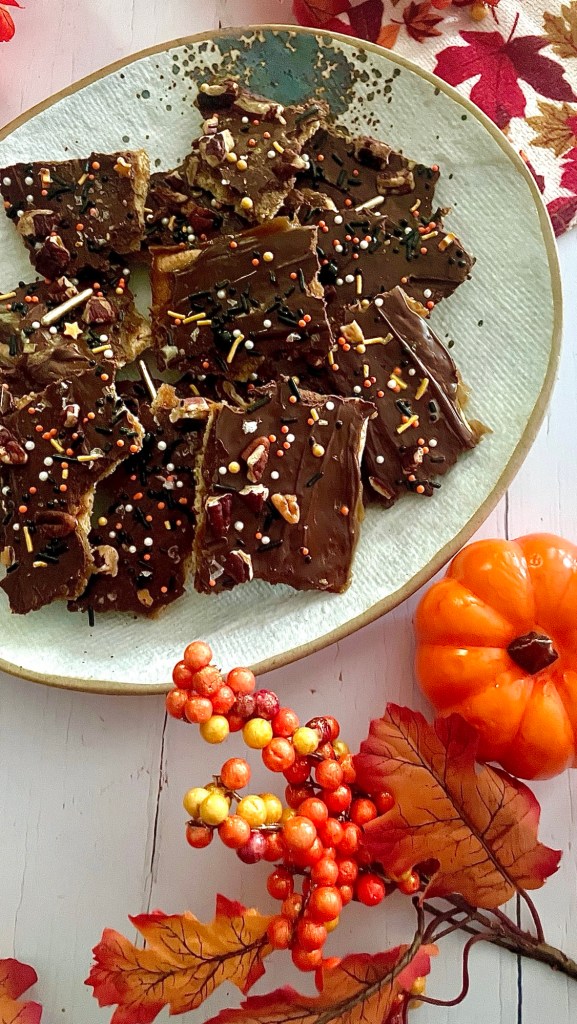
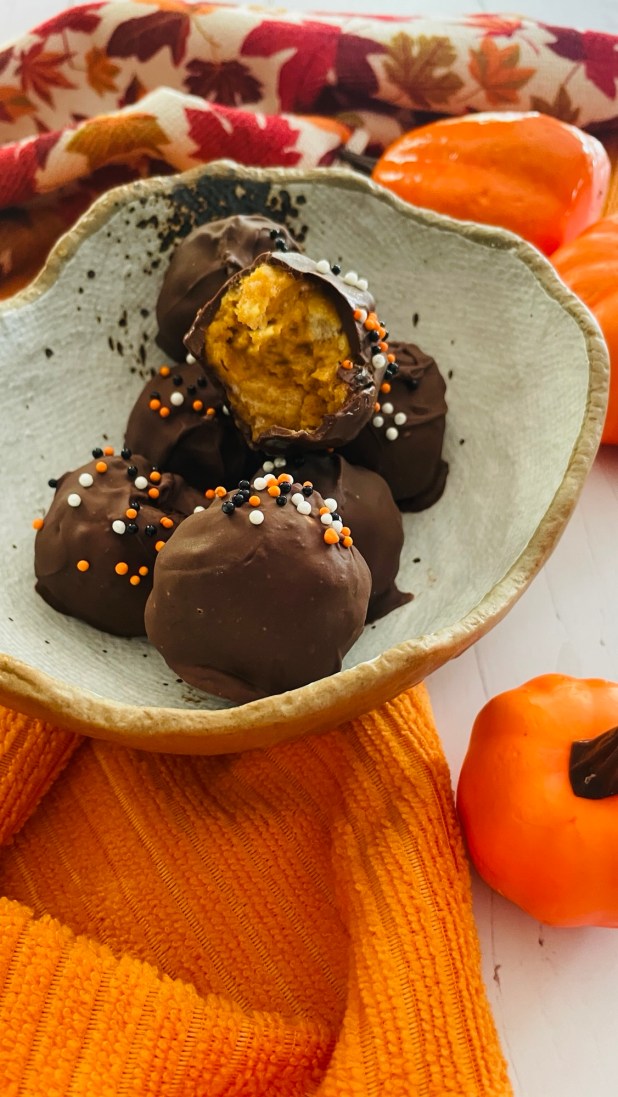
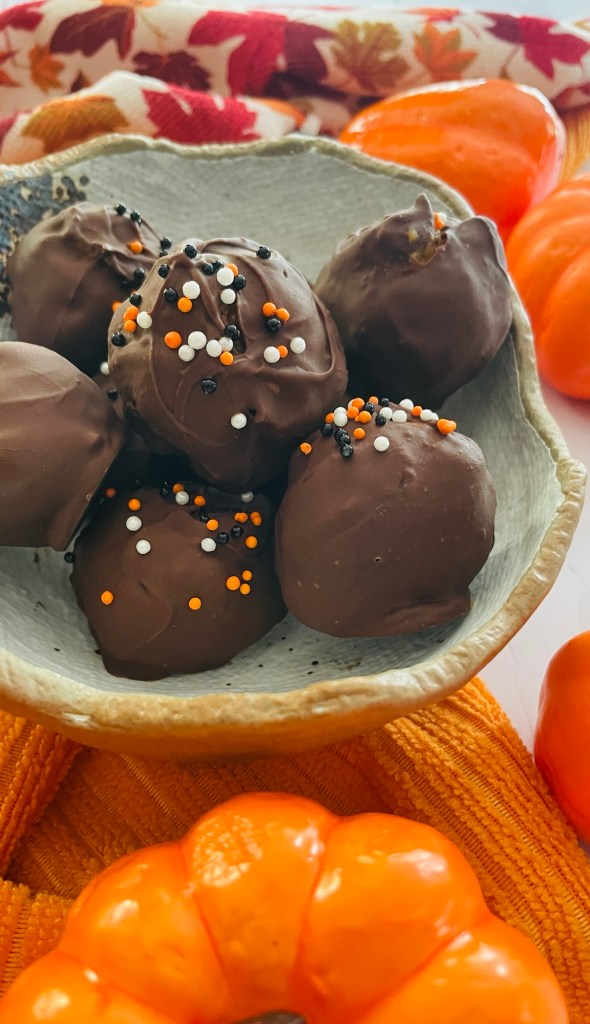
- Sprinkles, or chopped roasted nuts
Method
- Place the left over pumpkin pie into a large bowl and break/ mic together to combine. You don’t smooth a mixture as these taste better with some texture from the original leftover pumpkin pie crust. Continue until you have a semi-smooth mixture
- Using a cookie scoop, place balls of the mixture onto a lined tray or container that will fit in your freezer compartment.
- When all the mixture has been scooped onto the tray, place it in the freezer for about 30 mins
- Just before removing the pumpkin pie balls from the freezer, combine both the chocolate chips in a heatproof bowl set over a pan of water and melt together until smooth
- Remove the pumpkin pie balls from the freezer and one at at time roll in the melted chocolate. Place back onto the lined tray, add sprinkles if using and allow the chocolate to fully set
- Serve and enjoy!