Think of Brazil and no doubt the usual plethora of images will spring to mind- sundrenched beaches, feather-bedecked soca dancers and copious churrascaria. What doesn’t come to mind is a wealth, and often unexplored world, of baking. From breads to cakes to sweet treats there’s no shortage of tasty culinary treats to try.
So you may be asking yourself how does a Irish native, now resident in Canada, come to be waxing lyrical on all bakes Brazilian? I recently made the acquaintance of a native Brazilian via the wonders of a social media. A mutual bond over adoption matters, cultural appreciation (makes a change to hear those two words together huh?) and adventures in food was formed, and here we are! Insight from someone who grew up in a culture always trumps even the best research you can do. There is something satisfying about knowing that this is how “it” actually is, in everyday life, rather than some interpretation of “it” from the vaults of some Lonely Planet-esque archives.
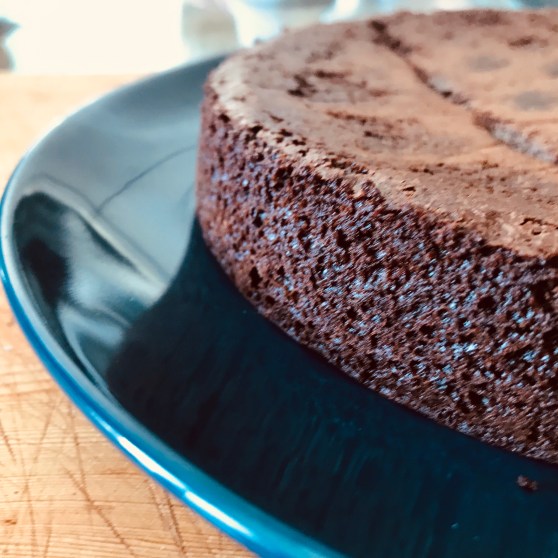
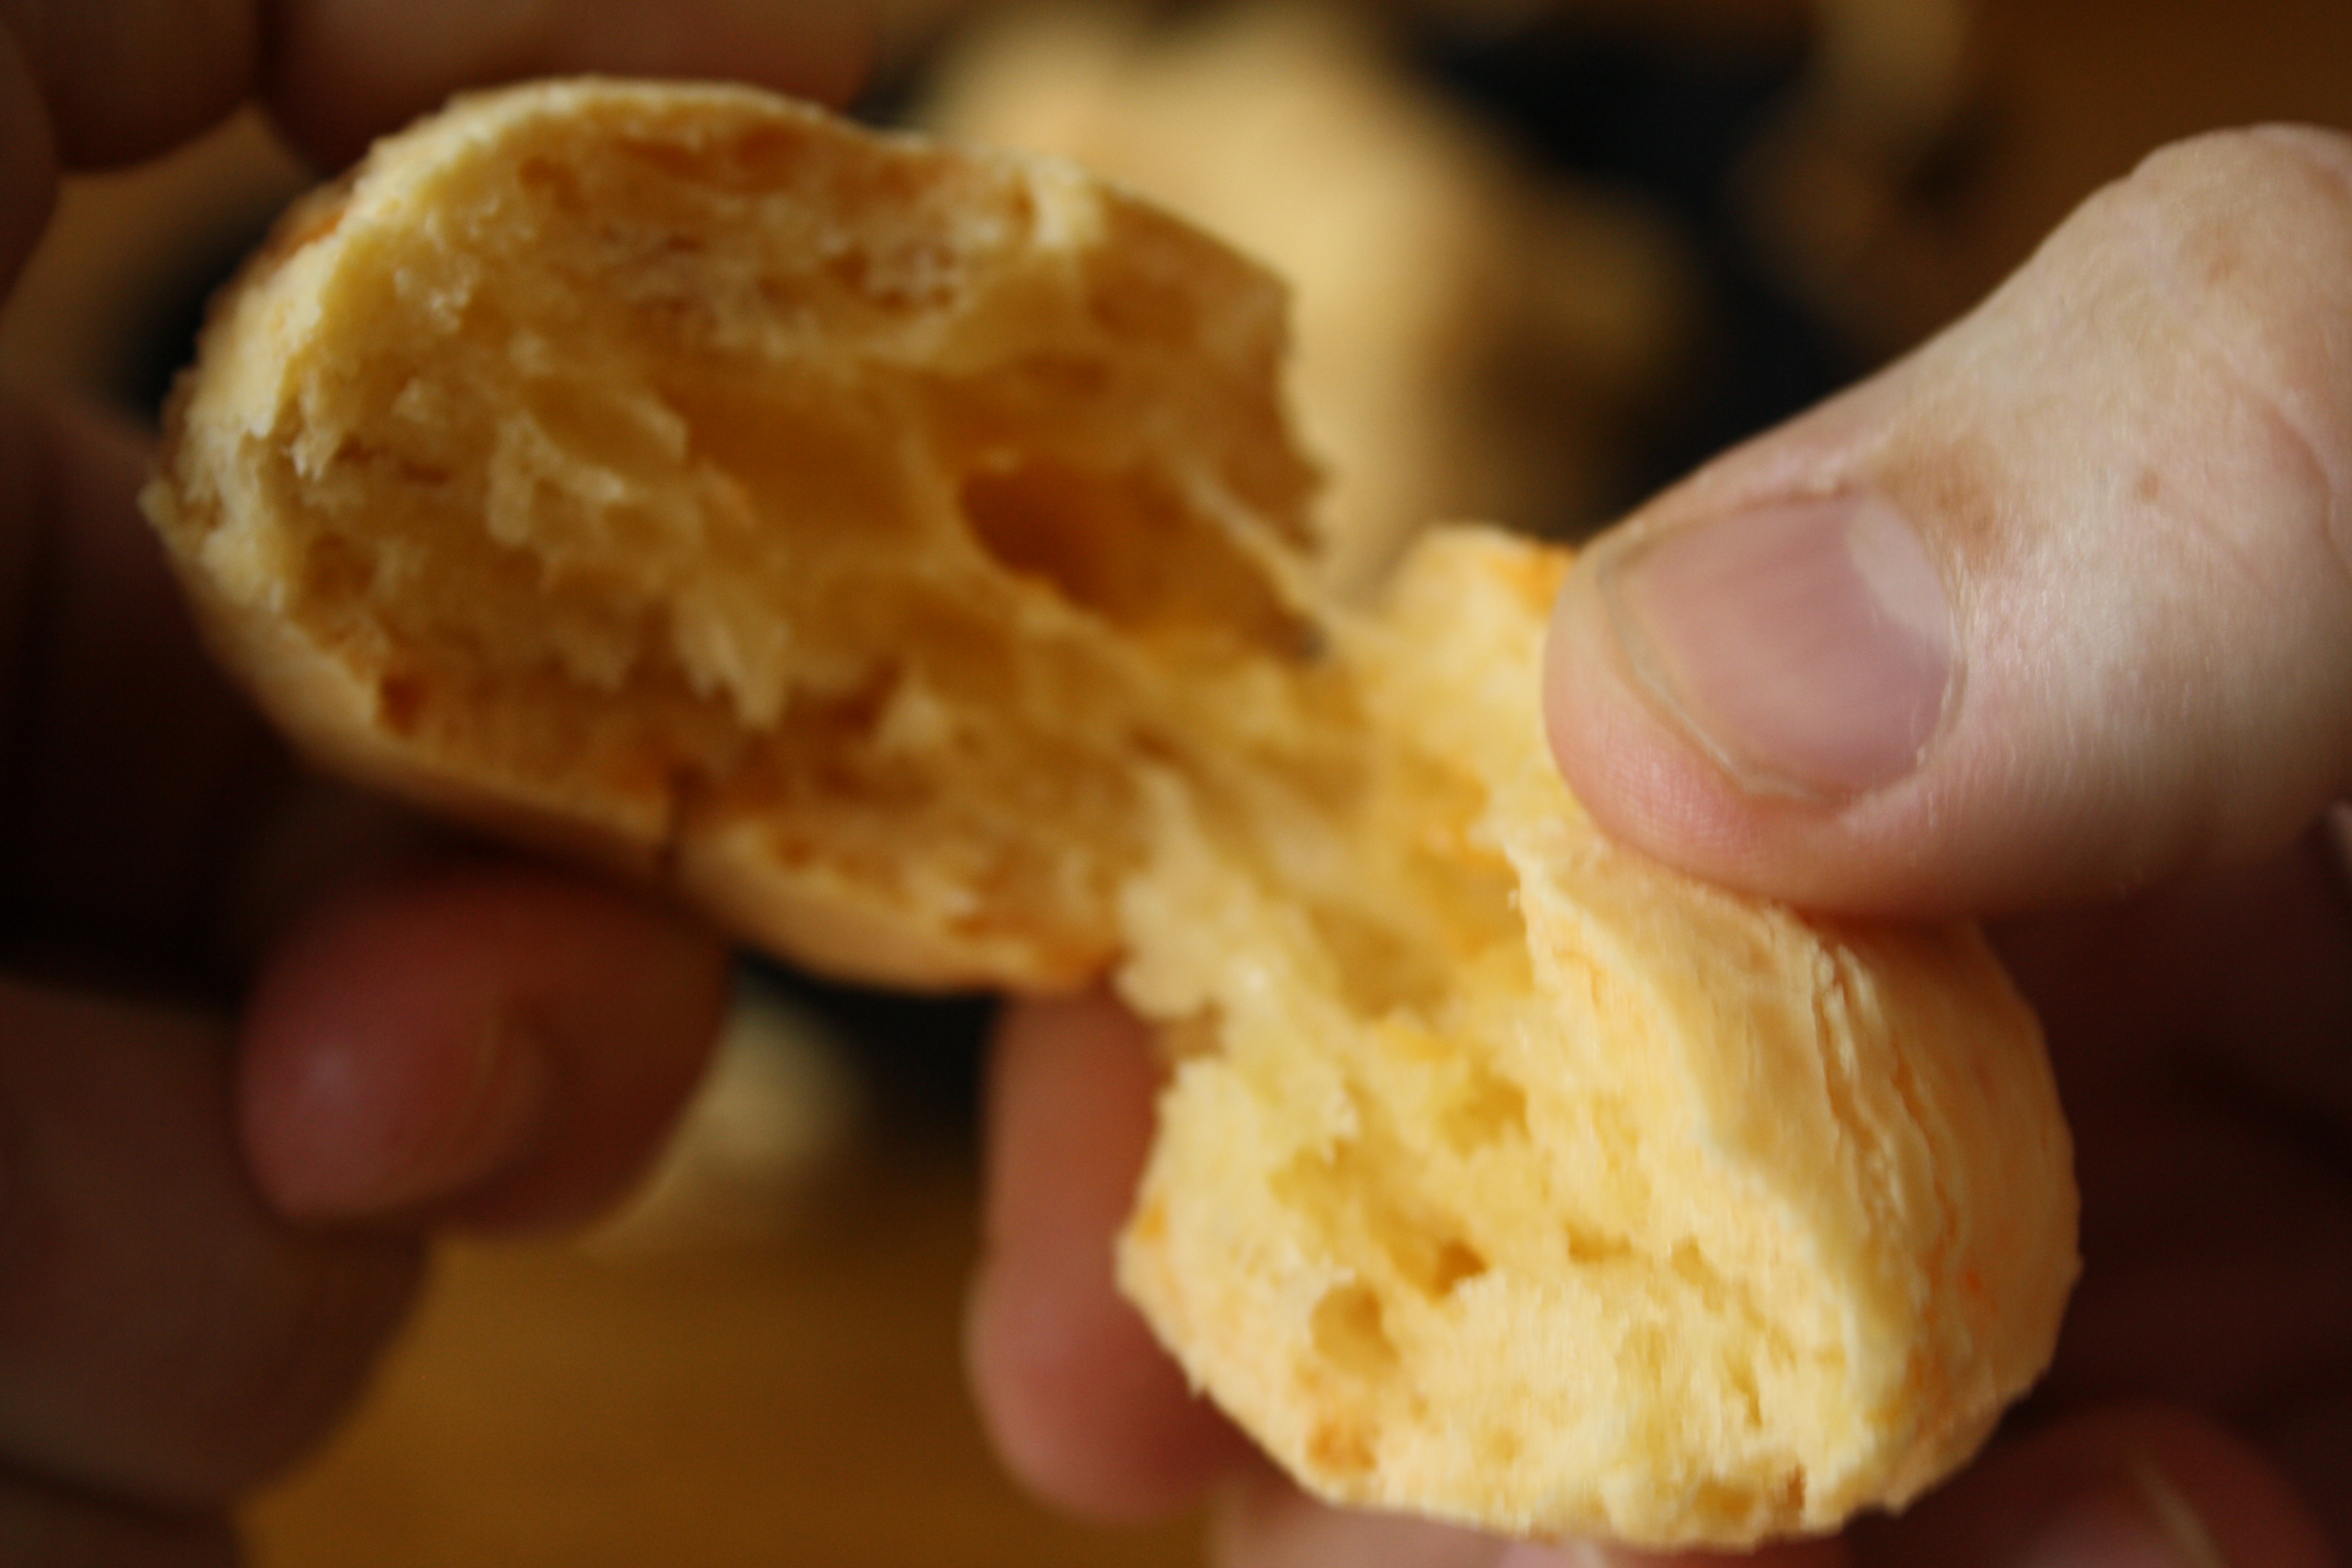
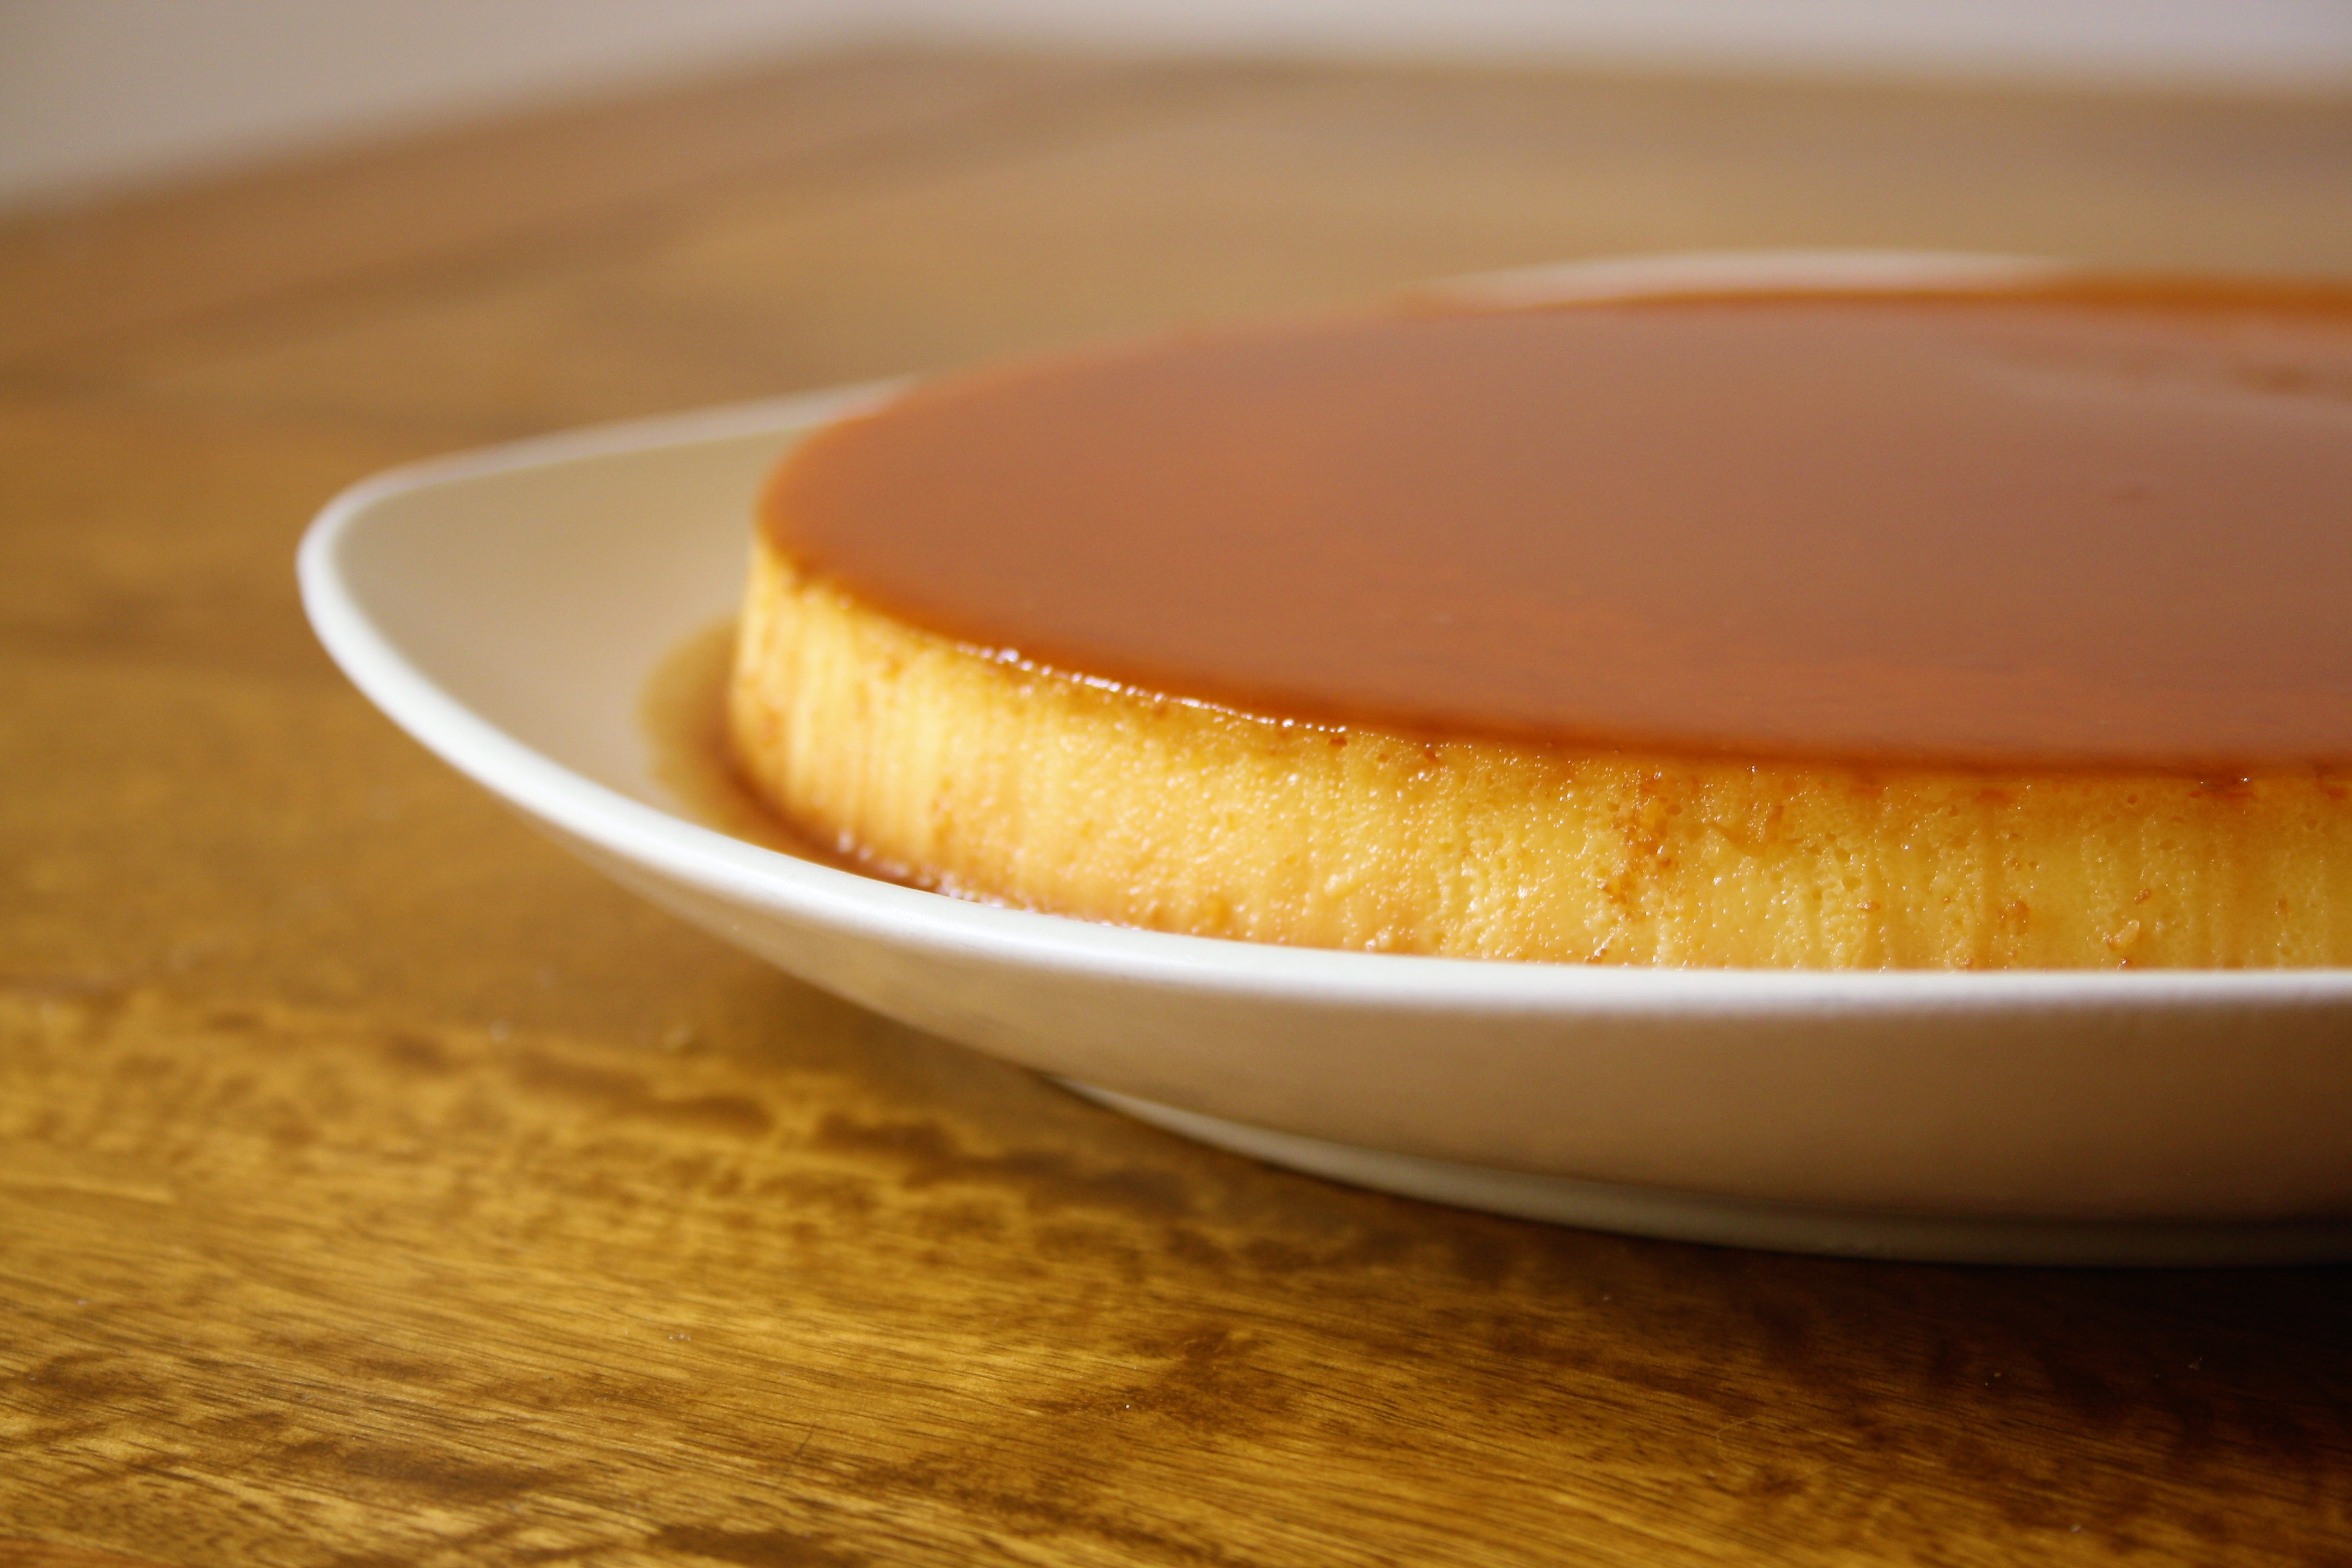
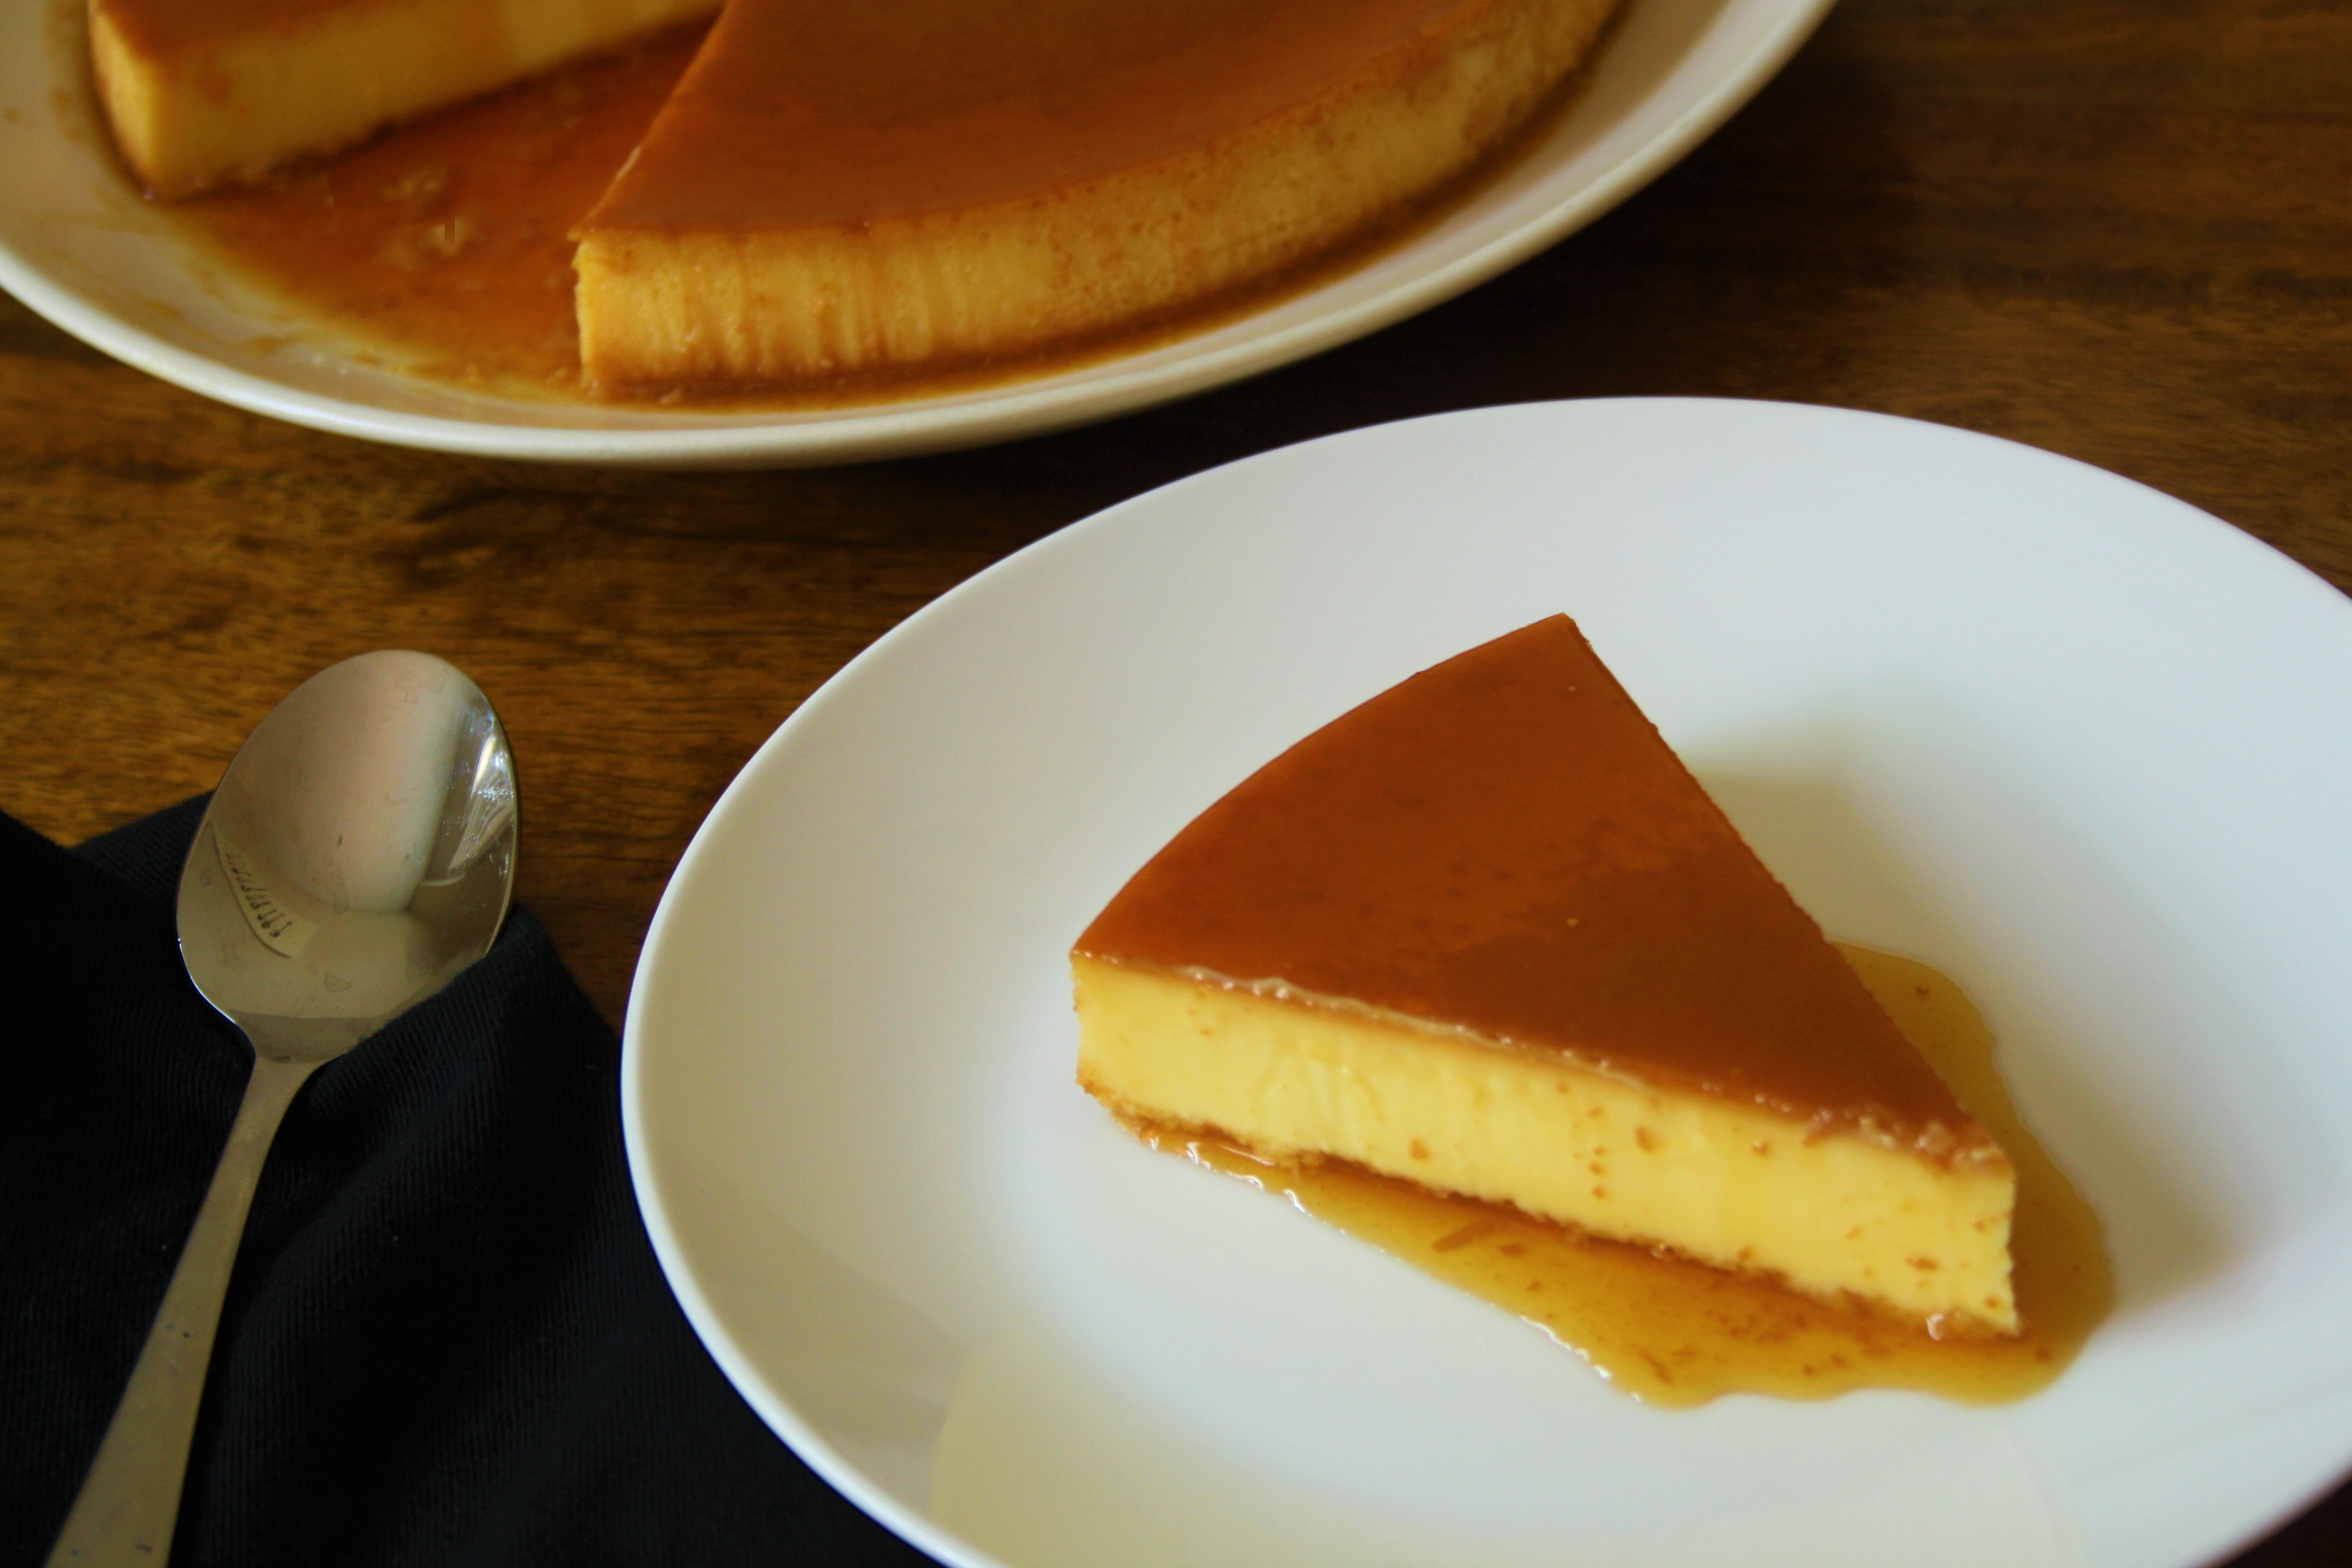
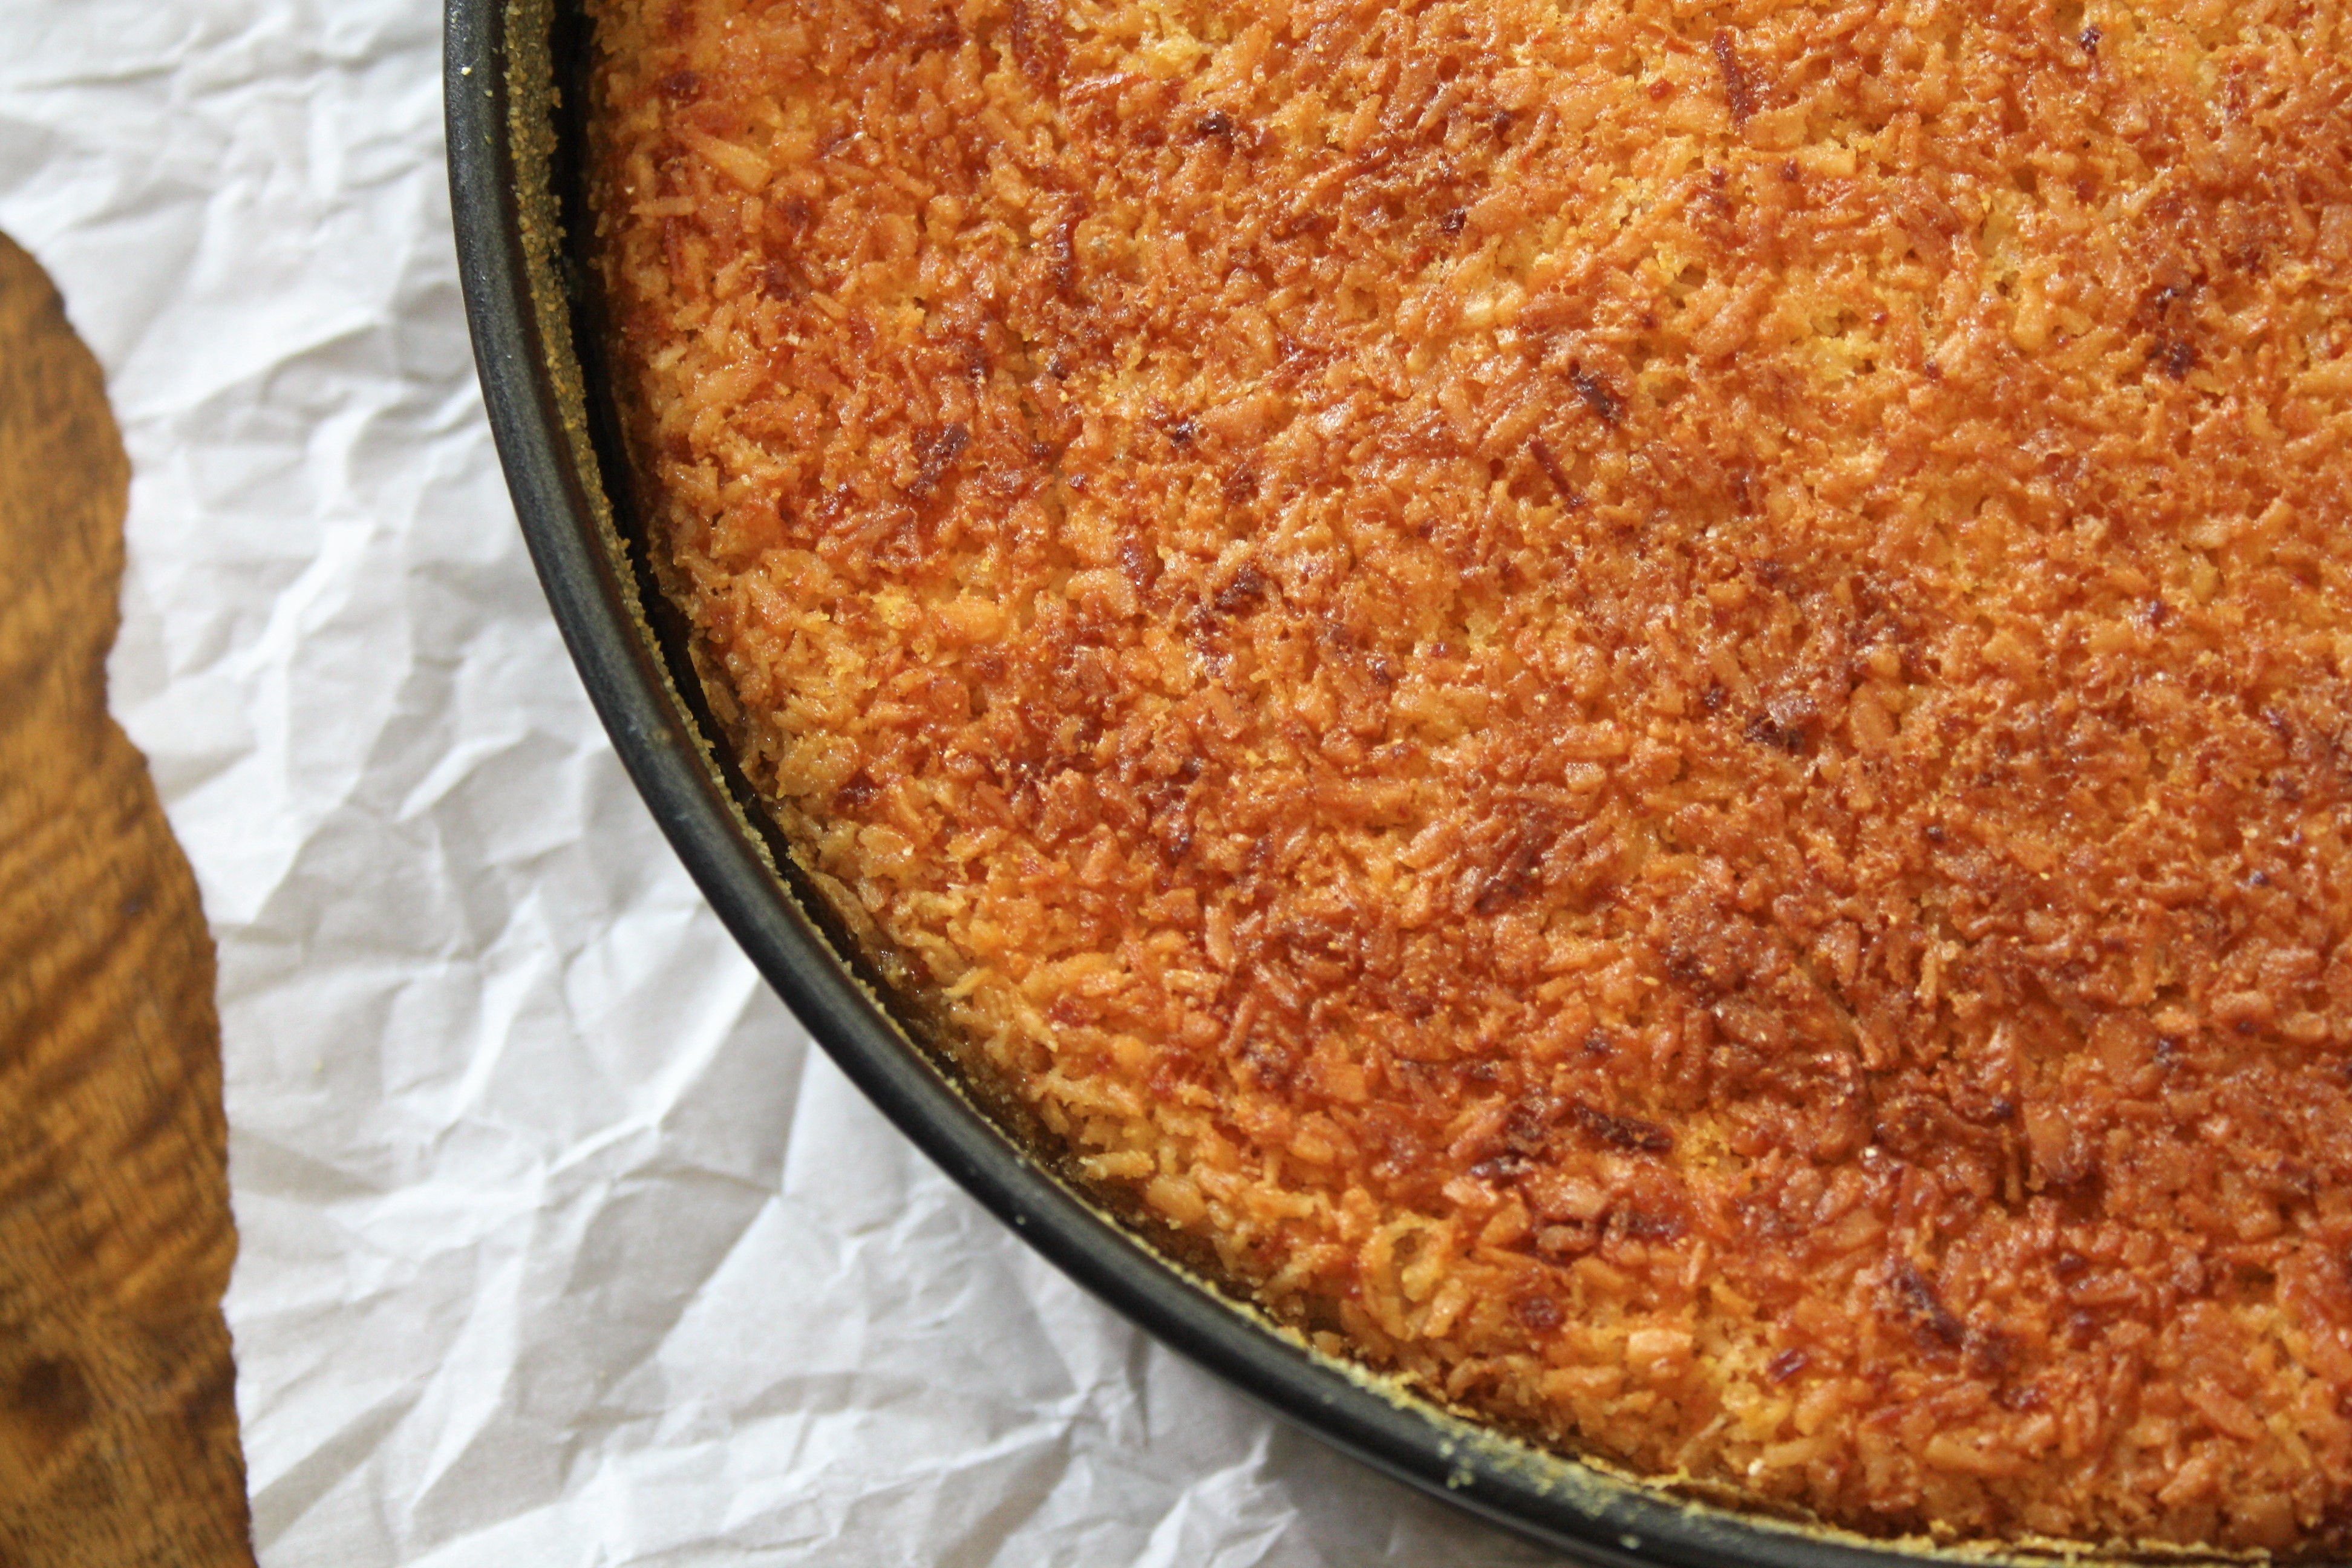
The recipes here are essentially in two parts- bakes and sweets. The Pao de Queijo (Brazilian Cheesebread) is definitely worth trying out. Served warm from the oven they are an ideal breakfast morsel, or even snack through the day. Freezer-friendly and gluten-free they are also a handy reserve should any gluten intolerant friends swing by. The Pudim de Queijo and Bolo de Fuba Cremoso share a common theme in that they are both prepared making use of a tall blender. Apparently this is a common feature in Brazilian baking as stand mixers are not that common. For the Pudim de Queijo think creme caramel and Catalan flan. To be honest though to hold it in comparison is to do the Pudim injustice. The addition of the cheese to the flan mixture rescues it from the overpowering (and somewhat cloying) sweetness to which it’s European counterparts often fall prey. Cheese also a feature in the recipe for Bolo de Fuba Cremoso. When baked the combination of cheese, cornmeal and coconut result in veritable kitchen alchemy that allows for a crispy topping, smooth interlayer and deliciously crumbly base. Believe me, once you try a slice of this alongside a strong coffee, breakfast will never be the same again!
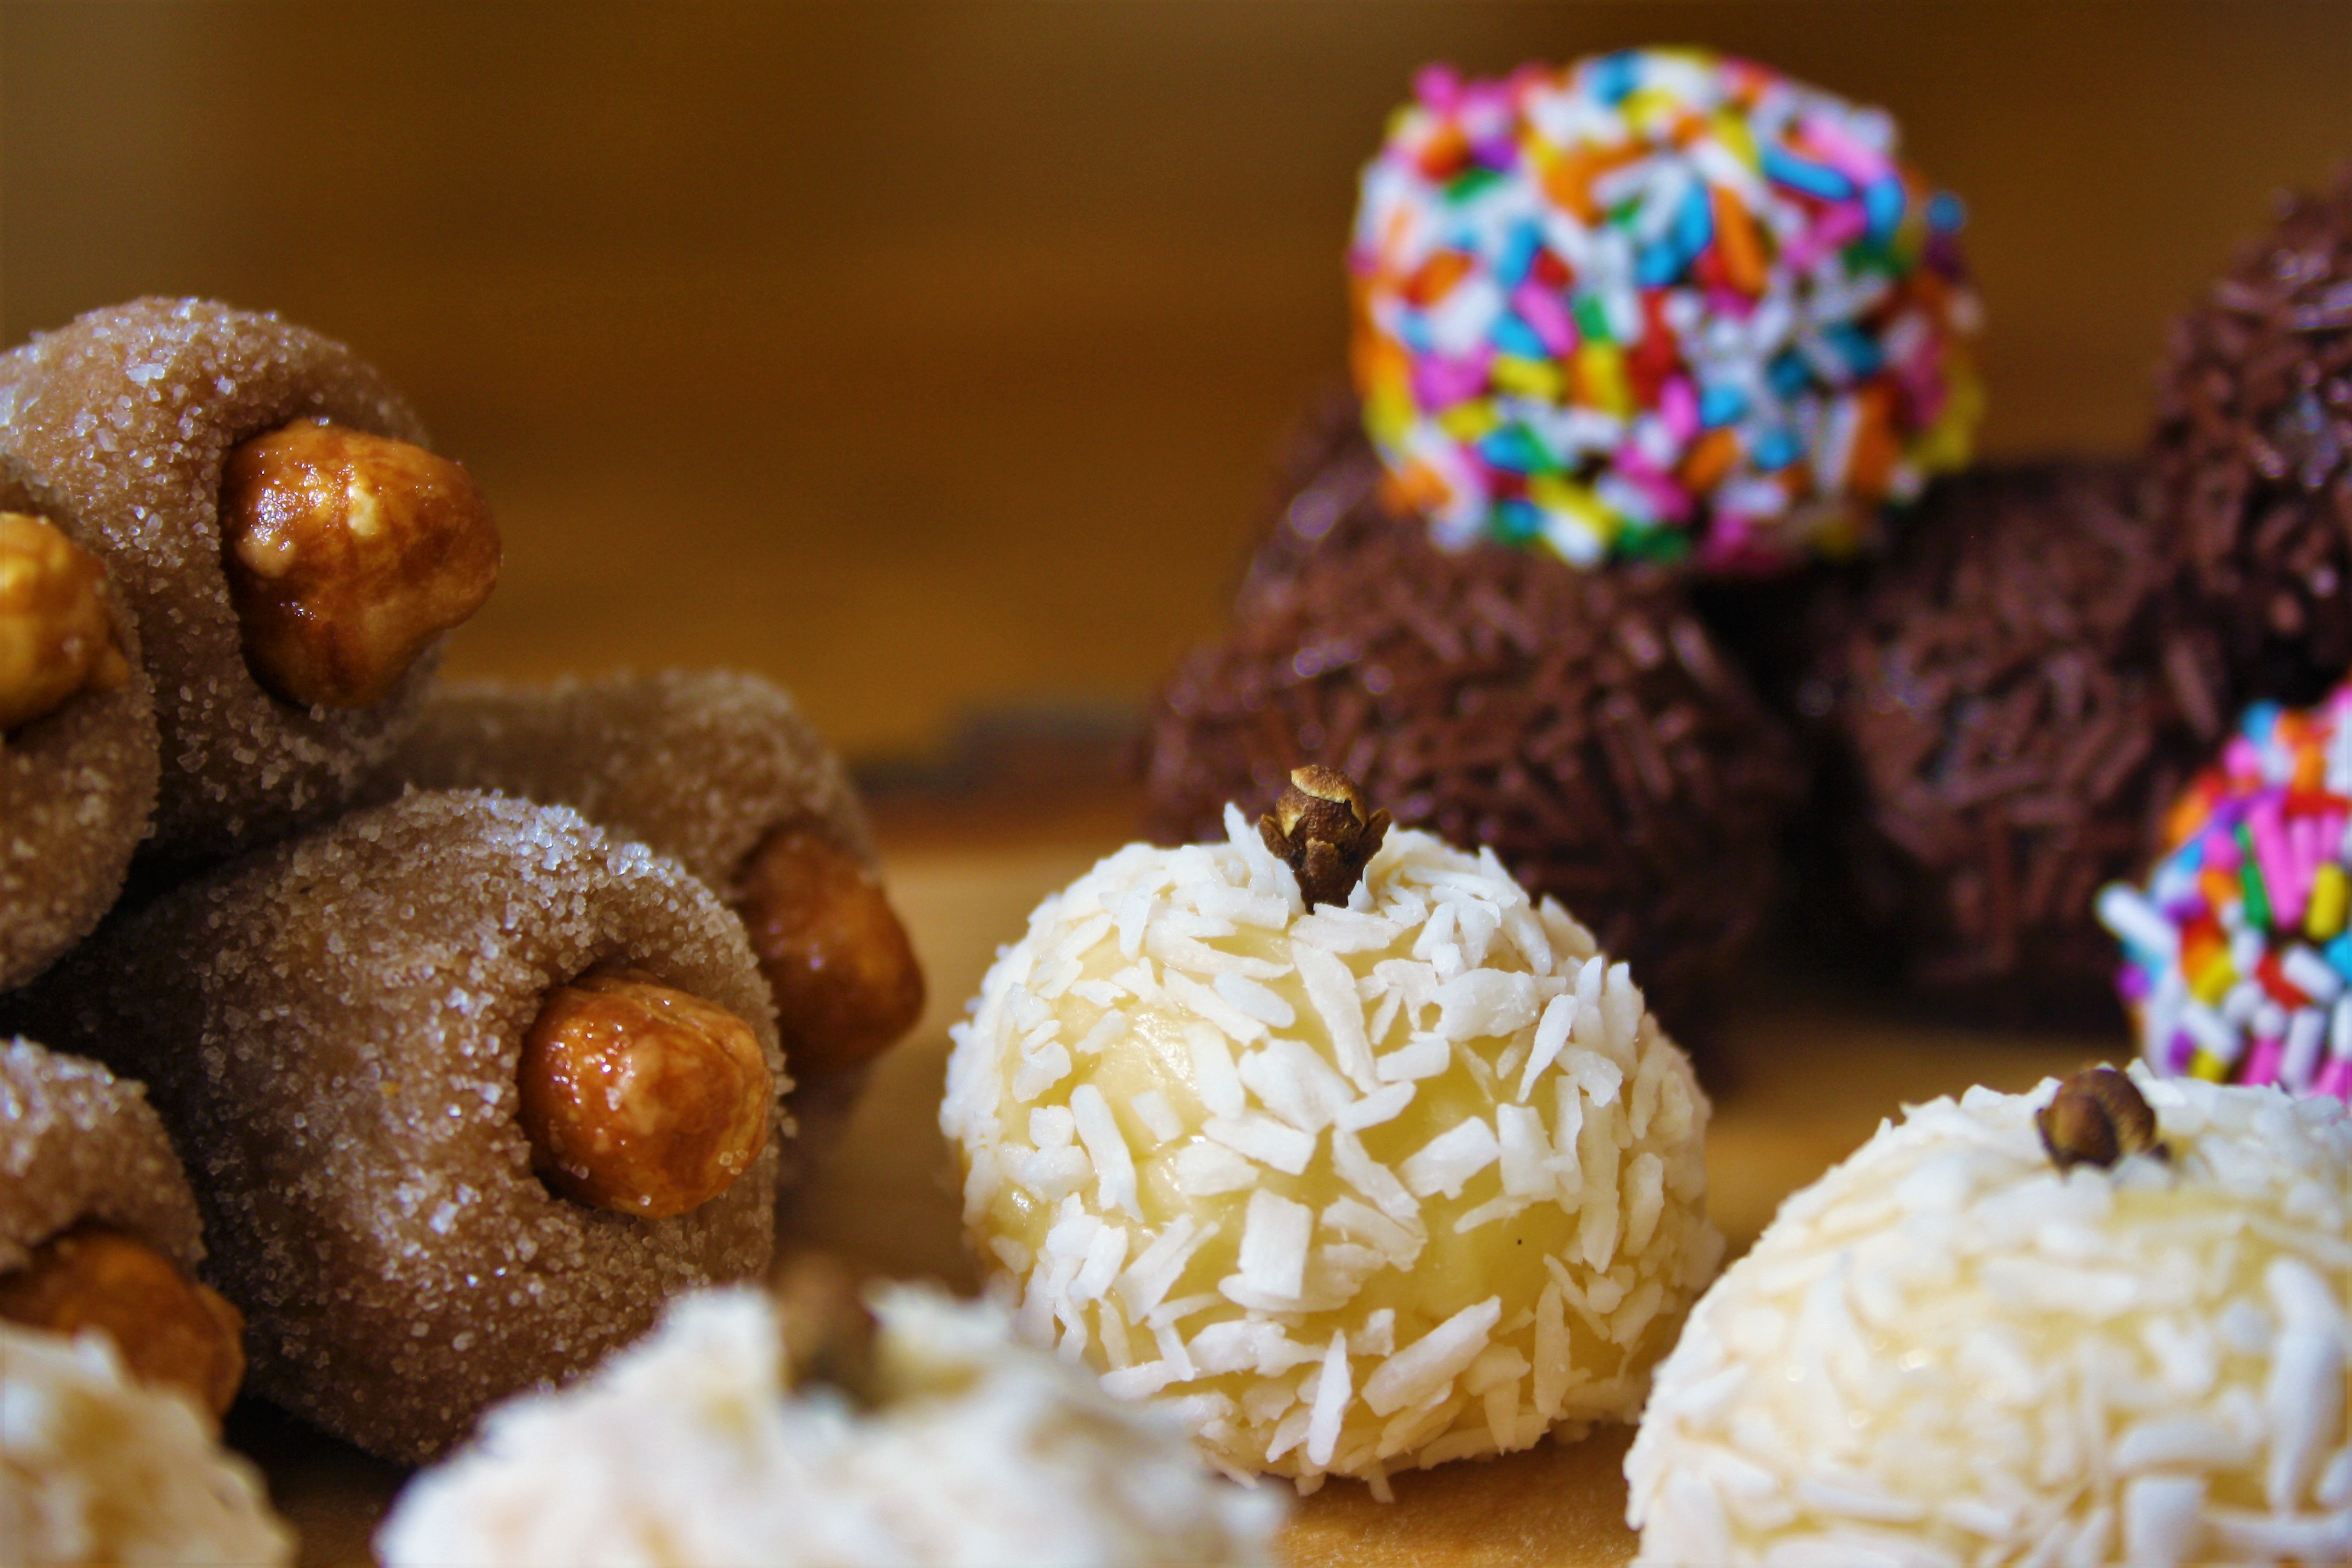
The Dochinos de Leite Moca here are all variations on a theme of Brazilian candies. Made using boiled sweetened condensed milk they are sure to prove popular not only with the little ones in your life but all the grown-ups. The final sweets will usually keep for a week in a container in the refrigerator. These dainty mouthfuls of scrumptuous sweetness look (and taste) like they required hours of kitchen toil instead of the mere minutes needed in reality. The longest part is the cooling time! I cannot emphasis how much these candies are worth the minimal effort.

Pao de queijo
Makes approximately 40
Ingredients
- 500g cassava starch
- 1/2 cup water
- 1/4 cup vegetable oil
- 1/4 cup olive oil
- 4 large eggs
- 400g grated cheese (150g Gruyère; 150g mozzarella; 100g sharp red cheddar such as Red Leicester)
- 1 teaspoon salt
Method
- Preheat oven to 400F and line 2 cookie baking trays with baking parchment
- In a bowl mix the Gruyère and mozzarella cheeses, Set aside until needed
- Combine the water & oil in a pan and bring to boil over heat
- Place cassava starch in a bowl of a stand mixer
- With the mixer running, carefully pour over boiling liquid in stages and mix to combine
- Leave to cool, until you can touch the side of the bowl
- With the mixer running, add in eggs one at a time
- Add in the Gruyère/ mozzarella cheese mix in thirds and mix until combine.
- Remove the dough from the bowl and fold/lightly knead in the sharp cheddar.
- Roll dough into 3cm wide sausage shape
- Cut into smaller 1 inch pieces and roll into balls using wet hands
- Place the dough balls on lined baking trays, spacing about 2 inches between
- Bake at 400F for 20mins until puffed and lightly golden
– The baked rolls/ puffs are best eaten straight away, after cooling slightly.
*Once the dough had been shaped into balls, they can be frozen in a bag or under cling wrap and baked from frozen. Bake in a 400F preheated oven for 30 mins until puffed and lightly golden
Pudim de queijo
Makes 1, serves 12
Ingredients
Caramel
- 1 cup fine sugar
- 1 cup of water
Pudding
- 4 eggs
- 1 can (300ml) sweetened condensed milk
- 1 can whole milk (use the same can as sweetened condensed milk to measure)
- 50g Parmesan cheese, grated
Method
- Preheat oven to 350F
- In a pan over a medium heat combine the water and fine sugar.
- Increase heat and bring to the boil, without stirring, for about 10mins. The liquid should thicken and turn a deep amber color
- When the liquid has turned deep amber, remove from heat and pour into an 8inch circular baking pan
- In a blender mix the condescended milk and milk for 2 mins
- Add in eggs and mix to blend again for 2 mins
- Add the Parmesan cheese and mix for a further 2 mins
- Pour into prepared caramel pan and place the filled baking pan in deep roasting tray large enough to take the pan
- Cover the filled pan with aluminium foil, and fill the roasting tray with water to at least 3/4 level with the pan
- Transfer to the preheated oven and bake for 50 mins
- After the aluminium foil from the pan and continue to bake for a further 10 mins
- Remove the baked pudding from the oven and the roasting tray. Leave to completely
- Turn the cooked pudding out by placing a large plate on top of the pudding and quickly inverting. It may requirement a gentle shake for it to come out
- Keep the turned out pudding refrigerated until serving
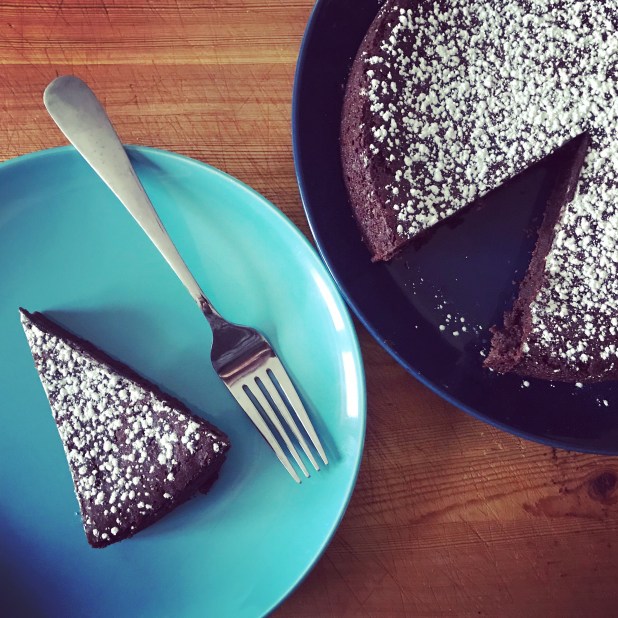
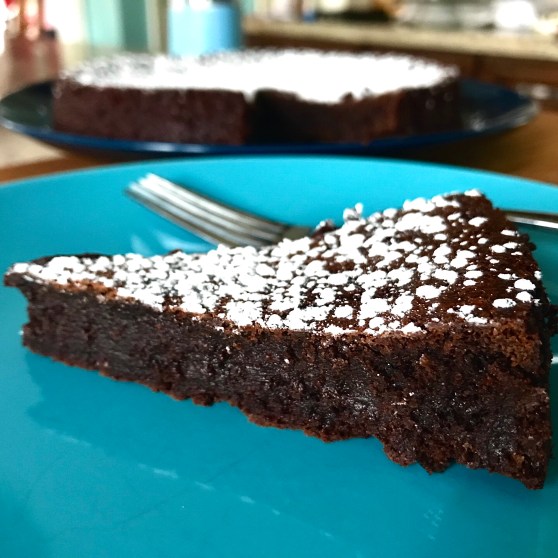
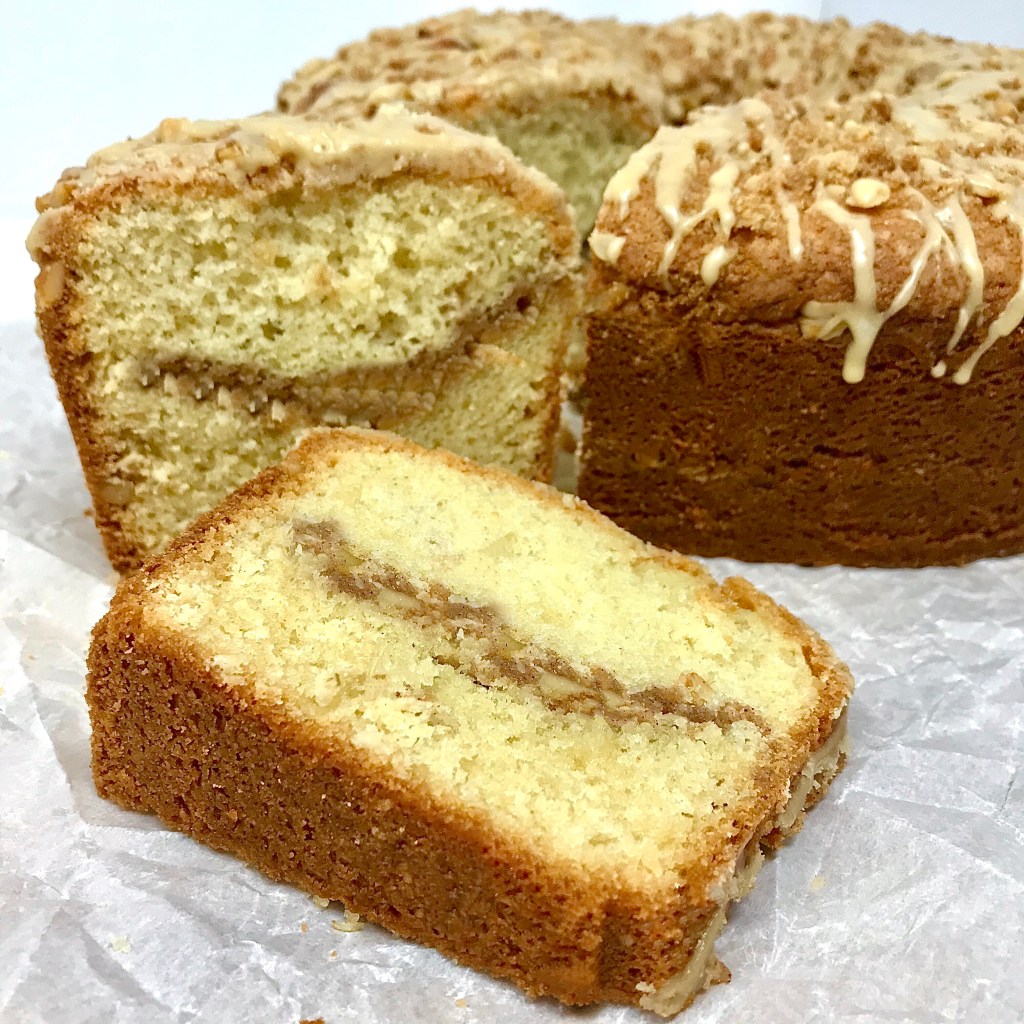
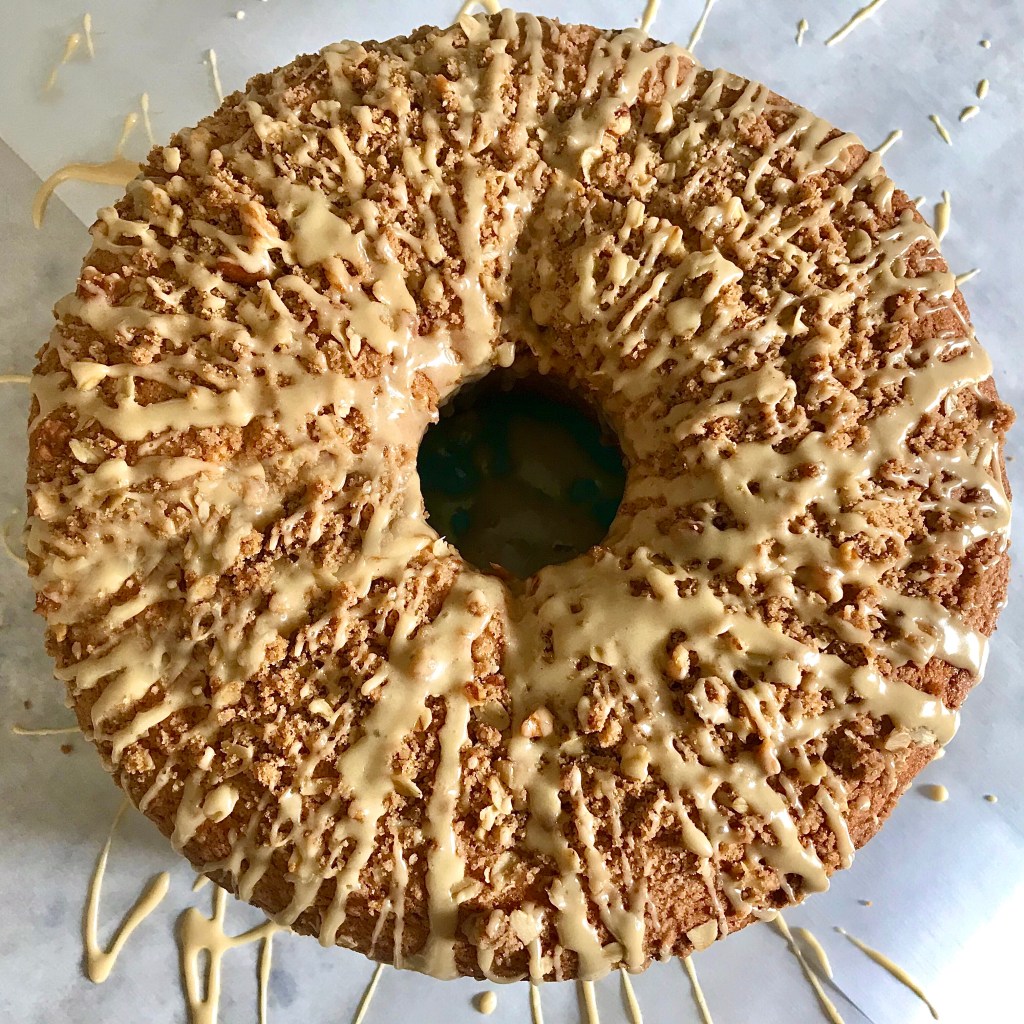
Bolo de fubá cremoso
Makes 1 , serves 12
Ingredients
- 3 eggs
- 2 tablespoons unsalted butter, melted
- 3 cups whole milk
- 2 cups fine sugar
- 1 cup of cornmeal
- 3 tablespoons all-purpose flour
- 1 cup unsweetened shredded coconut
- 50g Parmesan cheese, grated
- 1 tablespoon baking powder
Method
- Preheat the oven to 350F
- In a large bowl add the fine sugar, cornmeal, flour, shredded coconut and mix to combine
- In a large blender combine the eggs, milk, melted butter, and baking powder, Parmesan cheese and mix until well combined
- Pour the liquid mixture in to the bowl of dry ingredients and stir/whisk gently to combine well
- Pour to cake batter (which will be quite running into a 9inch spring-form cake pan
- Place in the preheated oven and bake for 35-40 mins until the top of the cake is golden brown and the sides pull away from the pan
- Remove from oven and leave to cool completely in the pan before removing the pan collar
- This cake goes particularly well with a strong, early morning coffee


Dochinos de Leite Moca
Each recipe makes between 15-20
This little sweet bites were traditionally served at children’s parties, are astoundingly easy to make and even better to eat!
Brigadeiro
Ingredients
- 300ml sweetened condensed milk
- 4 tablespoons cocoa powder
- 1 egg yolk
To finish
- A selection of chocolate sprinkles, rainbow sprinkles to finish
Method
- Combine all ingredients in a heavy bottomed saucepan and cook over medium-low heat, stirring constantly with a wooden spoon, until the mixture thickens and loosens from the pan. (It will take between 8-10 mins)
- Pour the hot mixture into a heat-proof bowl and leave to cool to room temperature
- When the mixture has cooled , grease your hands with oil and shape a teaspoon of the mixture into a round ball shape in your hands
- Roll the ball of mixture in sprinkles of your choice to coat and place on a lined baking sheet
- When all the brigadeiro have been rolled transfer the baking sheet to the fridge and allow the to chill and firm for at least 2 hours
Beijinho
Ingredients
- 300ml sweetened condensed milk
- 1egg yolk
To finish
- 100g unsweetened shredded coconut
- Whole cloves (optional)
Method
- Combine the milk and egg yolk in a heavy bottomed saucepan and cook over medium-low heat, stirring constantly with a wooden spoon, until the mixture thickens and loosens from the pan. (It will take between 8-10 mins)
- Pour the hot mixture into a heat-proof bowl and leave to cool to room temperature
- When the mixture has cooled , grease your hands with oil and shape a teaspoon of the mixture into a round ball shape in your hands
- Roll the ball of mixture in the shredded coconut to coat and place on a lined baking sheet. Stud each beijinho with a whole clove
- When all the beijinho have been rolled, transfer the baking sheet to the fridge and allow the to chill and firm for at least 2 hours
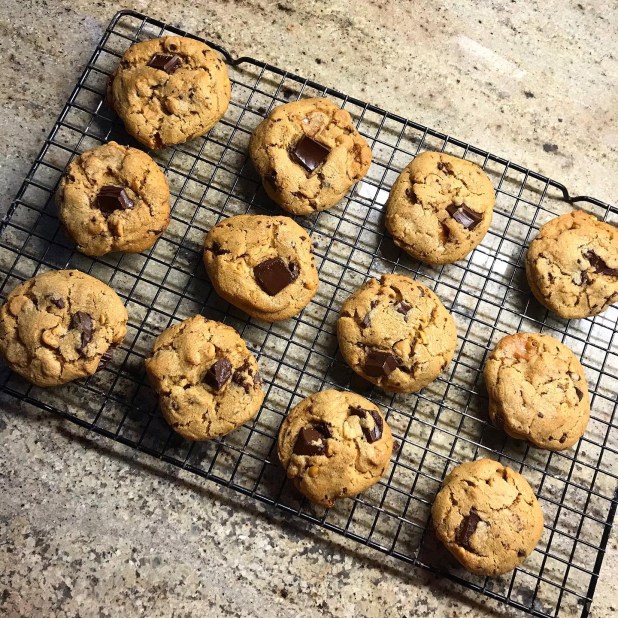
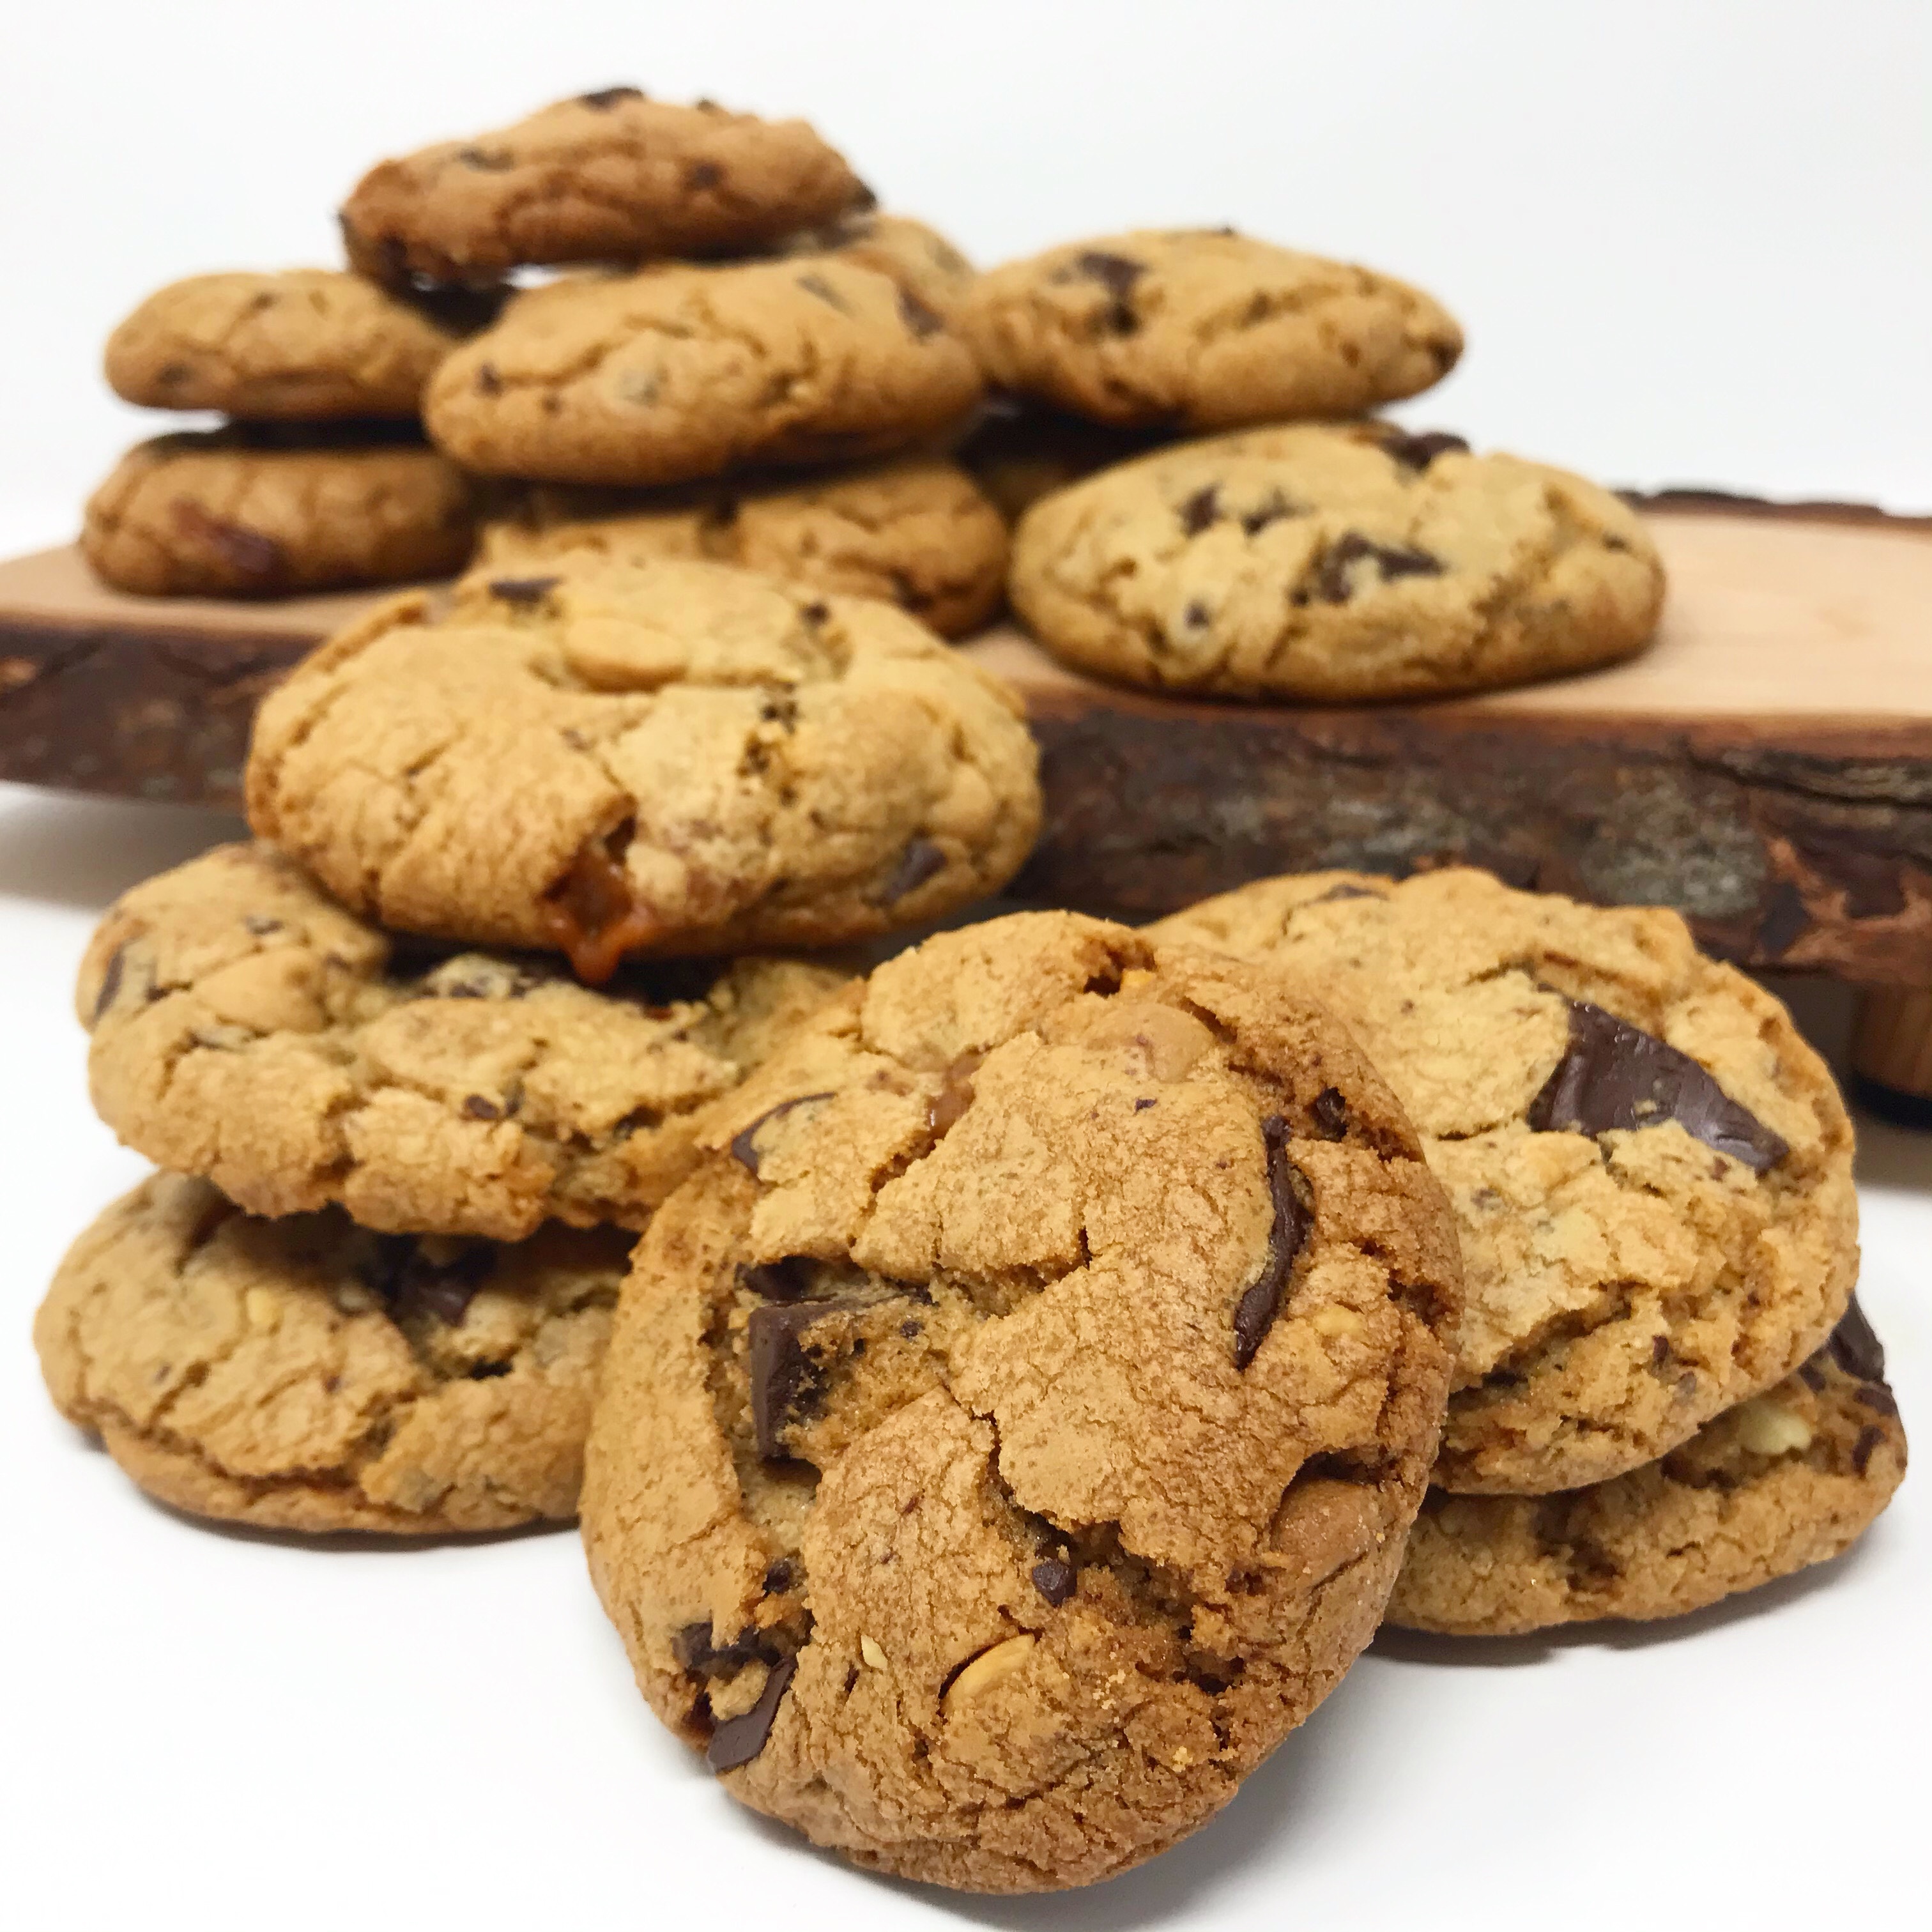
Cajuzinho
Ingredients
- 300ml sweetened condensed milk
- 5 tablespoons smooth peanut butter
- 1 tablespoon cocoa powder
- 30g unsweetened shredded coconut
To finish
- Fine sugar
- Roasted peanut halves
Method
- Combine all ingredients in a heavy bottomed saucepan and cook over medium-low heat, stirring constantly with a wooden spoon, until the mixture thickens and loosens from the pan. (It will take between 8-10 mins)
- Pour the hot mixture into a heat-proof bowl and leave to cool to room temperature
- When the mixture has cooled , grease your hands with oil and shape a teaspoon of the mixture into a “horn” shape in your hands
- Roll the cajuzinho in fine sugar to coat, stud the larger end with a peanut half and place on a lined baking sheet
- When all the cajuzinho have been rolled, transfer the baking sheet to the fridge and allow the to chill and firm for at least 2 hours