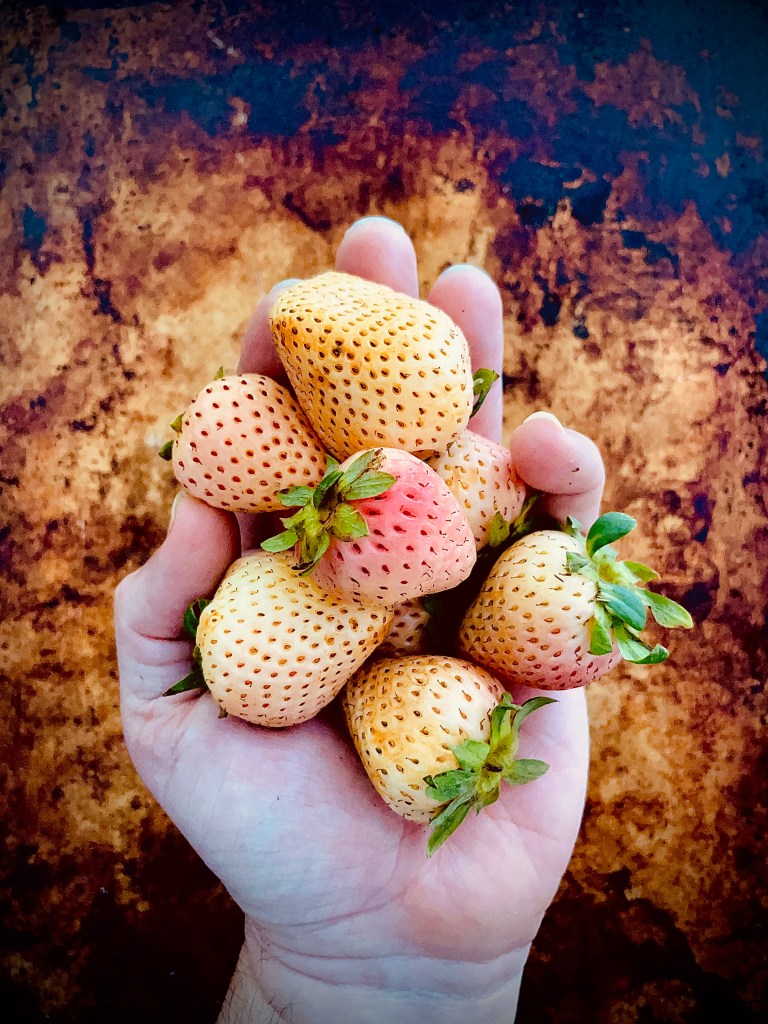
In a bowl combine the pineberries and maple sugar, mixing well. Set aside to macerate on the countertop for at least 30 minutes before serving
Vanilla Cream
Using a handheld mixer or stand mixer with the whisk attachment, beat the cream, sugar and vanilla extract on medium-high until stiff peaks, about 3-4 minutes.
Chill in the refrigerator until needed
Biscuits
Preheat your oven to 375 degrees F
In a large bowl whisk together the flour, sugar, baking powder and salt, mixing well
Using a large hole cheese grater, grate in the butter, then cut using a pastry cutter, or knife, until mixture resembles a coarse meal. You will still be able to see the butter in pieces pea-size or slightly smaller
Make a well in the centre of the dry mix
Mix together the lemon juice, vanilla, milk and the egg
Pour into the well and mix until just combined to a dough ball
Lightly flour a countertop, transfer the dough from the bowl and roll (using a floured rolling pin) to 1 inch thickness
Cut out biscuits with 3inch biscuit cutter and place on parchment lined baking sheet
Lightly brush the tops of the biscuits with the egg wash
Sprinkle turbinado sugar on top of the biscuits
Bake at 375 degrees F for 20 minutes or until golden brown. Remove from the oven and leave to cool on a rack before serving
To Serve
Slice each biscuit crossways in half
Spoon some of the vanilla cream on the bottom half
Top with a generous amount of the maple macerated pineberries
Top with the other half of the biscuit
Repeat with additional dollops of vanilla cream and macerated pineberries
Happy World Chocolate Day! Yes the food calendar which so often celebrates obscure treats and foods has of course a day designated to everyone’s favorite sweet treat. In whatever form- be it dark, milk, white, ruby or golden, nearly everyone I know has a soft spot for the timeless treat that is chocolate. In fact so much so in my case I ended up competing on a reality baking show about it. But I won’t bore you with those details.
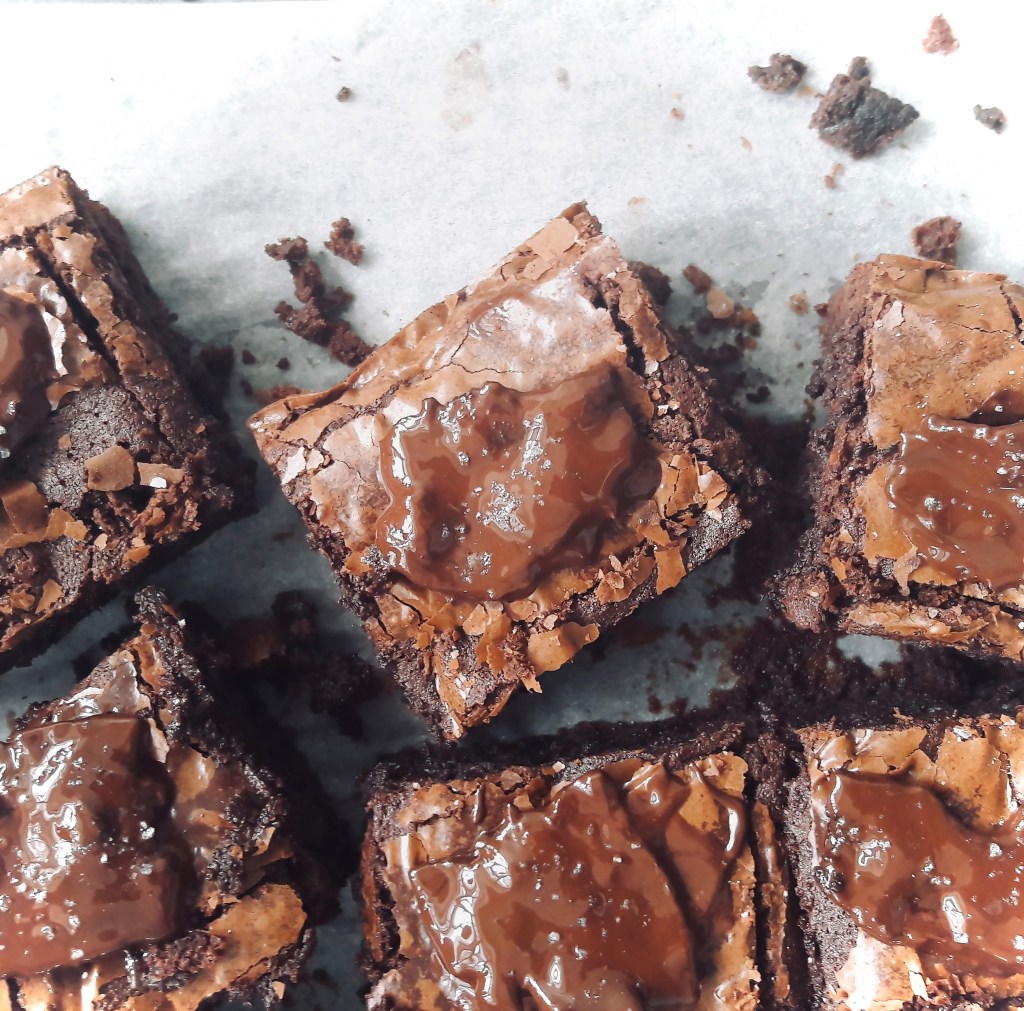
It only seemed fitting given the day that it is that I highlight one of the keystones of my baking journey thus far- my Smokin’ Pig Licker Brownies. Bear with me and see past the name- by know you know I do like to create a talking point! Originally conceived from an idea combining two stalwart (yet polar opposite) favorites in the food world – chocolate (sweet) and bacon (savory) I will forever be indebted to these tasty morsels for earning me the “award winning” in my press kit bio title.
Wanting to pair chocolate and bacon led me to research whether this combination was a historic one, steeped in the recipes of olde, or a more recent affair. It proved to be a little of both. I mean think of the “mole sauces” of Mexican cuisine- pairing sweet and savory was indeed nothing new. But how about actual bacon? It was through this that I stumbled upon “Pig Lickers” and what they involved. A treat hailing from Southern US state fairs, Pig Lickers as such are “treats made by coating cooked bacon in chocolate, and then garnishing with chunks of sea salt”. Are we feeling it yet? The name alone had me hooked let alone that fact that it combined my two holy grail ingredients.
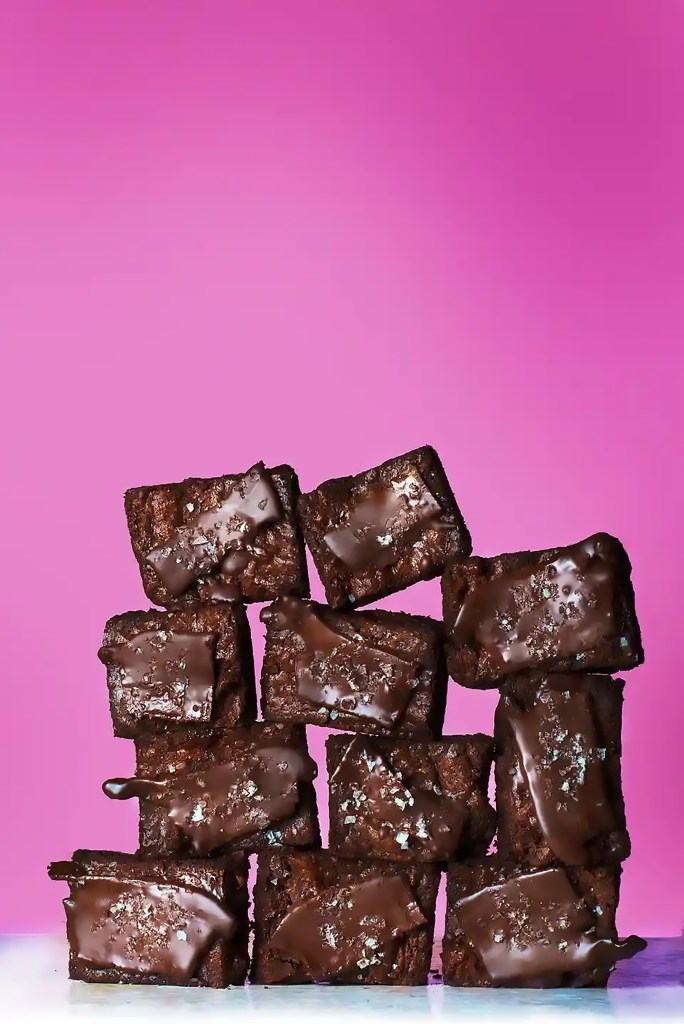
But I wanted to push it a little further. State fairs to me always bring that cliched image of candy floss, hot dogs, and chilli dogs. Wait! Chilli dogs?…chilli? Chilli and chocolate! There you have it! My end result- these brownies would be a classic combination of chilli and chocolate, with a thumbing of the culinary nose addition of bacon- in not one but two forms! The smoky, heat of the decadent brownies would be studded with crispy, sweet bacon pieces and then topped off with the aforementioned Pig Licker- a sliver of crispy bacon enrobed in chocolate, sprinkled with shards of sea-salt. Bet you’re on board NOW?
Before I depart to smother my bacon (!) a couple of words of advice. Don’t be tempted to use thick cut, or peameal, bacon here. The fat-to-meat ration is off and doesn’t work. Instead of crispy morsels of Umami goodness playing with luxurious chocolate, you get chunks of meat which just doesn’t sit right- taste or texture wise. Also don’t stress about tempering the chocolate. I mean you can if you want to go for the whole professional “snap” (*triggered*) finish if that’s your jam but at the end of the day these are rustic, wholesome, come-as-you are treats. Which I hope you enjoy!
Makes 12
Ingredients
1 cup bacon, finely chopped
2 teaspoons maple syrup
¾ cup unsalted butter, cubed
6oz semi-sweet chocolate, broken into pieces
3 eggs
1 cup sugar
¾ cup plain flour
½ cup cocoa powder
1 teaspoon smoked paprika
½ teaspoon mild chilli powder
2oz dark chocolate chunks
To decorate
3 full pieces of bacon 3 rashers, each cut into 4
4oz semi-sweet chocolate, melted
Sea salt flakes
Method
Set your oven to 350°F and line a deep 12″x9″ baking tray with baking parchment leaving an overhang each side
Fry the bacon in a pan until just starting to crisp. Add the maple syrup and fry until a shade browner and crisper. Remove from the heat and leave to cool on a plate
Melt the butter and chocolate in a bowl over a saucepan of simmering water (or bain-marie), stirring occasionally. Once melted, remove from the heat, and allow to cool
In the bowl of a stand mixer, beat the eggs and sugar until the mixture is thickened and fluffy, then, in a separate bowl, combine the flour, cocoa powder, smoked paprika and chilli powder.
Fold the cooled chocolate mixture into the egg mixture. Sieve in the dry ingredients, and fold together until uniform in color
Fold in the chocolate chunks and bacon pieces. You may need to break up the bacon pieces as they may have stuck together while cooling
Pour your mixture into the lined tray and gently spread to level the surface. Place in the oven for 20-25 minutes, then leave to cool completely in the tin before cutting into squares
To decorate, place the larger bacon pieces in the frying pan and cook until crisp. Remove and leave to cool. Melt the remaining in a bowl over a saucepan of simmering water (or bain-marie), or in a microwave on short bursts, until fully melted
Coat the bacon pieces one at a time in the melted chocolate. Place a bacon piece on top of each brownie and sprinkle with sea salt
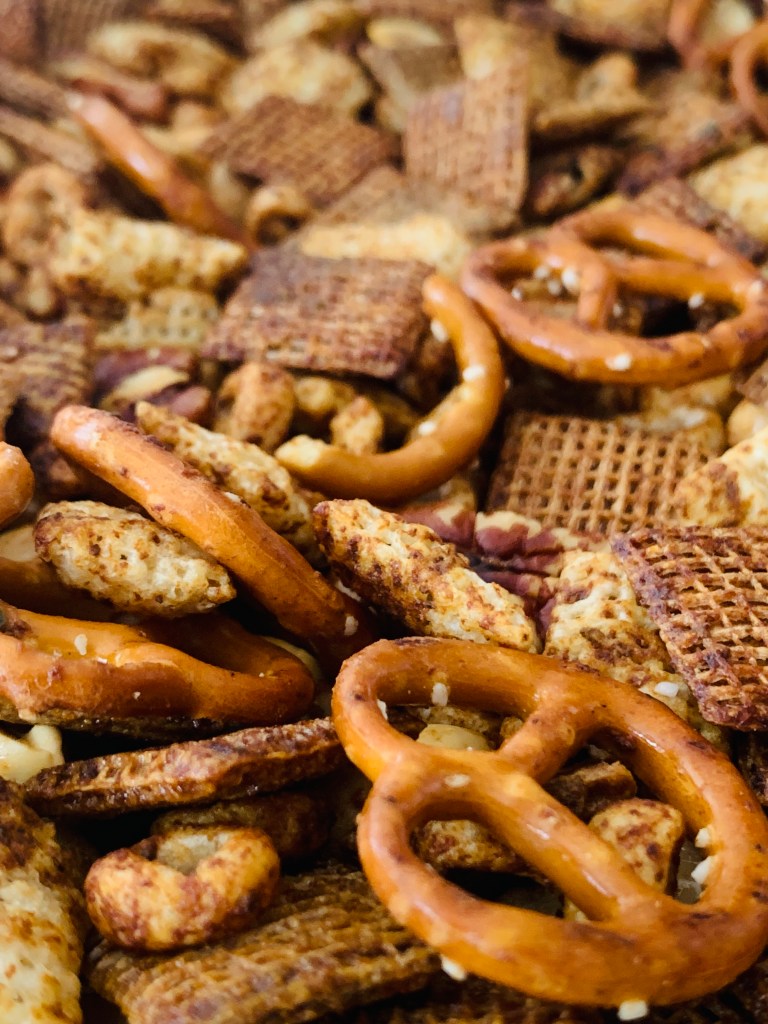
This bountiful mix of Umami goodness started as an experiment with my air-fryer. I had previously used said air-fryer to dehydrate pears for cake decorations but…could I use it for something else? To dry ingredients so as to alter them altogether? I’m aware that sounds a LOT more intriguing than the actual result. I mean it’s not like I’m going all Star Trek and altering matter! Using my air fryer I dried pickles to the point where, using a spice grinder I ground them to a powder with the zingy briny flavor of pickles. (Trivia- it remains my most viewed piece of social media with 29.7K views on TikTok, albeit with some questionable comets!)
A point to note on the use of pickles. Using “Bread & Butter” pickles doesn’t work. The sugar content of the slices yields a piece that on dehydration becomes sticky, gummy and more chewy than what is needed. The spears that I used were 1/2 sour and quartered and ended up looking like “the Chocolate Lady from Sponge Bob Squarepants“…or so I’m told!
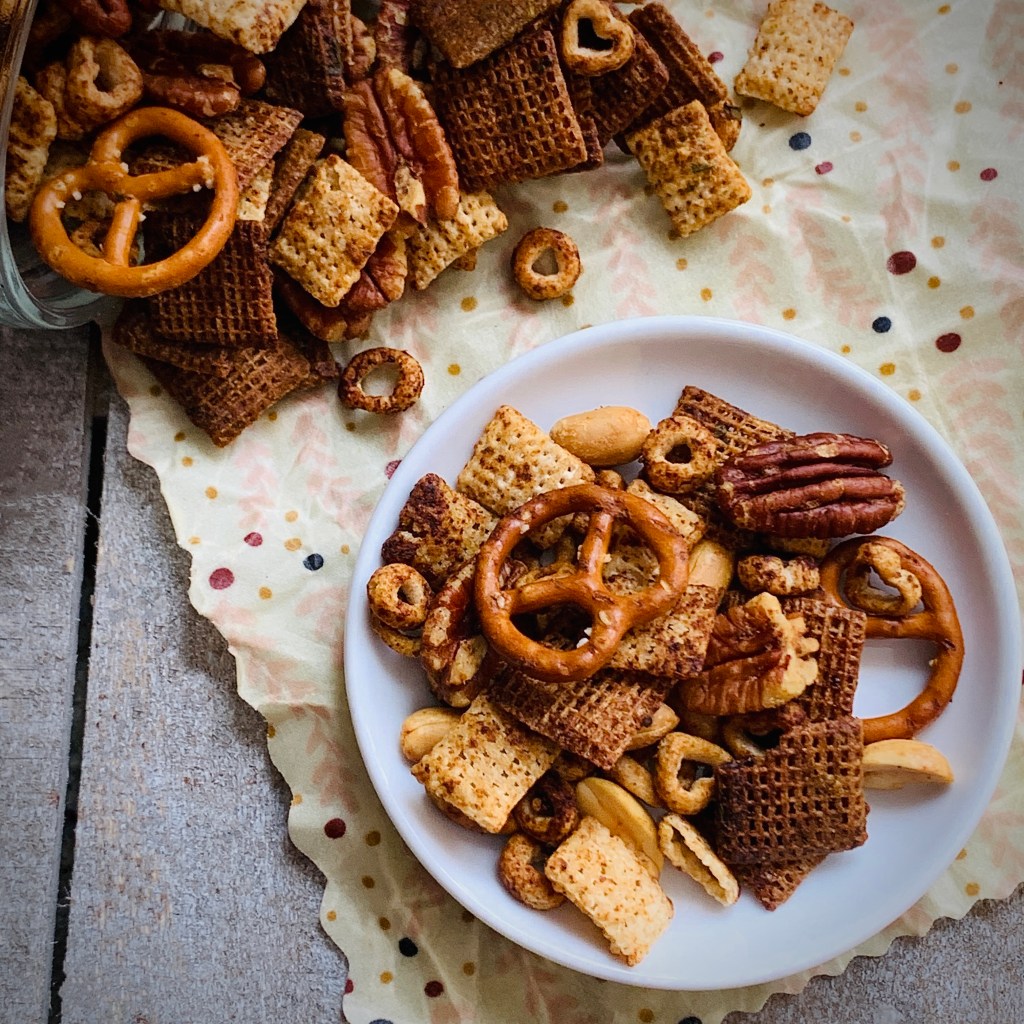
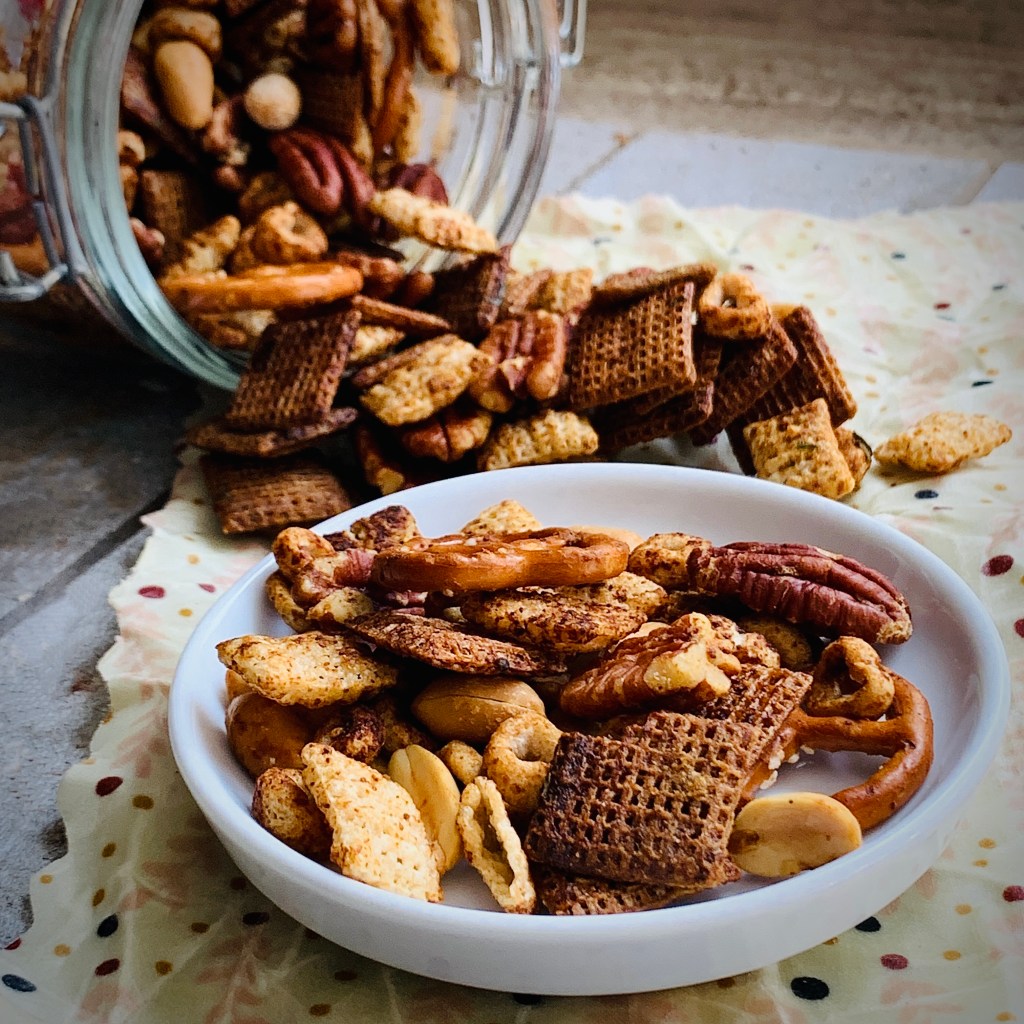
I digress! Once you have your pickle dust, it along some no fuss ranch dip seasoning become the flavor bombs in this tasty and utterly moreish snack mix. In fact, so easy is it to make that I even roped the kids in to doing it. After much chorusing of, “Not another handful” they eventually managed to combine the ingredients into the savory buttery coated mix you read of now.
Once It’s made and cooled you can store it in a tin at room temperature and it’s good for a couple of weeks. I find this is great for this summer time of year when it can be bagged up for road-trips, picnics, or taking along to BBQs and cookouts. Oh! and also perfection with an ice cold beer.
Ingredients
2 cups Shreddies
2 cups cheerios
2 cups Chex
2 cups mini-pretzels
1 cup pecan halves
1 cup unsalted peanuts
1/2 cup unsalted butter
1 Tablespoon pickle dust*
1 teaspoon garlic powder
1 pack (1oz) ranch dry seasoning
2 Tablespoons half-sour pickle juice, from the jar
1 Tablespoon white vinegar
Method
Preheat your oven to 300oF
In a large bowl combine the Shreddies, Cheerios, Chex, mini-pretzels, pecans and peanuts. Give them a good stir to mix up
In a pan, combine the butter, pickle dust, garlic powder, ranch seasoning, pickle juice and vinegar. heat over a medium heat, whisking occasionally until the butter has melted. Continue to heat for another 2 minutes
Remove the butter mixture from the heat and pour over the cereal mix
Using a spoon (or when it’s cooled for a few minutes you can use your hands) mix up to ensure all the cereal is coated and slick with the butter mixture
Transfer the buttered cereal mixture to a large cookie sheet and place in your preheated oven
Bake for between 25-30 minutes, stirring occasionally, until the cereal starts to lightly brown
Remove from the oven and leave to cool on the tray on a cooling rack
When fully cooled, transfer to an airtight container, or jars, for storage and eventual scoffing!
* I make pickle dust by dehydrating pickles in my air-fryer. For this recipe I dehydrated 2 medium half-sour pickles, cut lengthwise into quarters. Arrange on your system’s drying rack and dry at 150oF for 6 1/2 hrs. Once they have dried out successfully (they will shrivel up quiet a bit) they will cleanly snap rather than bend. Break them into smaller pieces and using a spice grinder, or coffee grinder, blitz the pickle pieces to a find powder. This will give you 1 tablespoon of pickle dust (powder). Keep in an airtight container until ready to use.
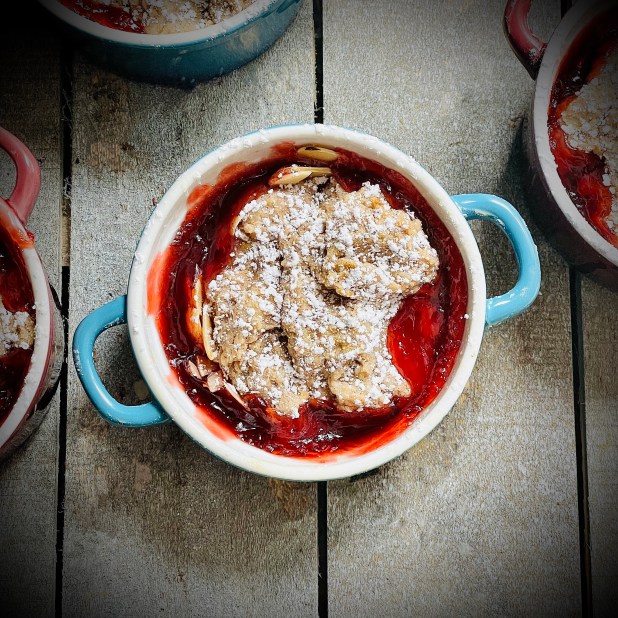
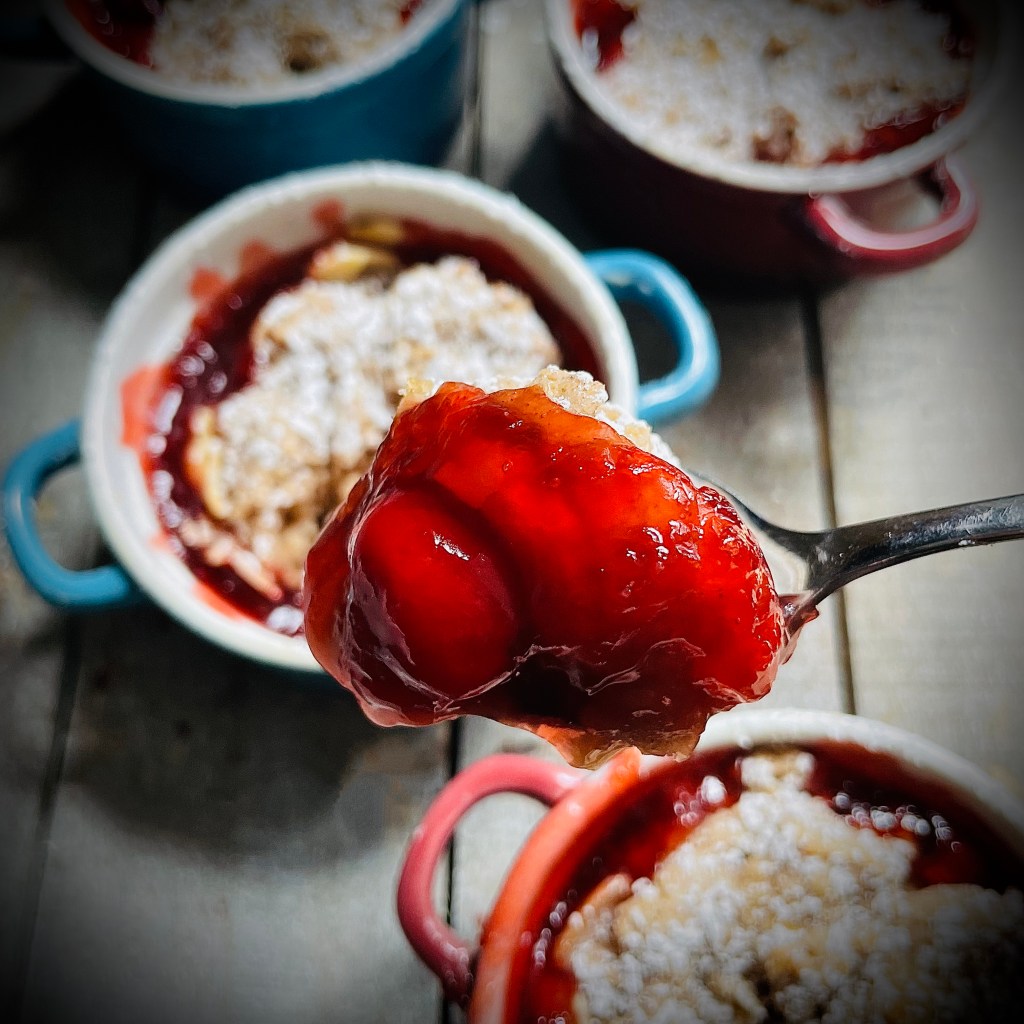
So I’m a sucker for cravings. Once I get something in my mind that’s it- I won’t rest until I’ve tasted it. That was that was the case with this cherry cobbler. Sure it’s a cheat’s version- using canned pin filling. But I craved it and the quicker I got it the better. Also lets face it- using canned filling cuts down on the stove-time involved in the making off this. If you feel so inclined, go right ahead with your favorite mix of cherries that you might use for your fillings. I’m definitely not one to dictate how you should run your kitchen.
The topping here is an adaption of a regular biscuit dough that I use to biscuit top stews and casseroles. Here I’ve slightly upped the sugar for a sweeter finish, adding in some cinnamon and oats for a more rustic dessert finish.
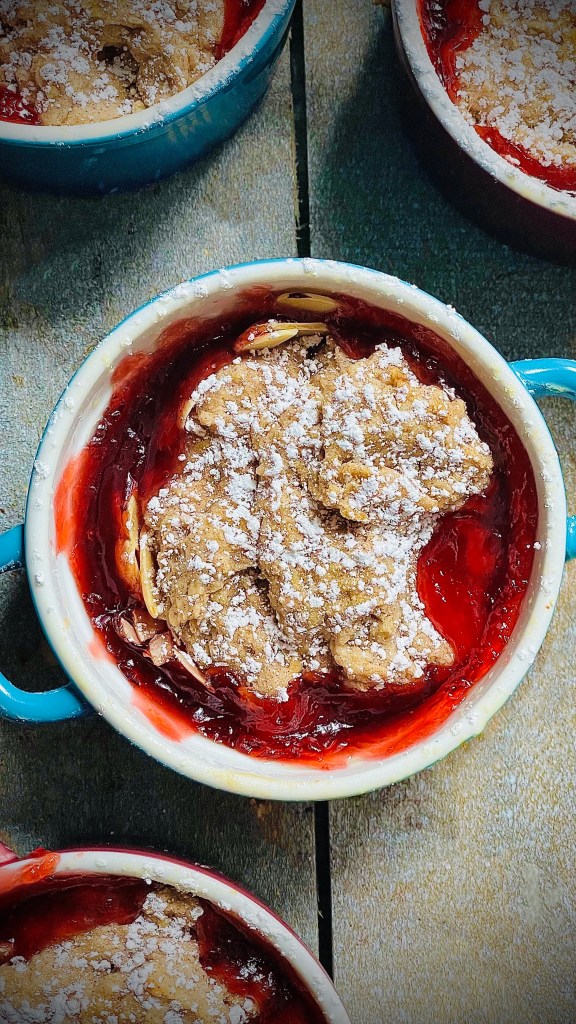
I love the flavor combination of cherries and almonds, thinking that it’s one of the best out there. Food trivia moment- both are linked by the compound Benzaldehyde, which is the second most popular flavor and fragrance after vanillin. Baking- educational too! (Darn! now I’m thinking I need to make a Cherry Bakewell…curse you infernal cravings!
With the use of pie filling these are so quick and easy that even making them in the current warmer weather can be justified. Plus adding a scoop of your favorite ice cream on top even more so!
Makes 4
Ingredients
1 can 540ml (20 oz) cherry pie filling
1/4 teaspoon almond extract
1/4 cup toasted, flaked almonds
1 cup all-purpose flour
1/2 cup Jumbo rolled oats
3 teaspoons granulated sugar
1 1/2 teaspoons baking powder
1/4 teaspoon cream of tartar
1/2 teaspoon ground cinnamon
Pinch teaspoon salt
4 tablespoons melted butter
1/2 cup milk
4 Tablespoon Turbinado sugar
Method
Butter four 0.25L ramekins
In a bowl mix the pie filling and the almond extract. Divide the pie filling equally among the ramekins
Sprinkle the tops of the pie filling with the toasted almond flakes. Set them aside on a foil-lined baking sheet until later
Preheat oven to 375 F
In a medium bowl, combine flour, oats, sugar, baking powder, cream of tartar, ground cinnamon and salt. Whisk to combine
Add the melted butter and milk, stirring just until moistened. The biscuit batter will be quite thick and lumpy. Drop batter by heaping scoopfuls onto the filling
Sprinkle the turbinado sugar over the biscuit dough
Bake for about 20 minutes, or until biscuits are browned and filling is hot and bubbly
Leave to cool for about 5 minutes. Serve and enjoy!
Line a baking sheet with baking parchment/ waxed paper and set aside until needed later
Pop popcorn in your preferred method and salt to taste. Pour into large bowl and set aside.
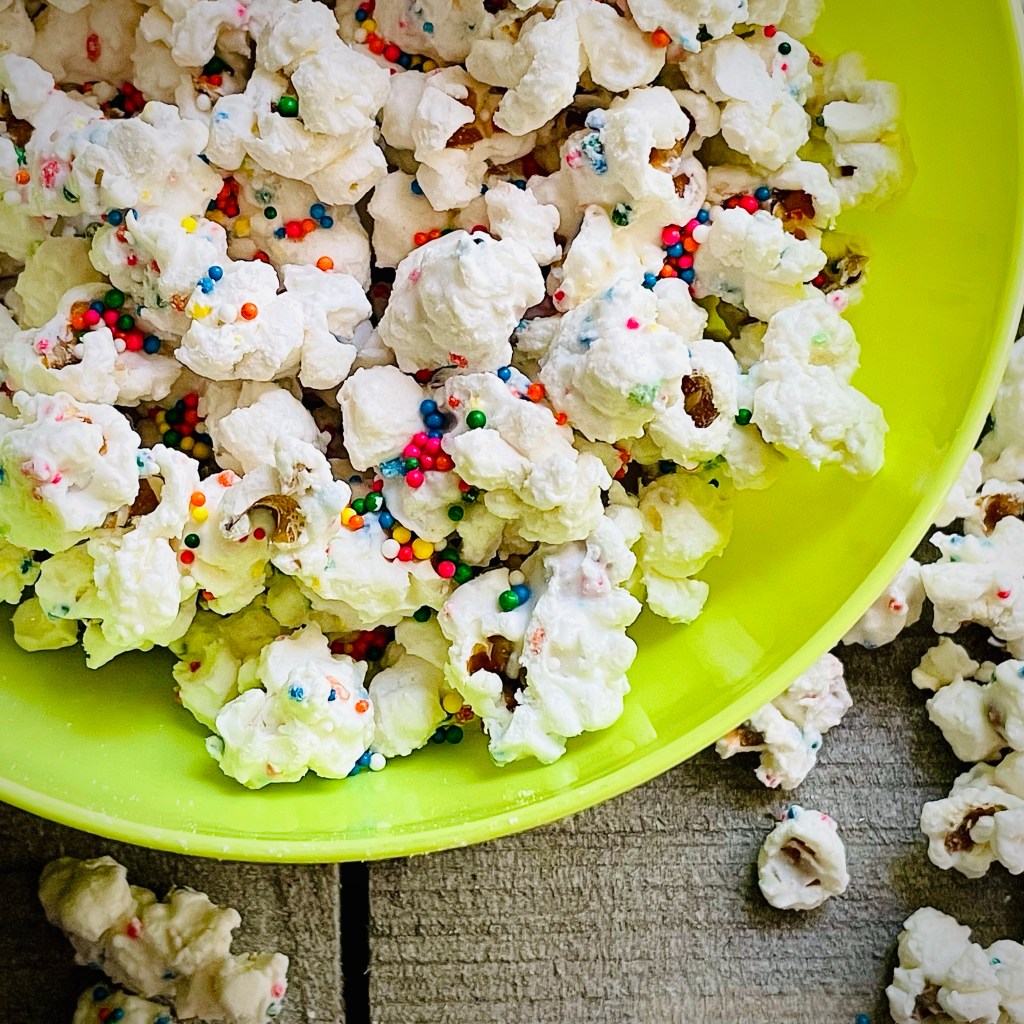
Melt white candy melts in a microwave in 10 second bursts, stirring frequently until smooth and being careful not to overheat
Add ½ cup of the cake mix to the white chocolate and stir to combine
Immediately pour the candy/cake mix mixture over the popcorn and use a spatula to combine. Add the remaining ¼ cup of the cake mix and the sprinkles and stir or toss again to combine until thoroughly coated
Spread onto prepared baking sheet in a single layer and top with some extra sprinkles if you like. Leave on the baking sheet until set and then break apart into small clusters. Serve and enjoy!
*White chocolate bars may ne used as well but your final coated popcorn won’t set as hard or be as crunchy.
**Before using the cake batter mix, treat it in the oven by spreading it on a lined baking tray and toasting it at 350 F for 5 minutes. Remove from the oven and leave to cool. Once cooled, use as per the recipe above. One thing to note is that the sprinkles in the cake mix may discolour a little or melt a bit. More reason to add those extra sprinkles!